The Owl and the Pussy-Cat

I’ve been playing around with Collections on Artfire.  This is the 4th one I’ve made, but I think it is my favorite so far.  I’ve always loved the Owl and the Pussy-Cat, by Edward Lear.  I thought it would be neat to put together a Collection that told the story… as best that I could in 12 pictures. :)  I hope you enjoy it.
The Owl and the Pussy-Cat went to sea
In a beautiful pea-green boat:
They took some honey,
and plenty of money
Wrapped up in a five-pound note.

The Owl looked up to the stars above,
And sang to a small guitar,
“O lovely Pussy, O Pussy, my love,
What a beautiful Pussy you are,
You are,
You are!
What a beautiful Pussy you are!”

Pussy said to the Owl, “You elegant fowl,
How charmingly sweet you sing!
Oh! let us be married;
too long we have tarried:
But what shall we do for a ring?”
They sailed away, for a year and a day,
To the land where the bong-tree grows;
And there in a wood a Piggy-wig stood,
With a ring at the end of his nose,
His nose,
His nose,
With a ring at the end of his nose.

“Dear Pig, are you willing to sell for one shilling
Your ring?” Said the Piggy, “I will.”
So they took it away, and were married next day
By the Turkey who lives on the hill.
They dined on mince and slices of quince,
Which they ate with a runcible spoon;

And hand in hand on the edge of the sand
They danced by the light of the moon,
The moon,
The moon,
They danced by the light of the moon.


Posted in Uncategorized | Leave a comment

Over the Weekend

After a near week long drive from Kentucky to Washington, we are finally getting settled in our new house. Our household goods were delivered and I’d been furiously unpacking for a week solid.. so I took the weekend off. Here is what we did instead of unpacking!
Saturday I went to get my eye exam, way over due, and went to the PX to pick out new glasses since mine got broken during the move.  Not exactly fun, but not torture either.  Here was Saturday’s fun… We ate lunch while in line and B played with his Color Wonder markers.
We finally got to meet Captain Keith and Monte from the Discovery Channel show The Deadliest Catch!  They sat for hours signing autographs for soldiers and family members on Fort Lewis.  Thanks Keith and Monte!!
Sunday it was supposed to rain so I really didn’t have an outing planned.  However, the weather gods were smiling on us and it was just overcast.  So I packed us a lunch and went exploring in our neighborhood.  I’d been told there was a walking path/trail down to Puget Sound and that it would take about a half hour to get there.  It sounded good to me so B rode happily in the pram and off we went.
Just as we were entering the trail another lady and two of her daughters were entering as well.  She happened to be an arborist so as we walked to the Sound I got a great nature lesson about the plants, trees, animals, and edible berries in the area.  Here are some of the pictures.
There are quite a few fern varieties.  I’ve never seen so many before.
Leaning trees in the gully.
Red huckleberries!  Yum!
I love this gnarly tree.
Foxglove growing just at the forest edge.
Puget Sound.  The sun came out too!
B had a great time splashing in the little waves.
What do you think of when you see this?  I thought it was a pile of dirt and twigs…. well it was that and so much more.  Thatcher Ants!  This Thatcher Ant mound was about 5 feet tall.  The entire surface was covered with thousands of ants.  I dared not get any closer.
Another neat tree in a fern gully.
It was such a beautiful hike, I’ll definitely be making the trek to Puget Sound again.  Until then we have plenty of  other local trails and parks to explore.
Posted in Hiking, Nature, Puget Sound, Washington | 5 Comments

Tuesday Tag Along

I’ve never done this before, so I thought I’d give it a go… :)

If you follow me through the TTA, leave a comment so I can follow you back!

Tuesday Tag-Along  I joined this Tuesday Tag Along which is being hosted by Twee Poppets.

To join the Tuesday Tag Along just follow these instructions; reposted with permission from Twee Poppets.

Here’s how it works:

  • Create a new Tuesday Tag-Along blog post. Include the Tuesday Tag-Along button by copying and pasting the code above. (You are also welcome to copy and paste these instructions in their entirety, or any portion of this Tuesday Tag-Along blog post!)
  • Add your blog name and the URL of your TTA post to the MckLinky below.
  • Follow Twee Poppets, the hostess blog listed in the first slot. Twee Poppets will follow you back! (Note: If you want Twee Poppets to follow you back, you MUST leave her a comment saying that you are a new follower and leave a link to your blog!)
  • Follow the Blog Hopper of the Week, listed in the second slot. To learn how to be chosen as the Blog Hopper of the Week, read the red text below.
  • If you can, please follow the blogs in the three slots before you (e.g., if you’re number 20, follow numbers 19, 18, and 17). This is not mandatory, but it will help ensure that everyone who signs up gets a few new followers!
  • Follow as many other blogs as you want. The more you follow, the more that will follow you back! Be sure to tell them that you’re following from Tuesday Tag-Along! You may also want to leave a link to your blog so they can return your follow more easily.
  • When you get a new follower through Tuesday Tag-Along, be sure to follow them back! It’s just common courtesy. :)

The weekly Tuesday Tag-Along MckLinky opens every Monday night at 8:59pm Pacific Standard Time (that’s 11:59pm Eastern Standard Time), and the TTA blog post will be posted well in advance of that time. The MckLinky will be open to add your blog until 11:59pm Tuesday night. You then have all week long to visit blogs and return follows!

There is a new list every week. The link you enter one week will not carry over to the next week’s MckLinky. Please link up again each week to join in the fun!

Posted in Uncategorized | 9 Comments

From the Garden

I have a small container garden on my deck.  I knew were going to be moving, but we’d been told we were going to Georgia originally.  I had planned to take my plants with me to Georgia, it’s only a 9 hour drive.  Since our plans have changed and we are moving to Washington state, moving my plants is impractical.  I’m glad to have planted early and I’ve been enjoying the fruits and veggies for several weeks.  Yesterday was the first day in 2 weeks we haven’t had strawberries, but we’ll have some tomorrow.   I’ve let several of my plants go to seed so I can take them with me to plant next year.

Here are some pictures of my home grown produce, flowers and garden visitors…
Strawberries
Tomato
Basil gone to seed.

Dill

Couple of butterflies were fighting over the petunias. :)
We are really lucky to have found a house with a garden already planted which will be waiting for us when we get there.
Posted in Uncategorized | 1 Comment

Moving Sale!

I’ve been kind of absent from here for a few weeks…sorry.   Along with it being Summer and spending time out of the house, we are getting ready for a cross country move from Fort Knox, KY to Fort Lewis, Washington.  I’ve been cleaning and preparing for our move for a while now and have been waiting for our orders to move for even longer.  Such is life with the military.  Anyhow, we finally have orders and our pack out is scheduled for a week and a half from now.  This means a little bit of a scramble on this end to get everything ready.

I don’t want to move it, so it is on sale!  Everything in both of my Artfire shops is 25% off!  Use code MOVE25 for 25% Off Everything!  
White Dandelion Works – Handmade goods for home and family
EcoWoolies – Wool Sweaters for felting, crafting, upcycling and refashioning.
Sale ends July 15th!  As of the 16th my shops will be on vacation until we get settled in Washington.
I’ll also resume taking custom orders after the move. :)

Thank you for hanging in there during this time of change.

Colleen

Posted in artfire, Moving, Sale | Leave a comment

Custom Work

I thought I’d share some of my recent custom work….

This little zipper birdy coin purse was for Yasemin.

A hot pink extra large wetbag for Aspen…

A pair of Soap Saver Socks in brown and white twist cotton.  I have some more of these available in my shop in lots of other colors!


A pair of pink owl plushies for Paige. Made from upcycled cashmere and wool sweaters and stuffed with sustainable bamboo fiberfill.

This orange a blue owl was for Quirky Dame!  Also made from upcycled sweaters with bamboo fiber fill.

These pillow sized owls are made from polar fleece with polyfill suffing.

My friend Moira asked me to make an XBox Controller…. I’m quite happy with the result. :)
Using a great pattern and with permission from Funky Friends… This Monkey was made from a pink upcycled wool sweater and some green wool fabric.

This is my most recent commission…. A Stuffed Chica from Sprout!  She is made from Polar Fleece and has a squeaker in her beak. :)  I just finished her yesterday.

I hope you all have a Happy Father’s Day!

Posted in cashmere, cotton, craft, crochet, custom, fabric, Plushie, Reclaimed, repurpose, reuse, sewing, sweater, up-cycle, wetbag, wool | 6 Comments

Tea Towel Tote Tutorial

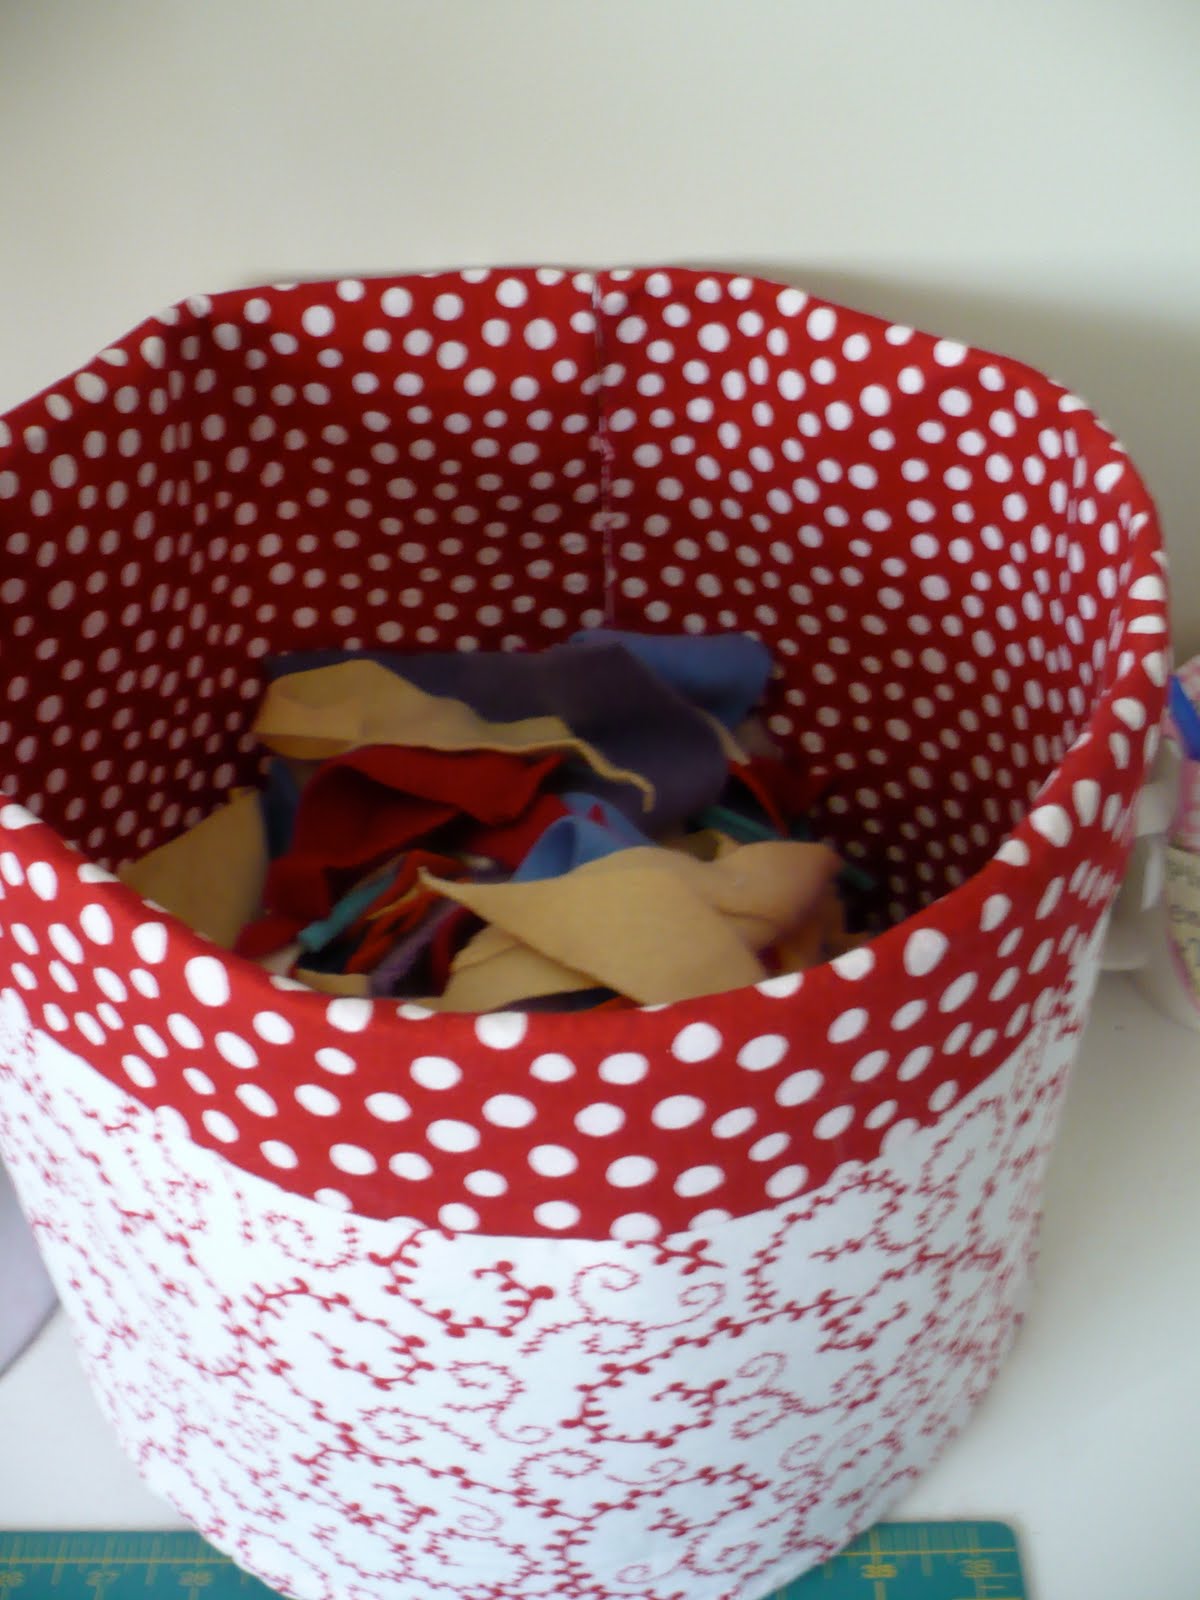
I have a stack of Tea Towels that I bought on various trips. Souvenirs mostly from the UK.  They just sit in a drawer and never see the light of day.

The thought occurred to me to make totes bag out of them!  I have tons of tote bags, but these would be unique and made into something useful.

I wrote up this tutorial so that other people might make their unused tea towels to use too. :)

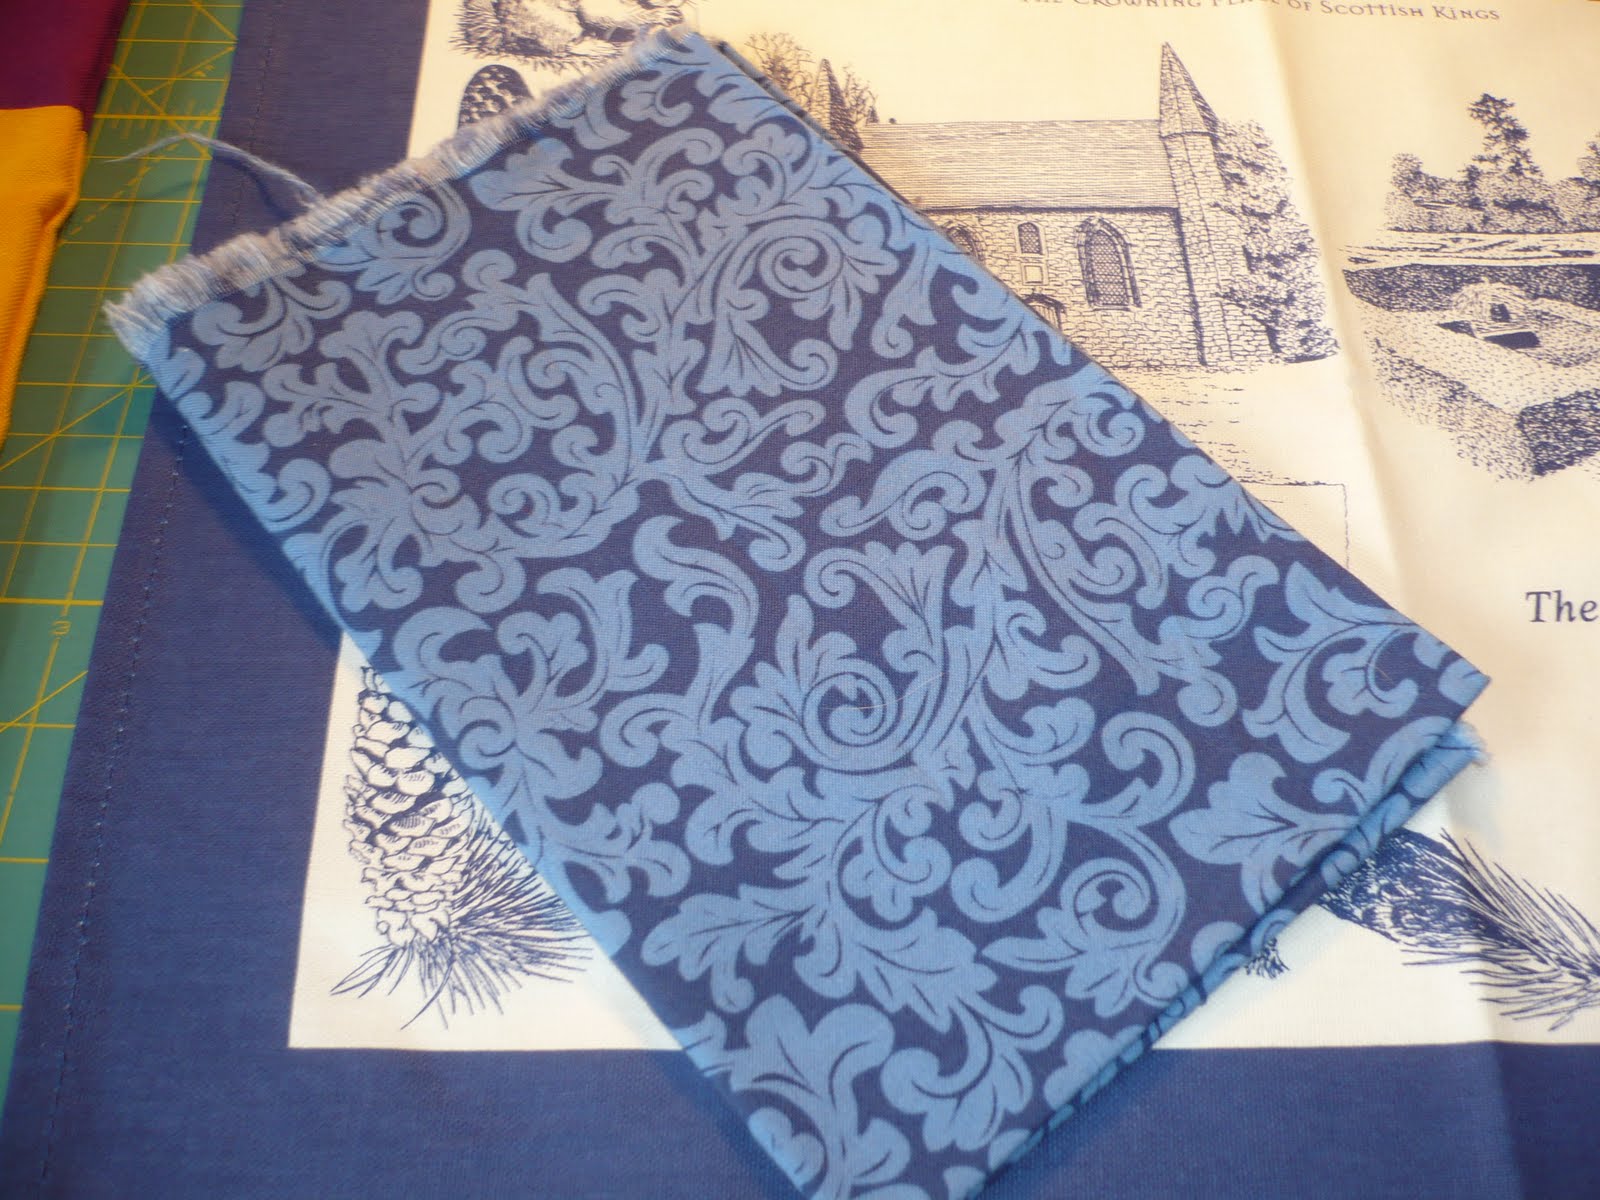
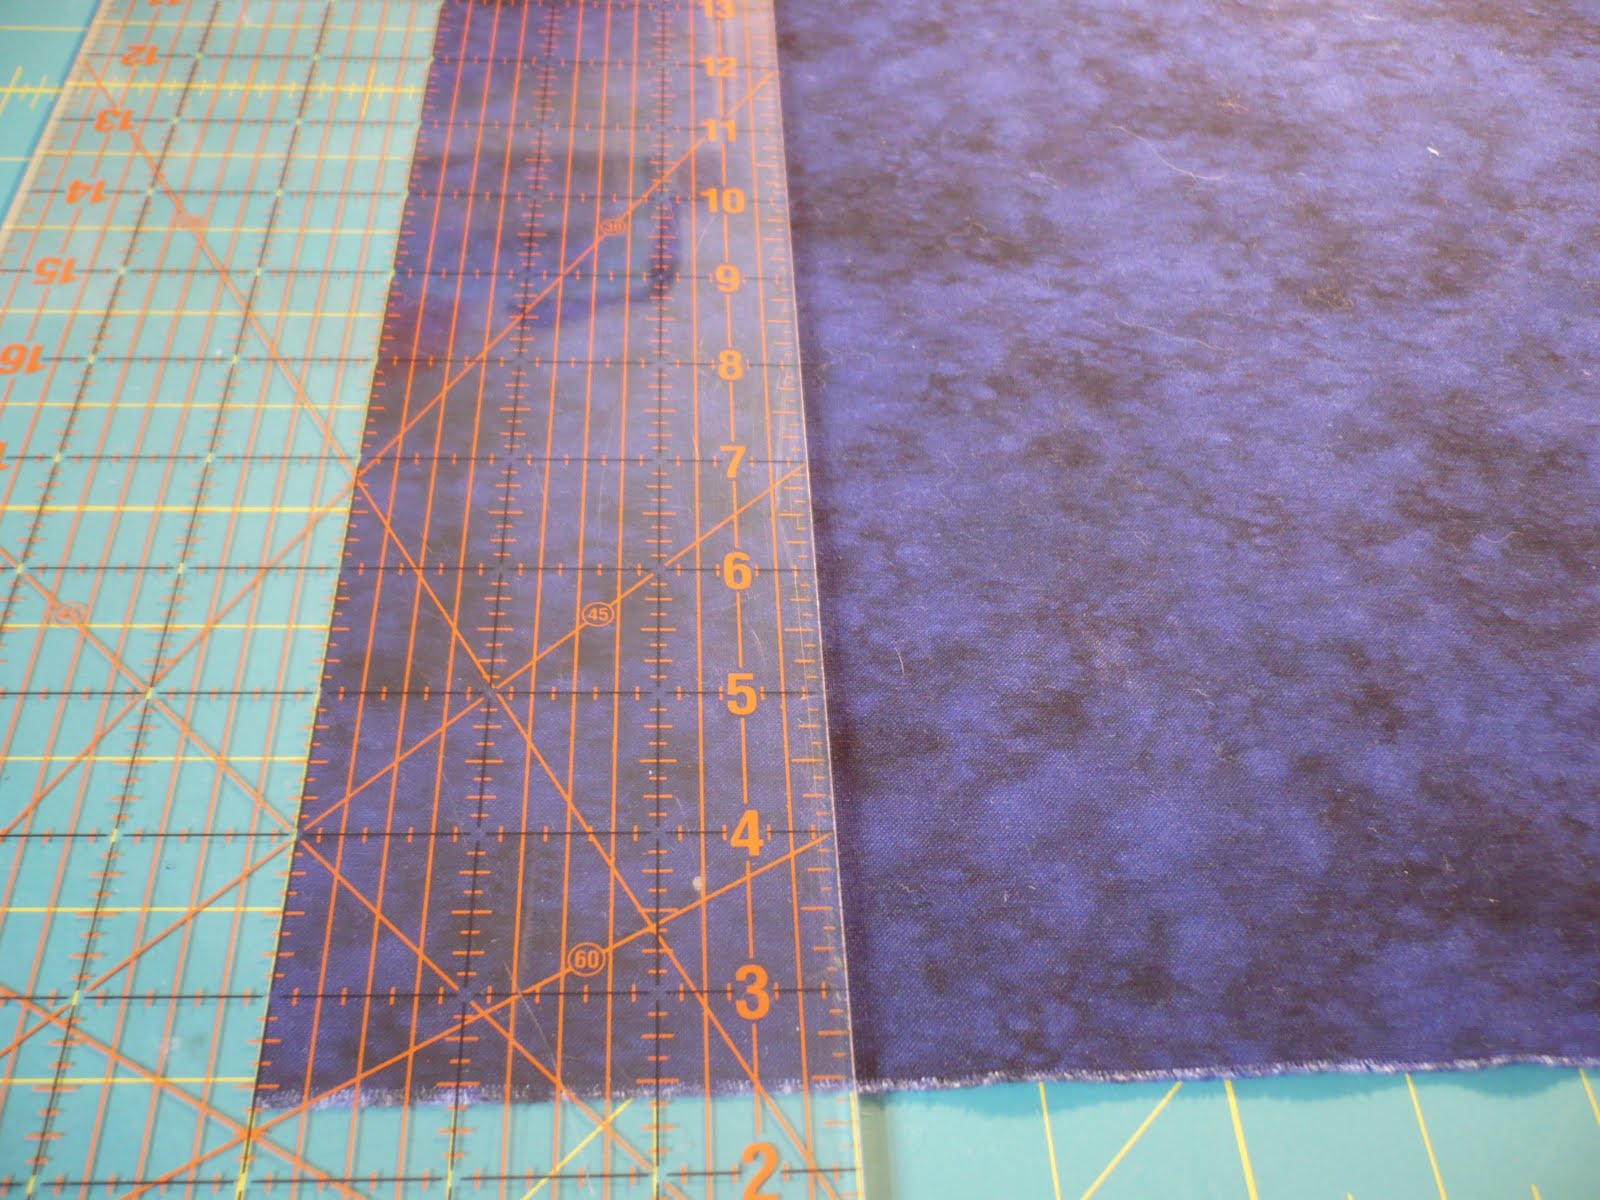
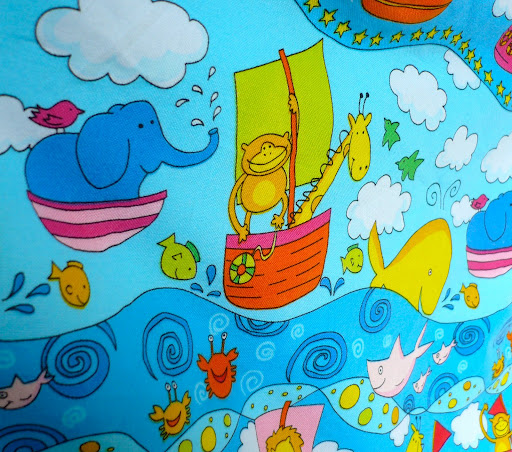
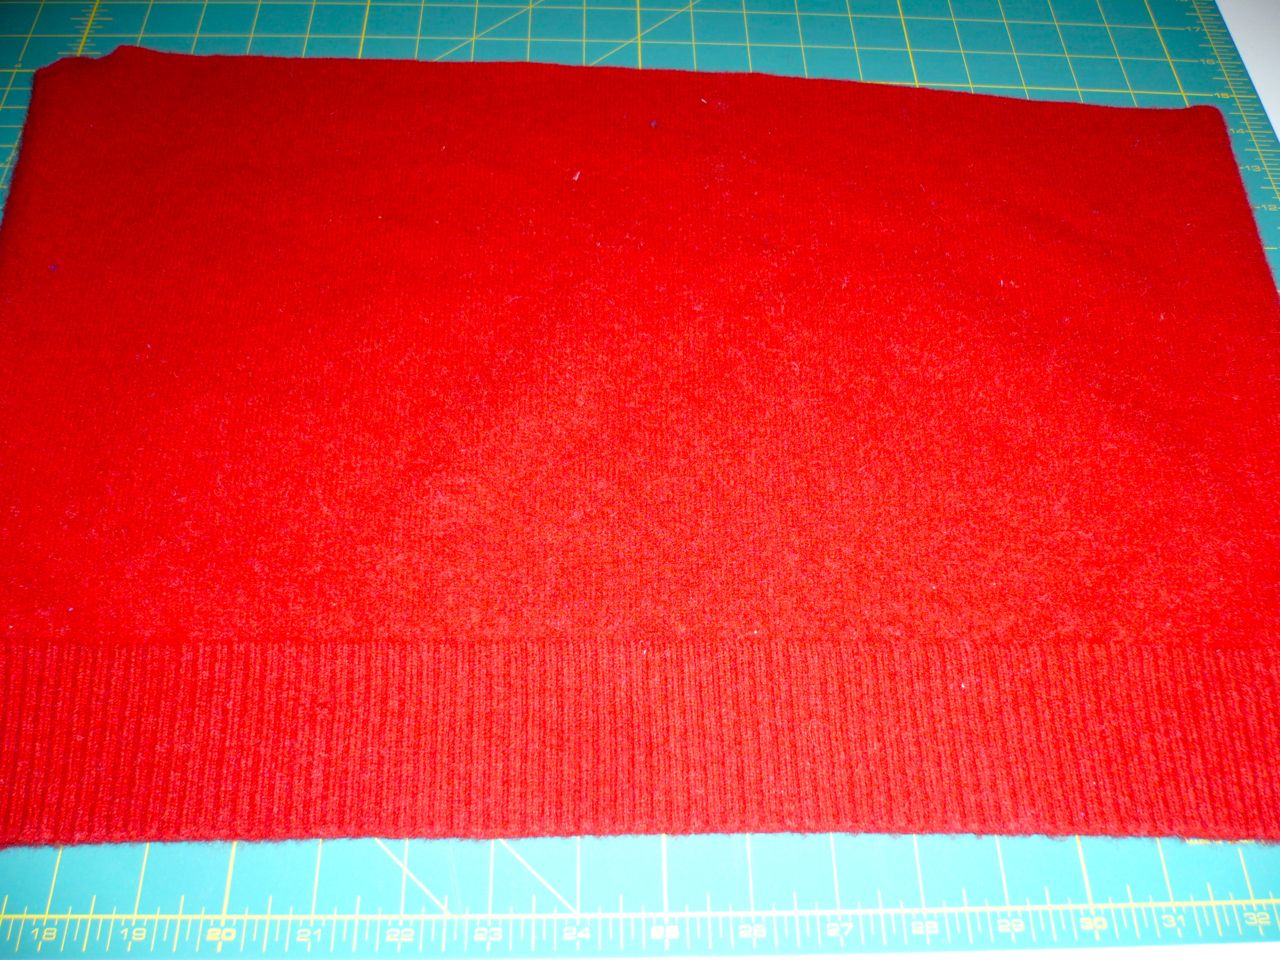
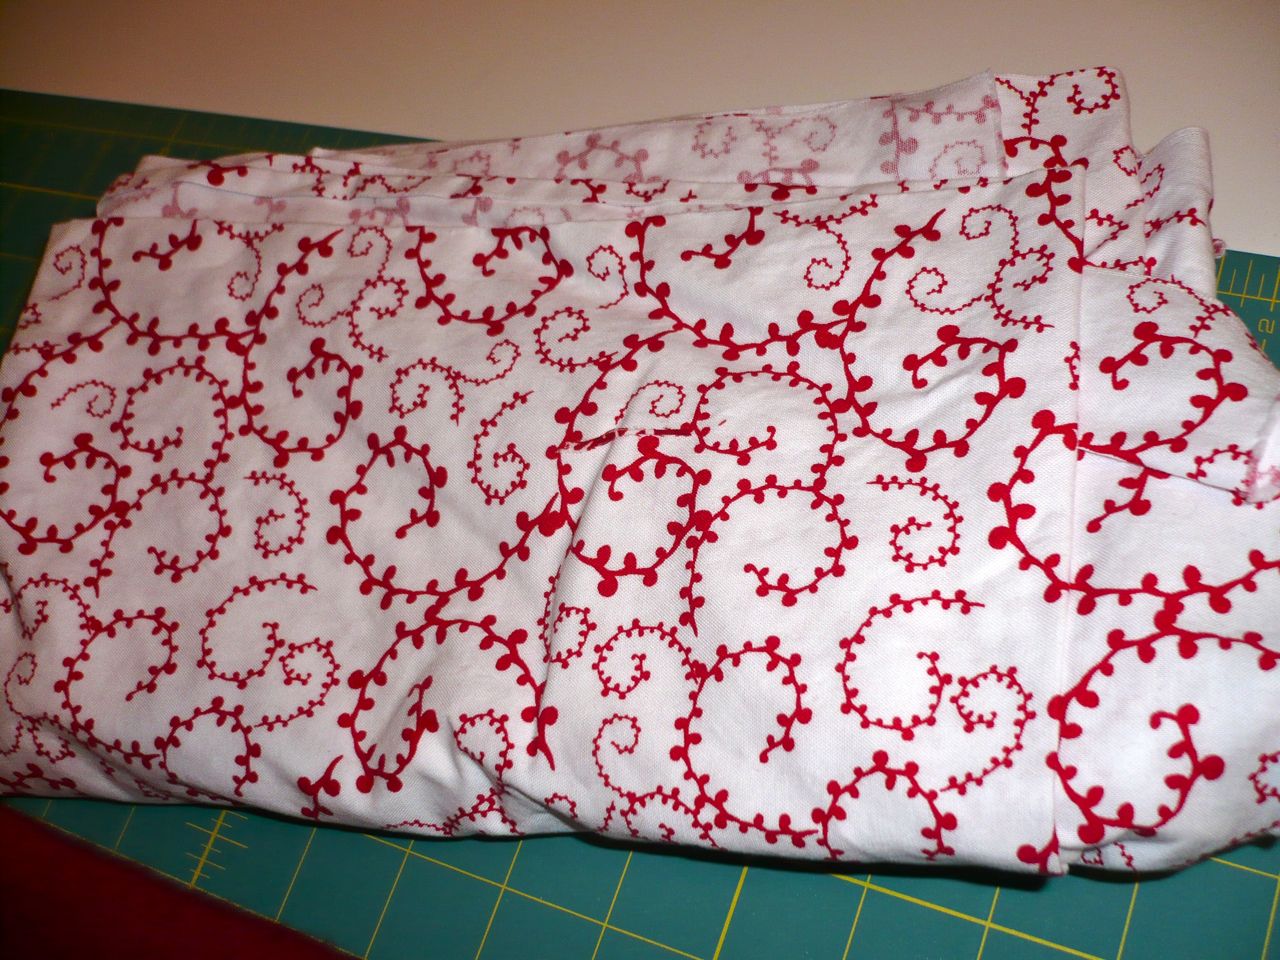
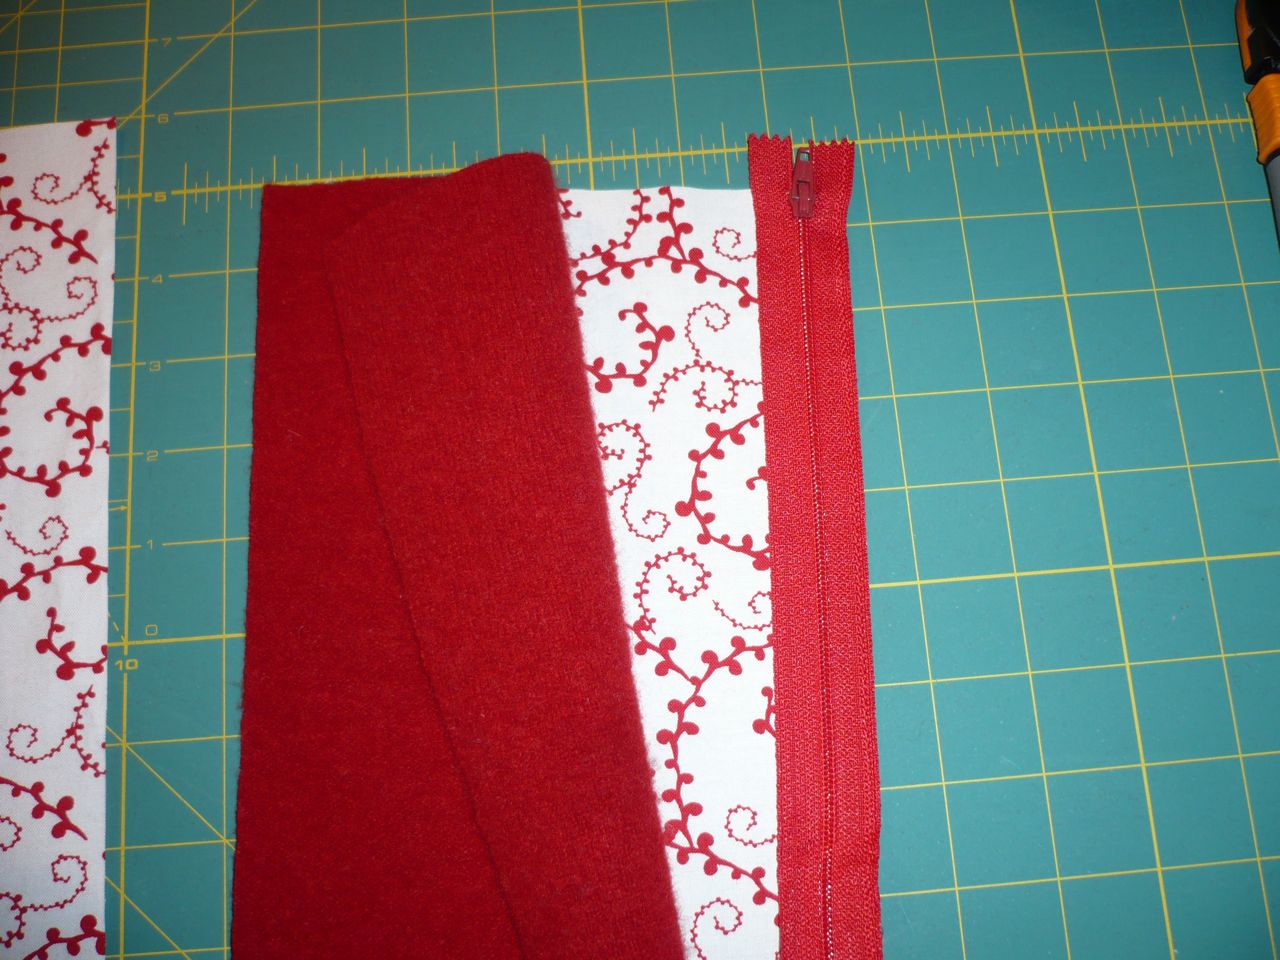
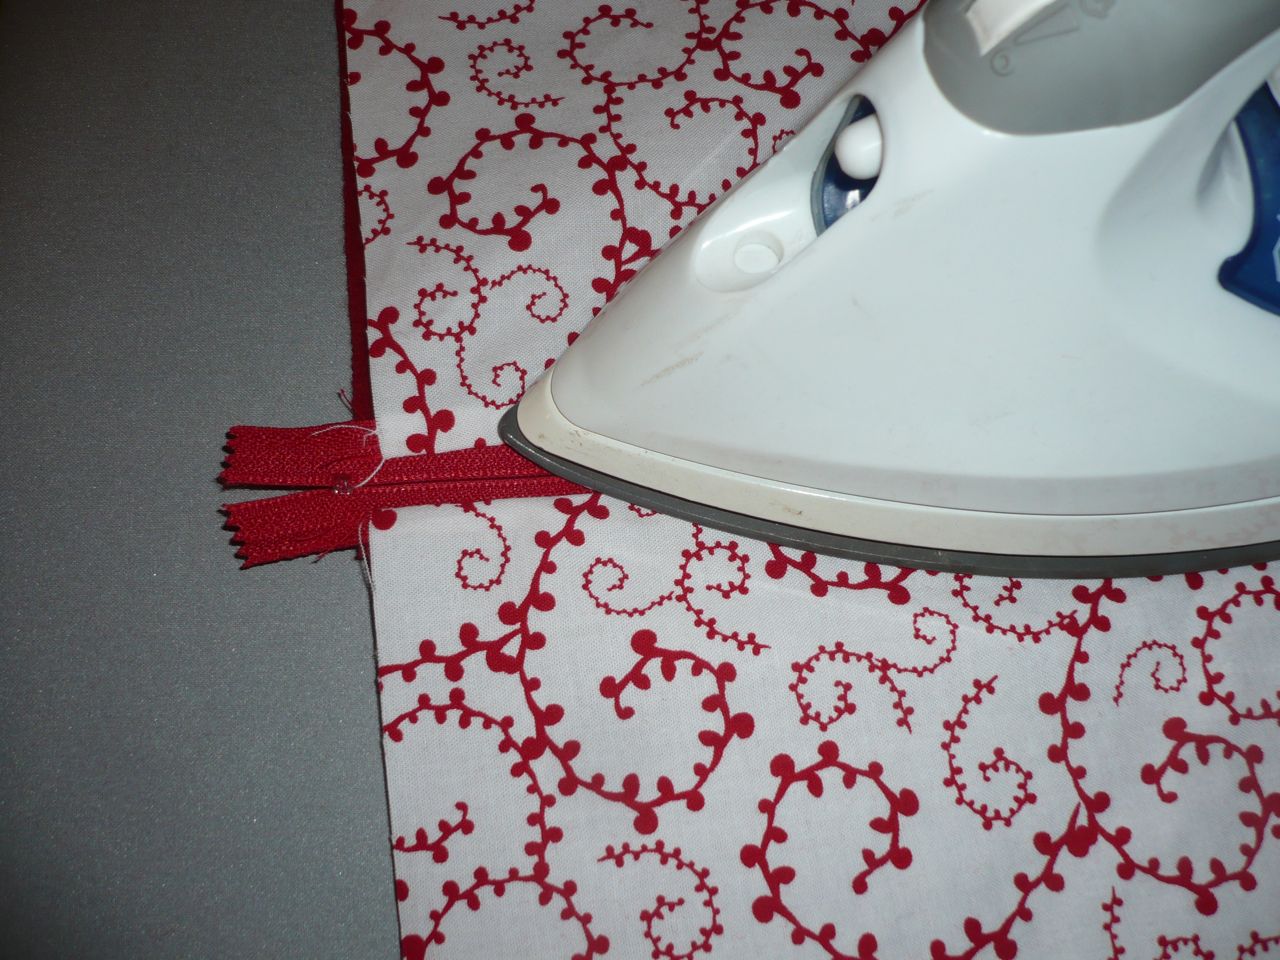
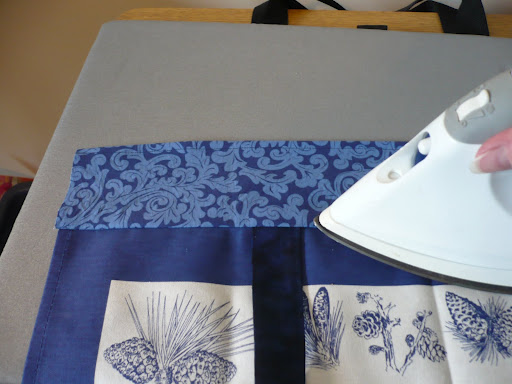
First pick out a coordinating fabrics for handles and facing and iron them and your tea towel.  (Launder all fabric/tea towels before beginning.)  I found this nice blue swirl and a dark blu blend hiding in my fabric stash.

If your pattern is a non-directional pattern or you don’t care about one side of your bag having upside down pictures, skip down to Handles.

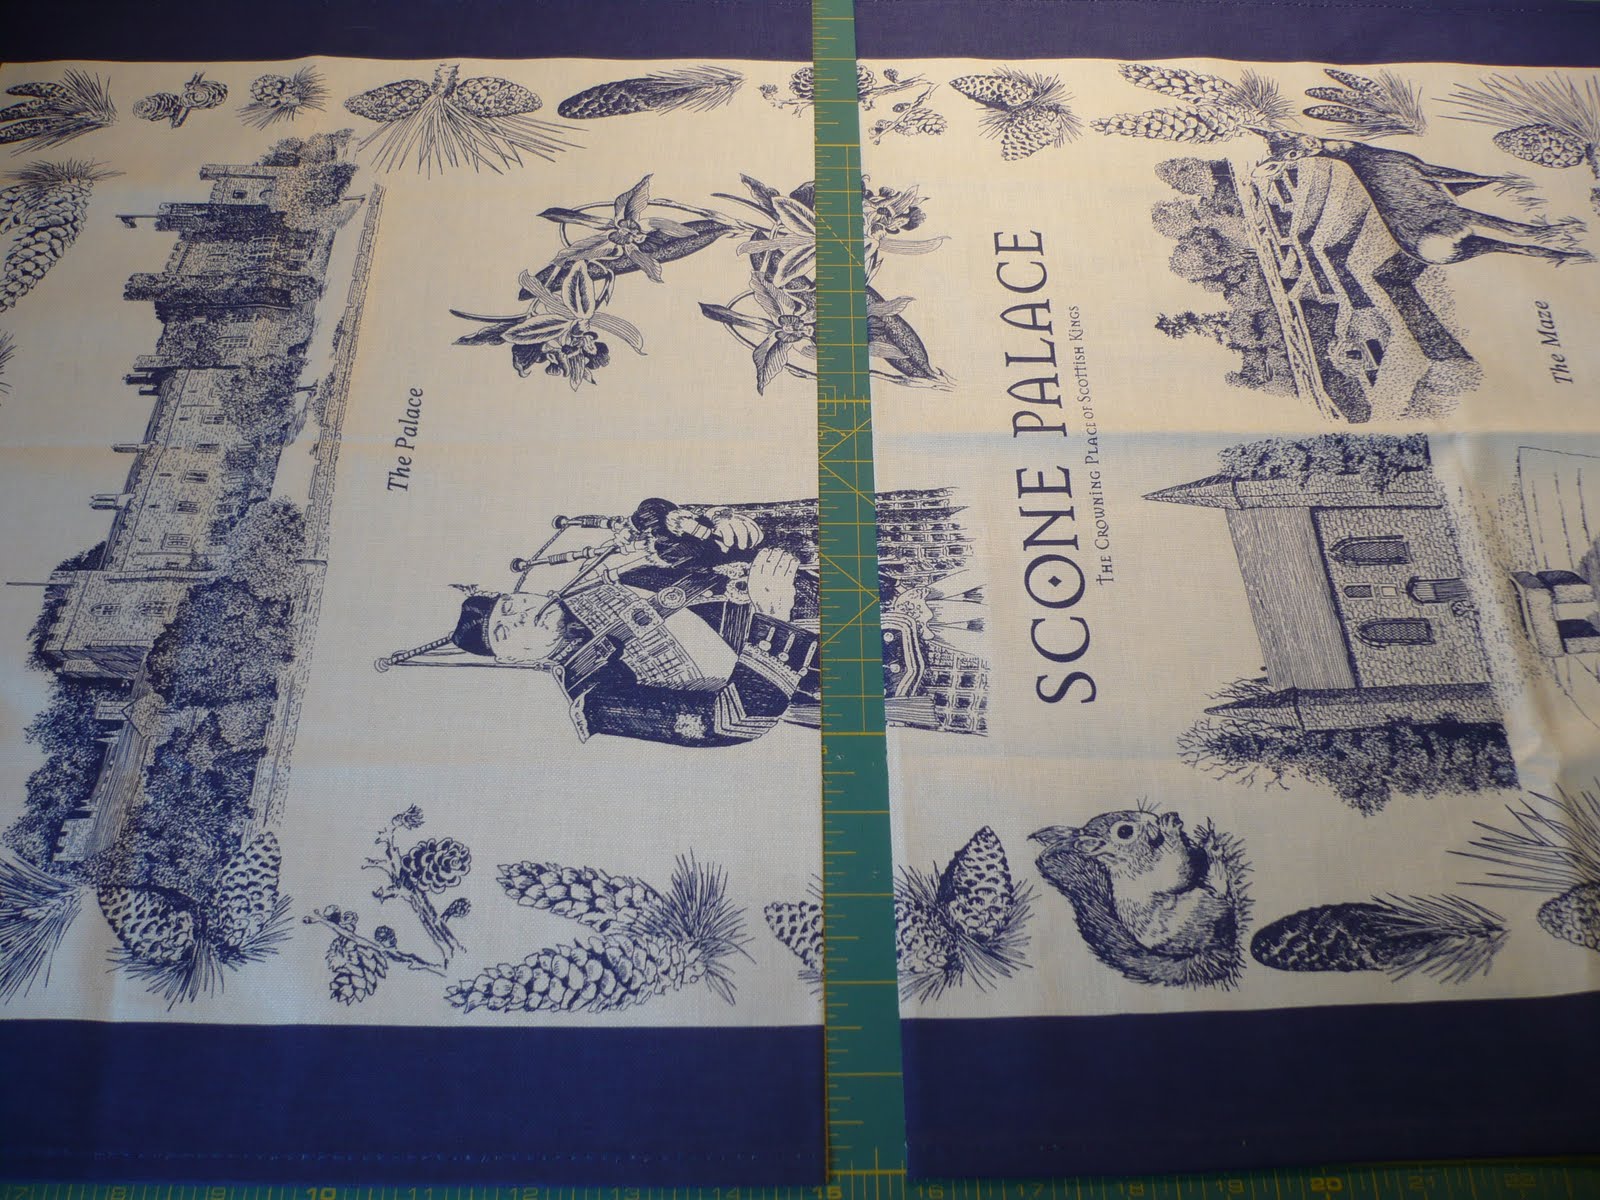
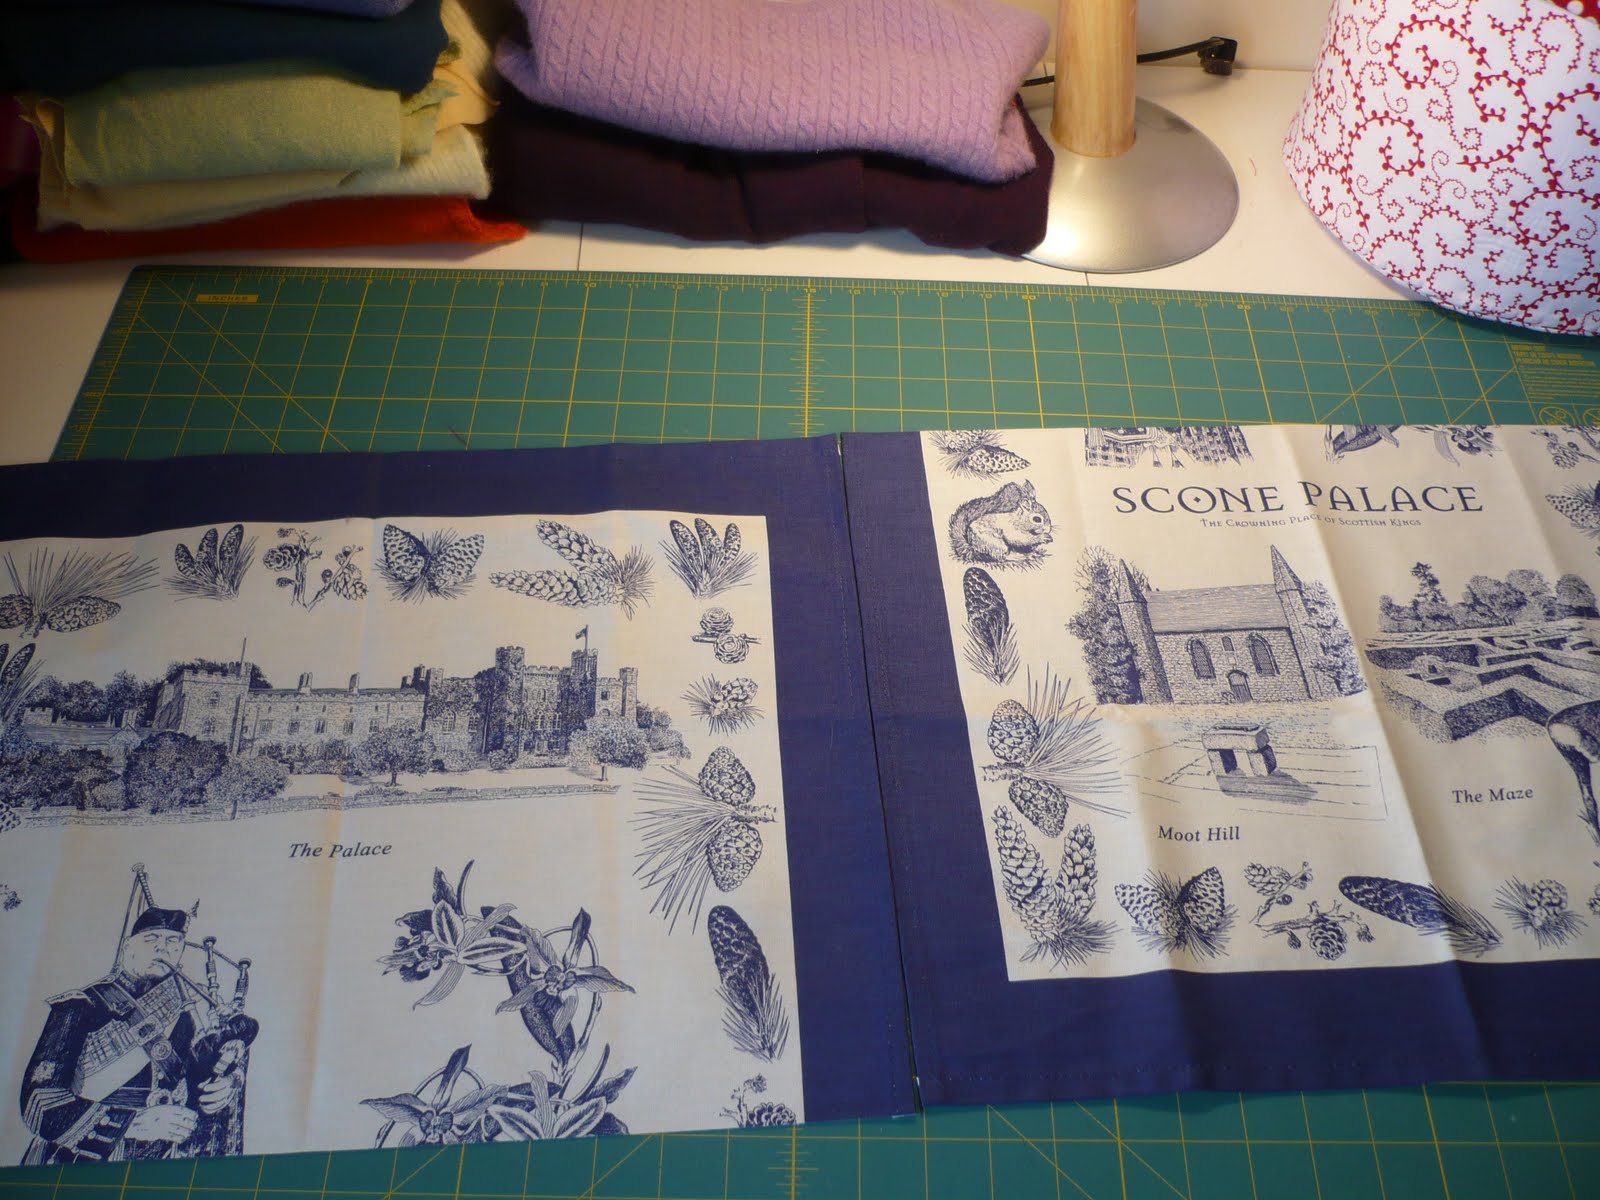
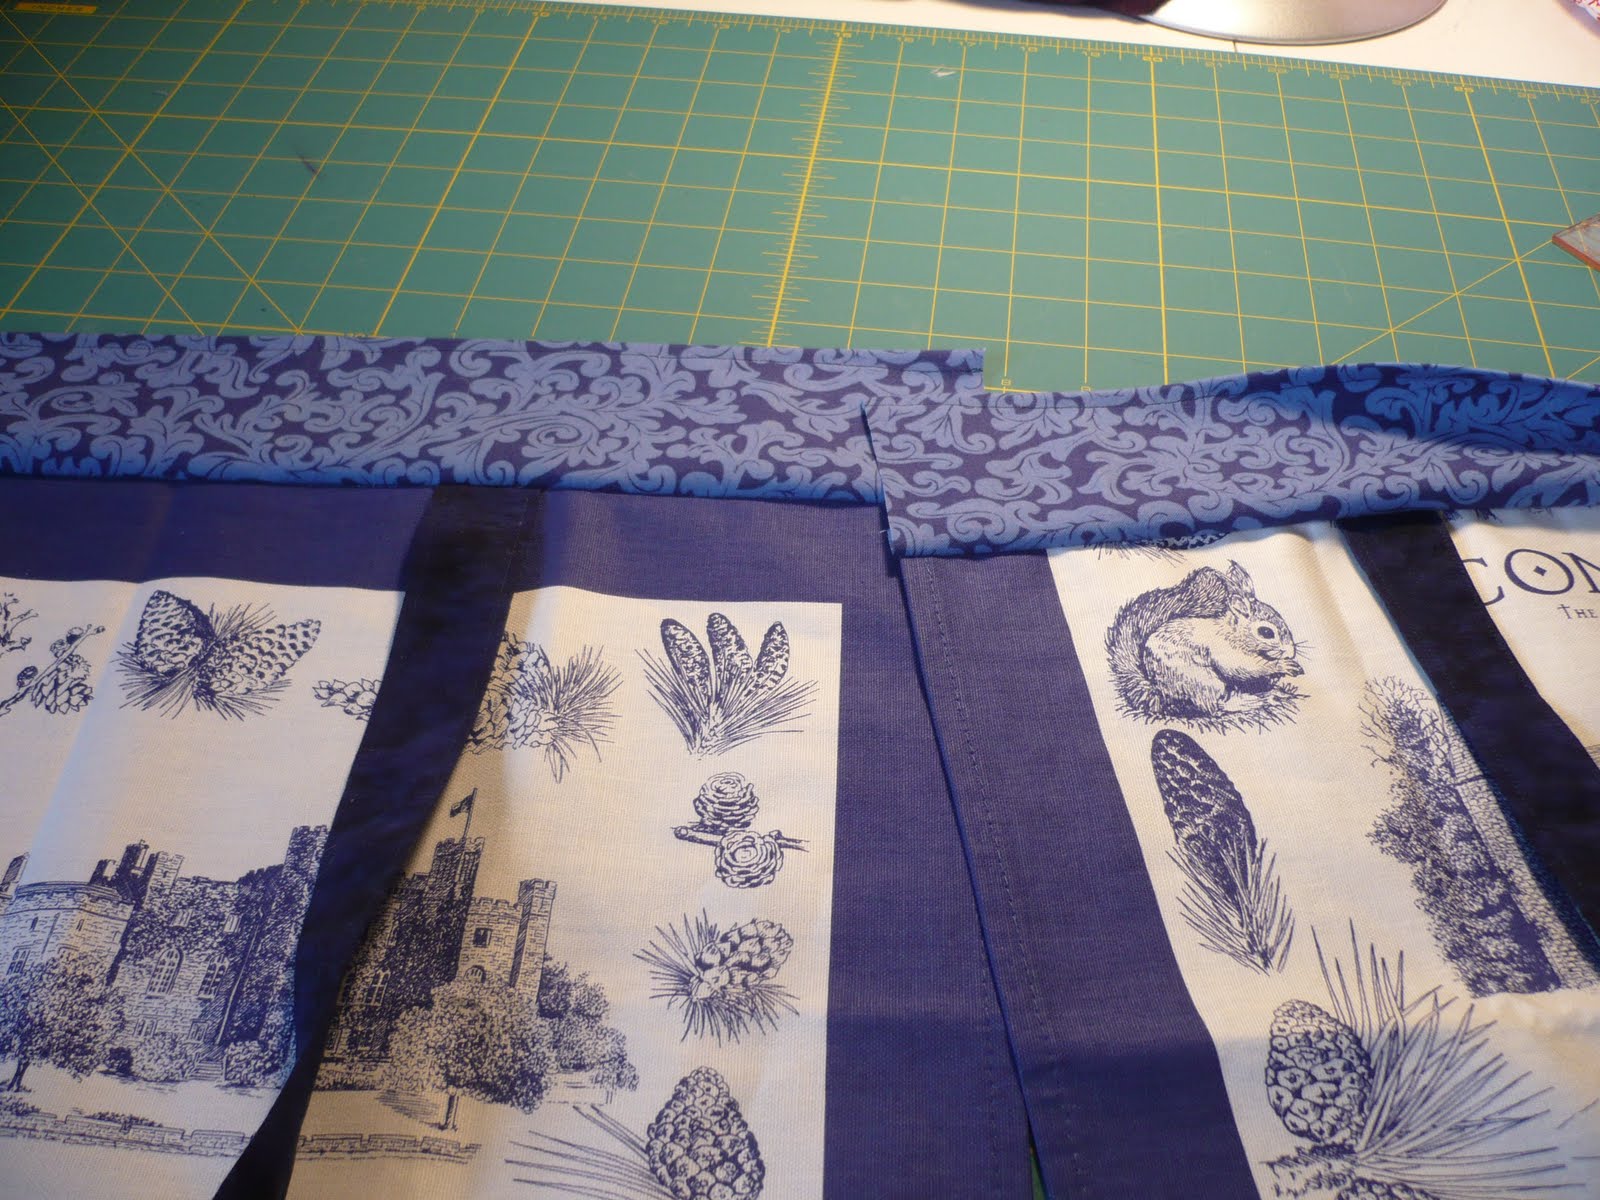
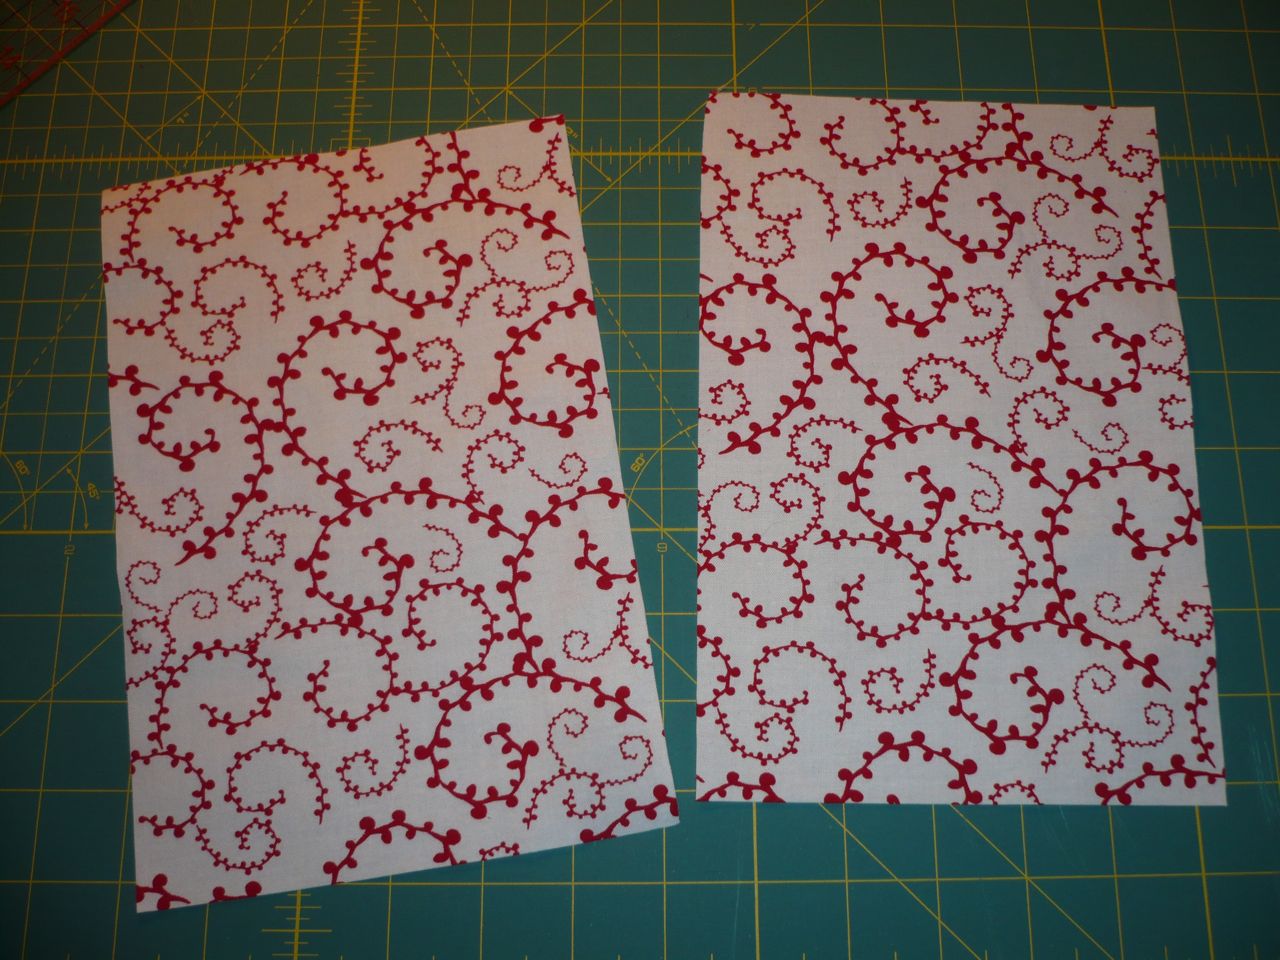
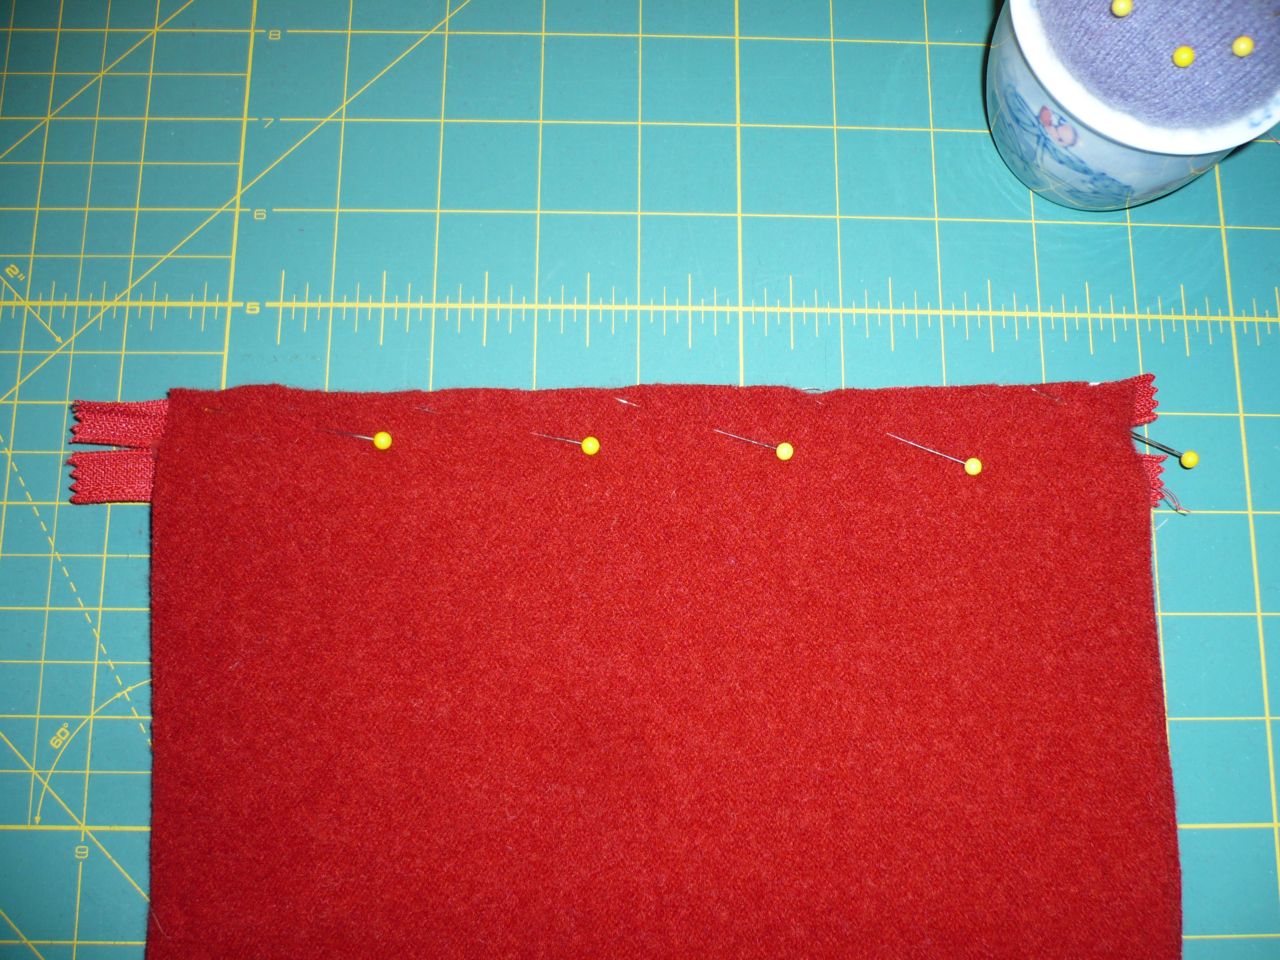
If your Tea Towel is directional and you want the pictures to be right side up on both sides of your bag, cut in half.

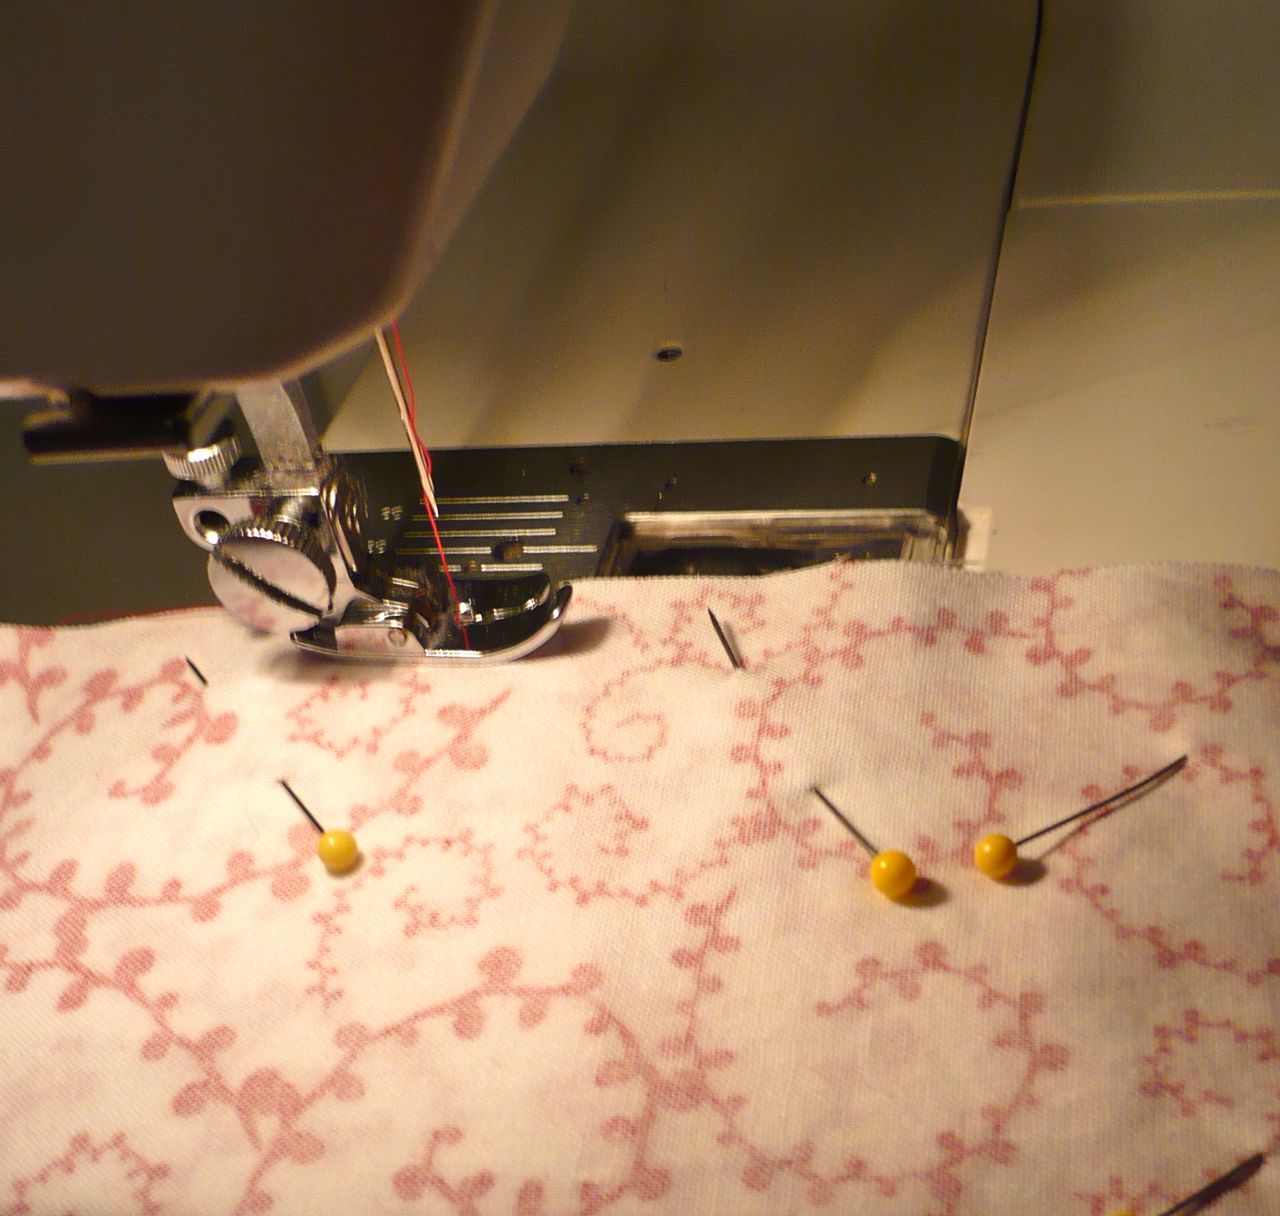
*Pinning… You may notice a distinct lack of pins in the pictures.  I don’t pin unless I have to.  If you need to pin before sewing, please do so.  This is the last I’ll say on pinning…. so if you need pins please use them!*

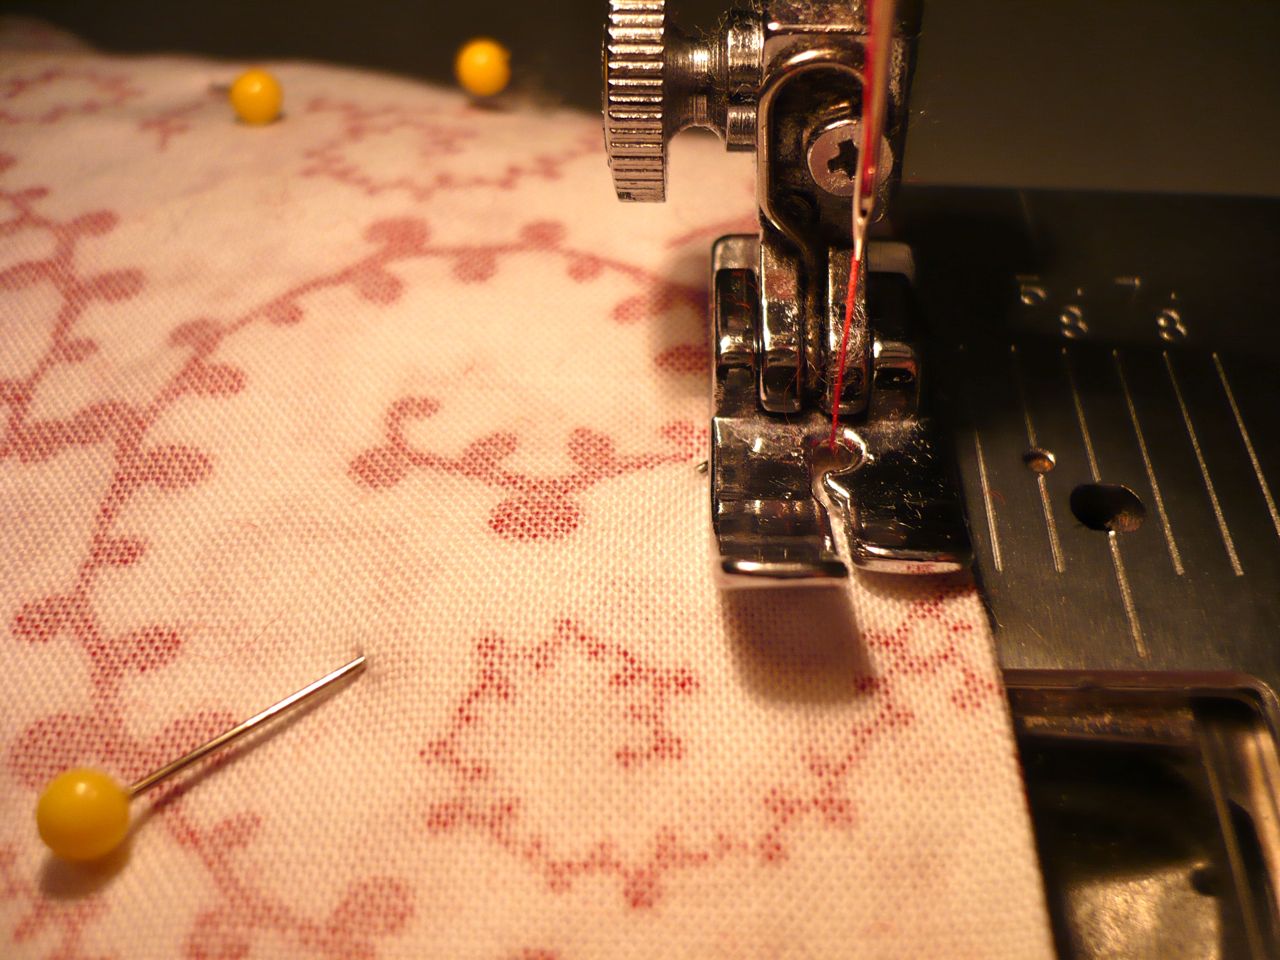
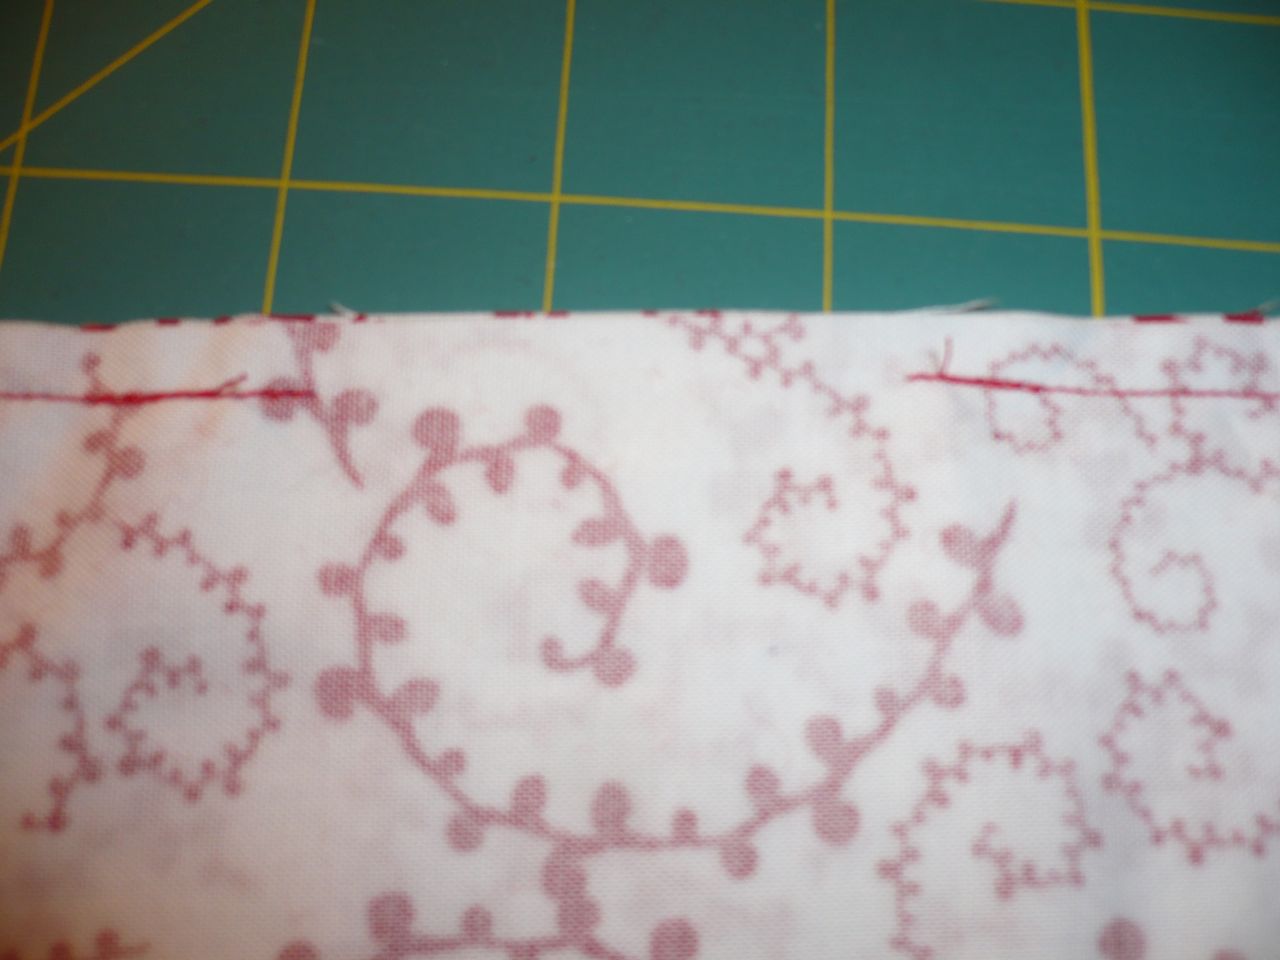
Sew a roll hem in each of the edges that you just cut.  One on the top edge of one piece and the other on the bottom of the other piece.

Handles:
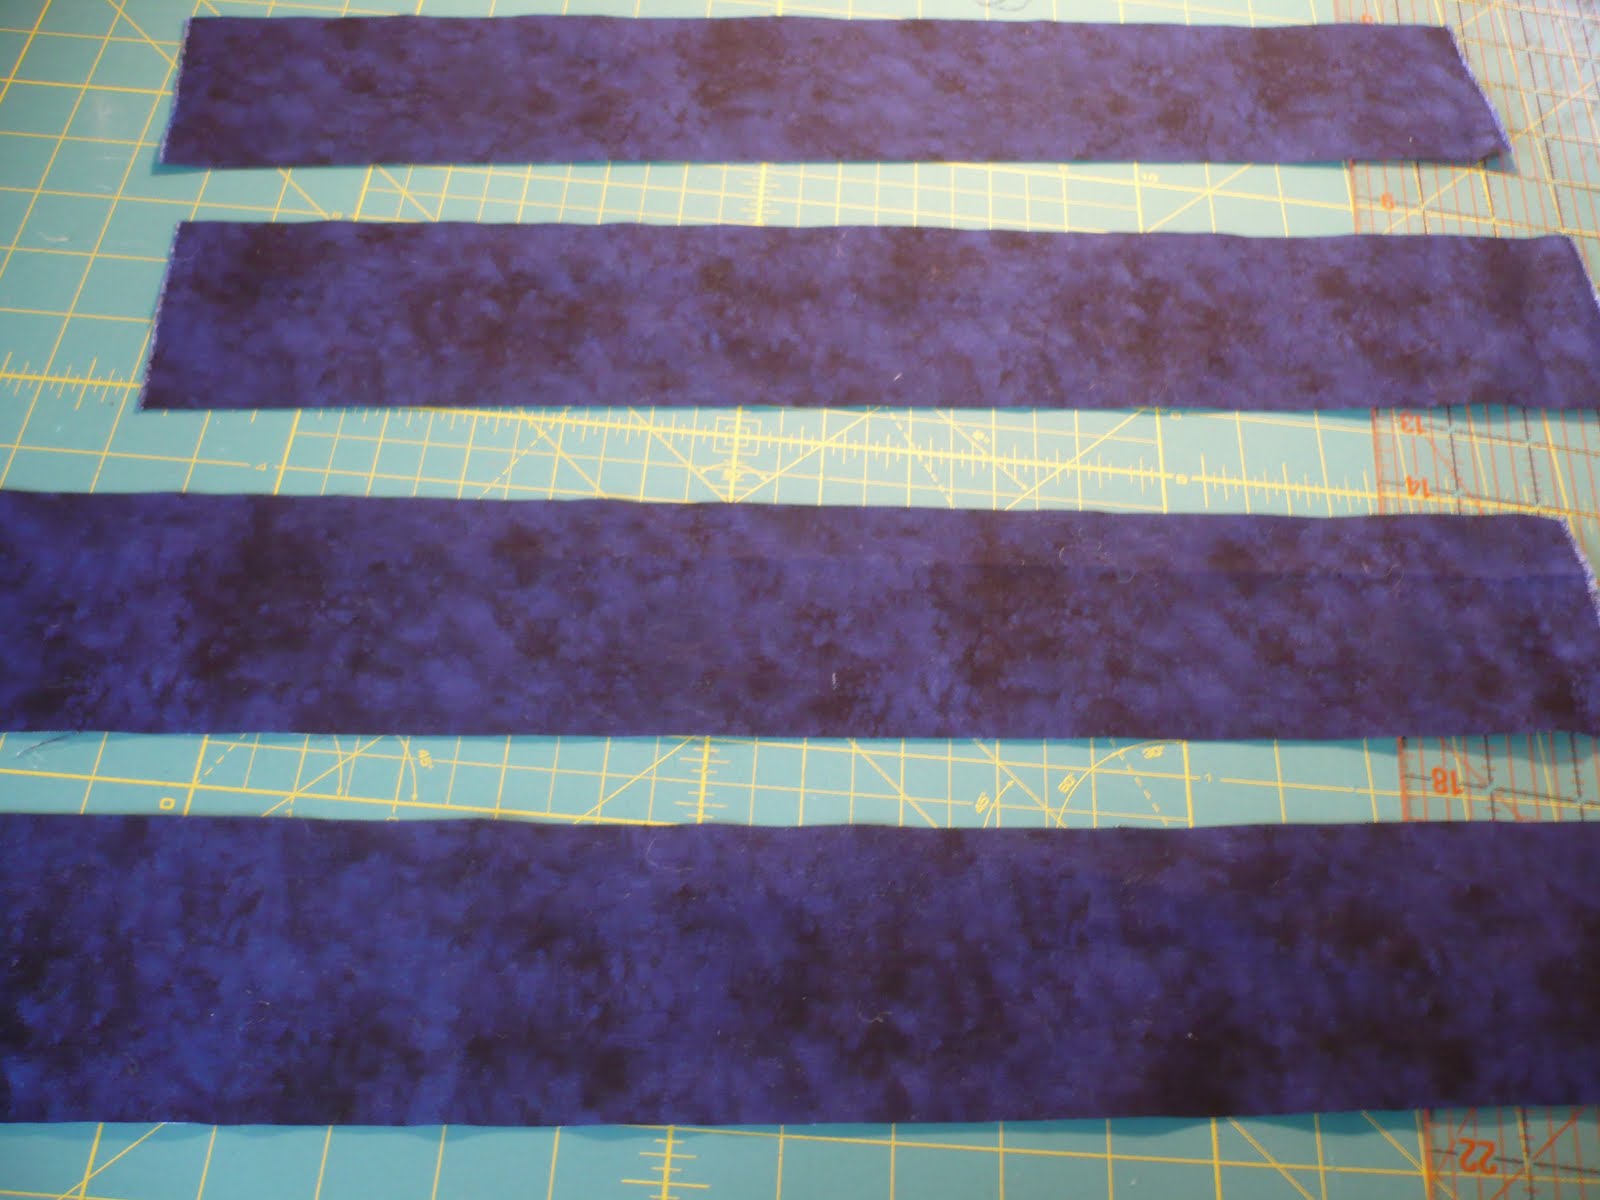
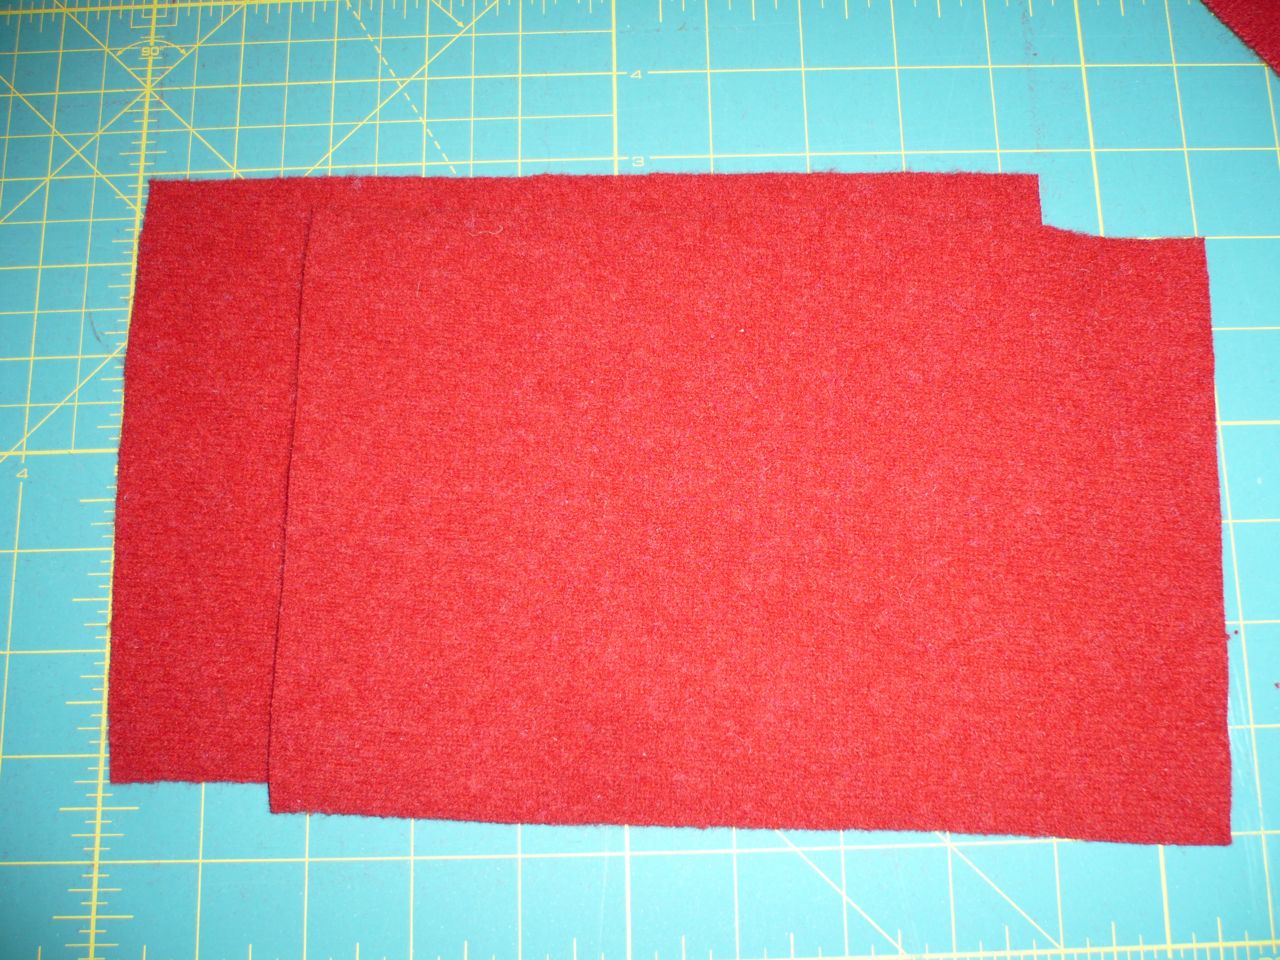
Cut two 3 inch strips from the fabric you’ve picked for the handles.  Make the handles as long as you want.  I wanted this to be a shoulder bag, so my handles are longer. To include a seam allowance for anchoring your handles inside your bag, be sure to cut them at least 2 inches longer than what they will measure finished.
Because my dark blue fabric was a fat quarter, I needed to piece the handle strips which is why I have 4. If you are using a fat quarter or need to piece follow along below.  
If you don’t need to piece your handles skip down to “Fold your handles in half long ways…” 
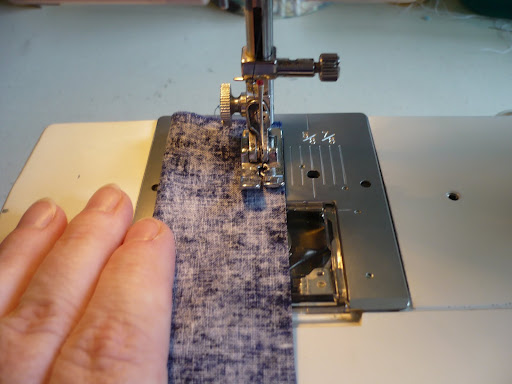
With right sides together, sew 2 handle pieces together along the short sides. 1/4 inch seam allowance.
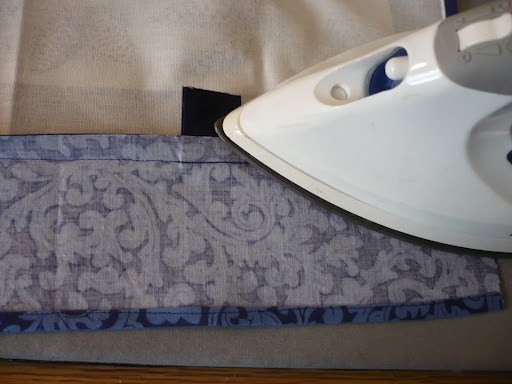
Iron open the joined handle seams
Top stitch along the edge of the seam to tack down the seam allowance.  This adds some stability to the handles.
 
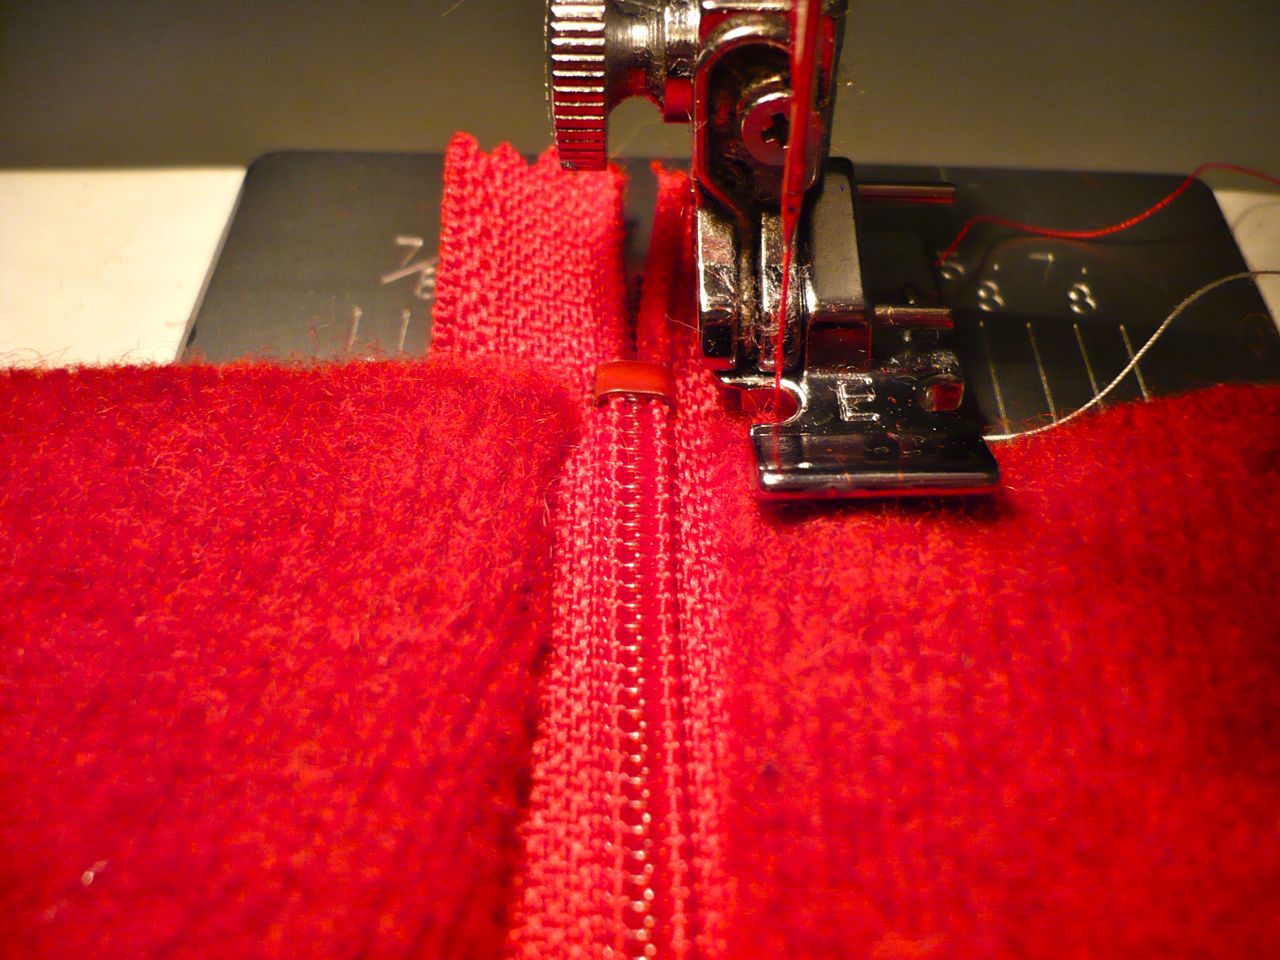
Fold your handles in half long ways right sides together. Sew only along the long edge. 1/4 inch seams.
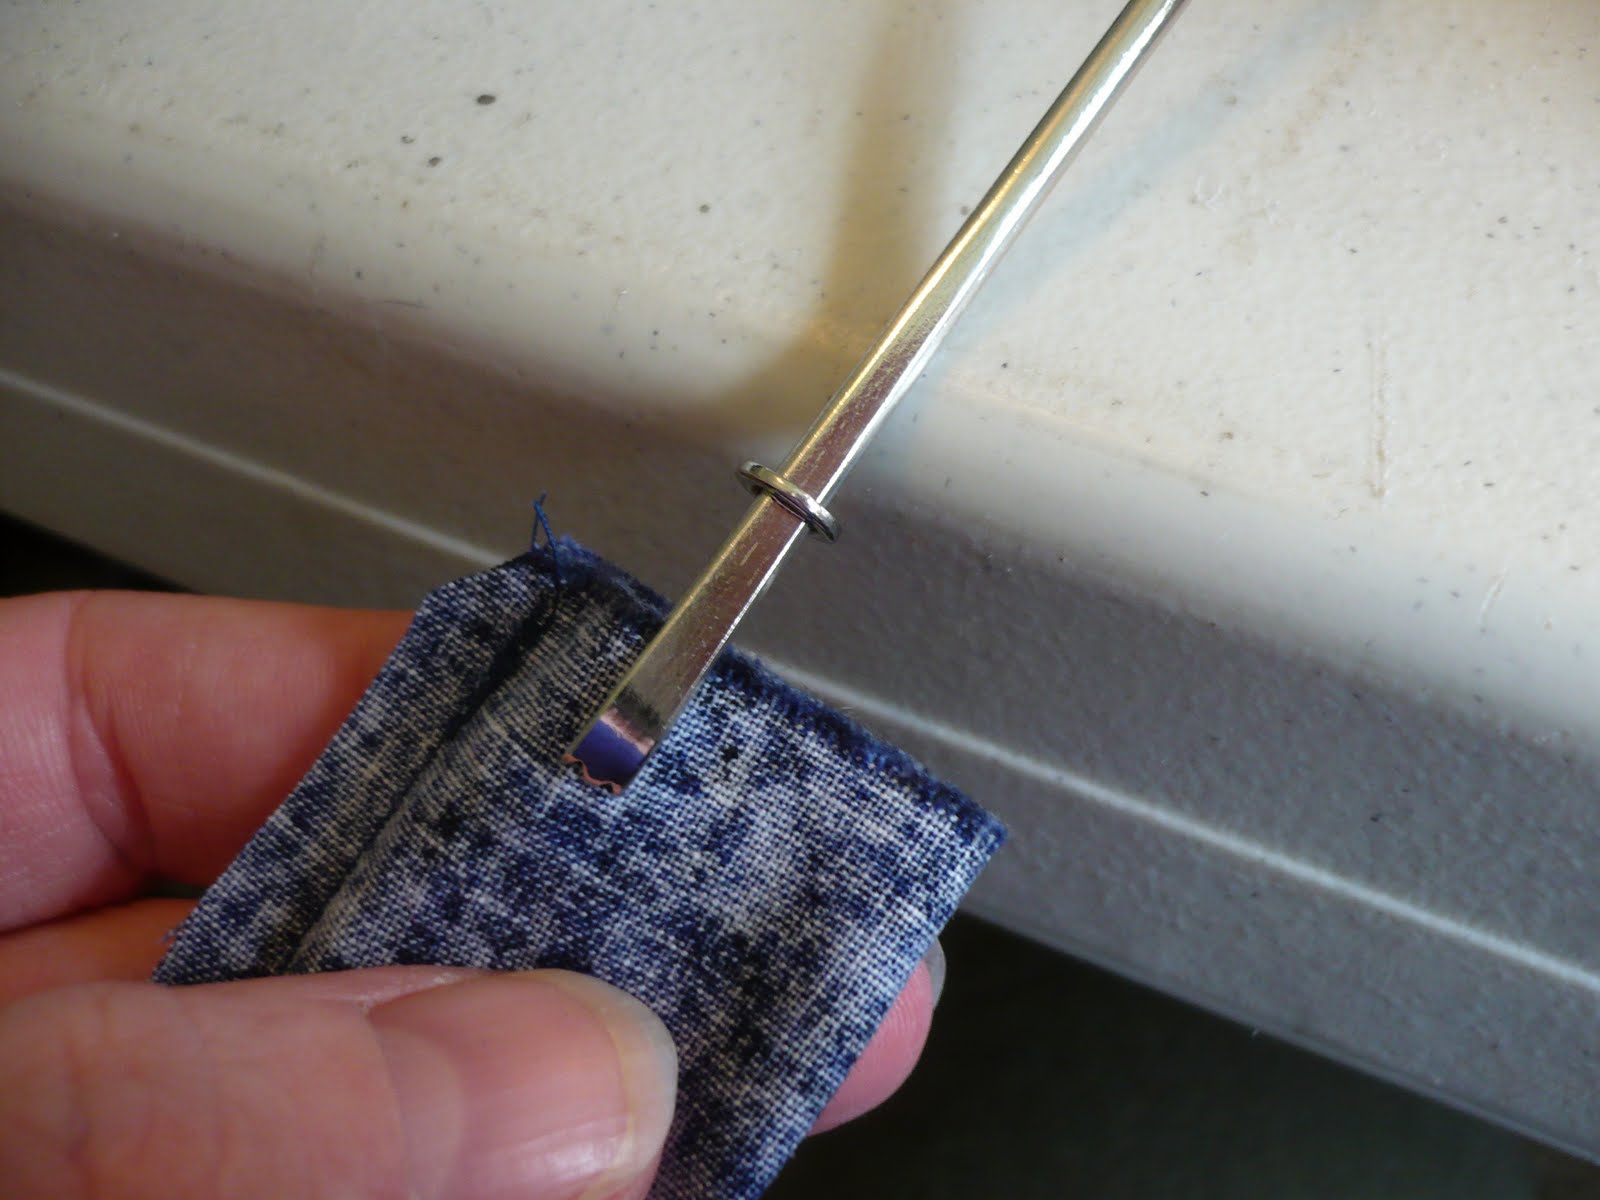
You now have 2 fabric tubes that are inside out.  There are many methods of turning fabric tubes.  I use a bodkin.  You can buy one at any fabric retailer in the notions department.  I have used a safety pin in the past, but I have managed to stab myself one to many times for my liking… so a bodkin is what I prefer.

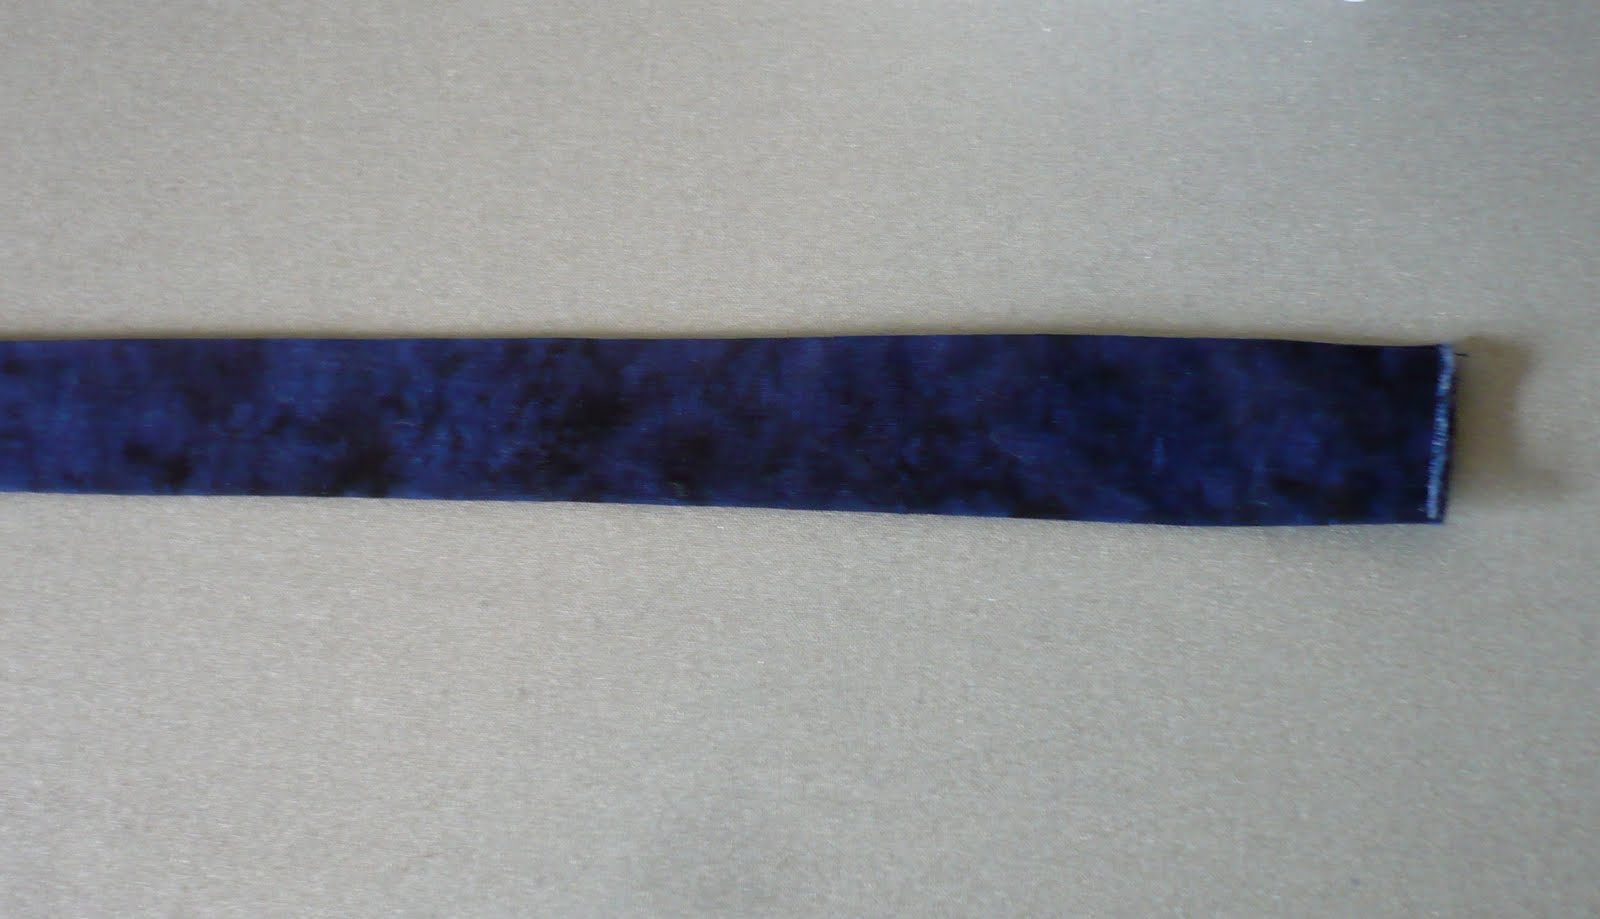
Once your tubes are right side out, Iron them flat.  Trust me.  Iron them flat before trying to topstitch. 
Then top stitch along both long edges of the handle straps very close to the edge… about an 1/8 of an inch.
From your facing fabric, Cut a 2 pieces 4 inches x the width of your tea towel. (no picture.)
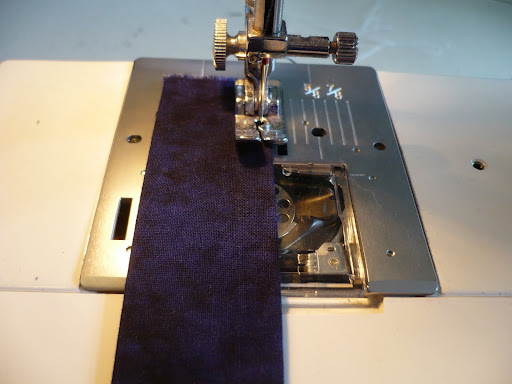
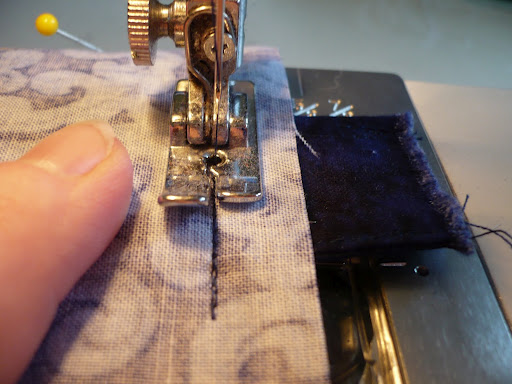
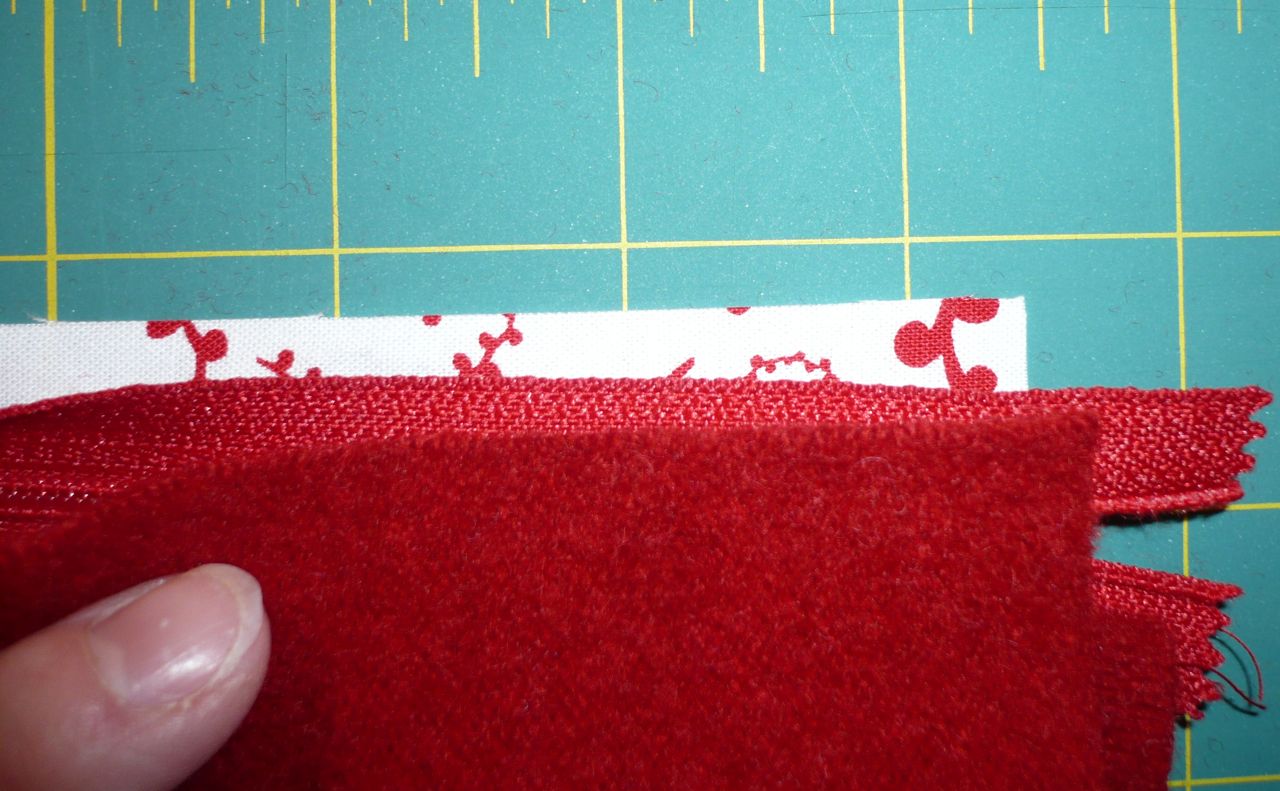
Sew a roll hem on one of the long edges (width of tea towel) of each of the facing pieces. (This will become clearer in a moment.) Sew the Roll hem around to the back side of the fabric.
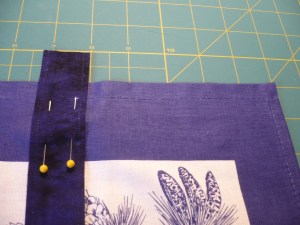
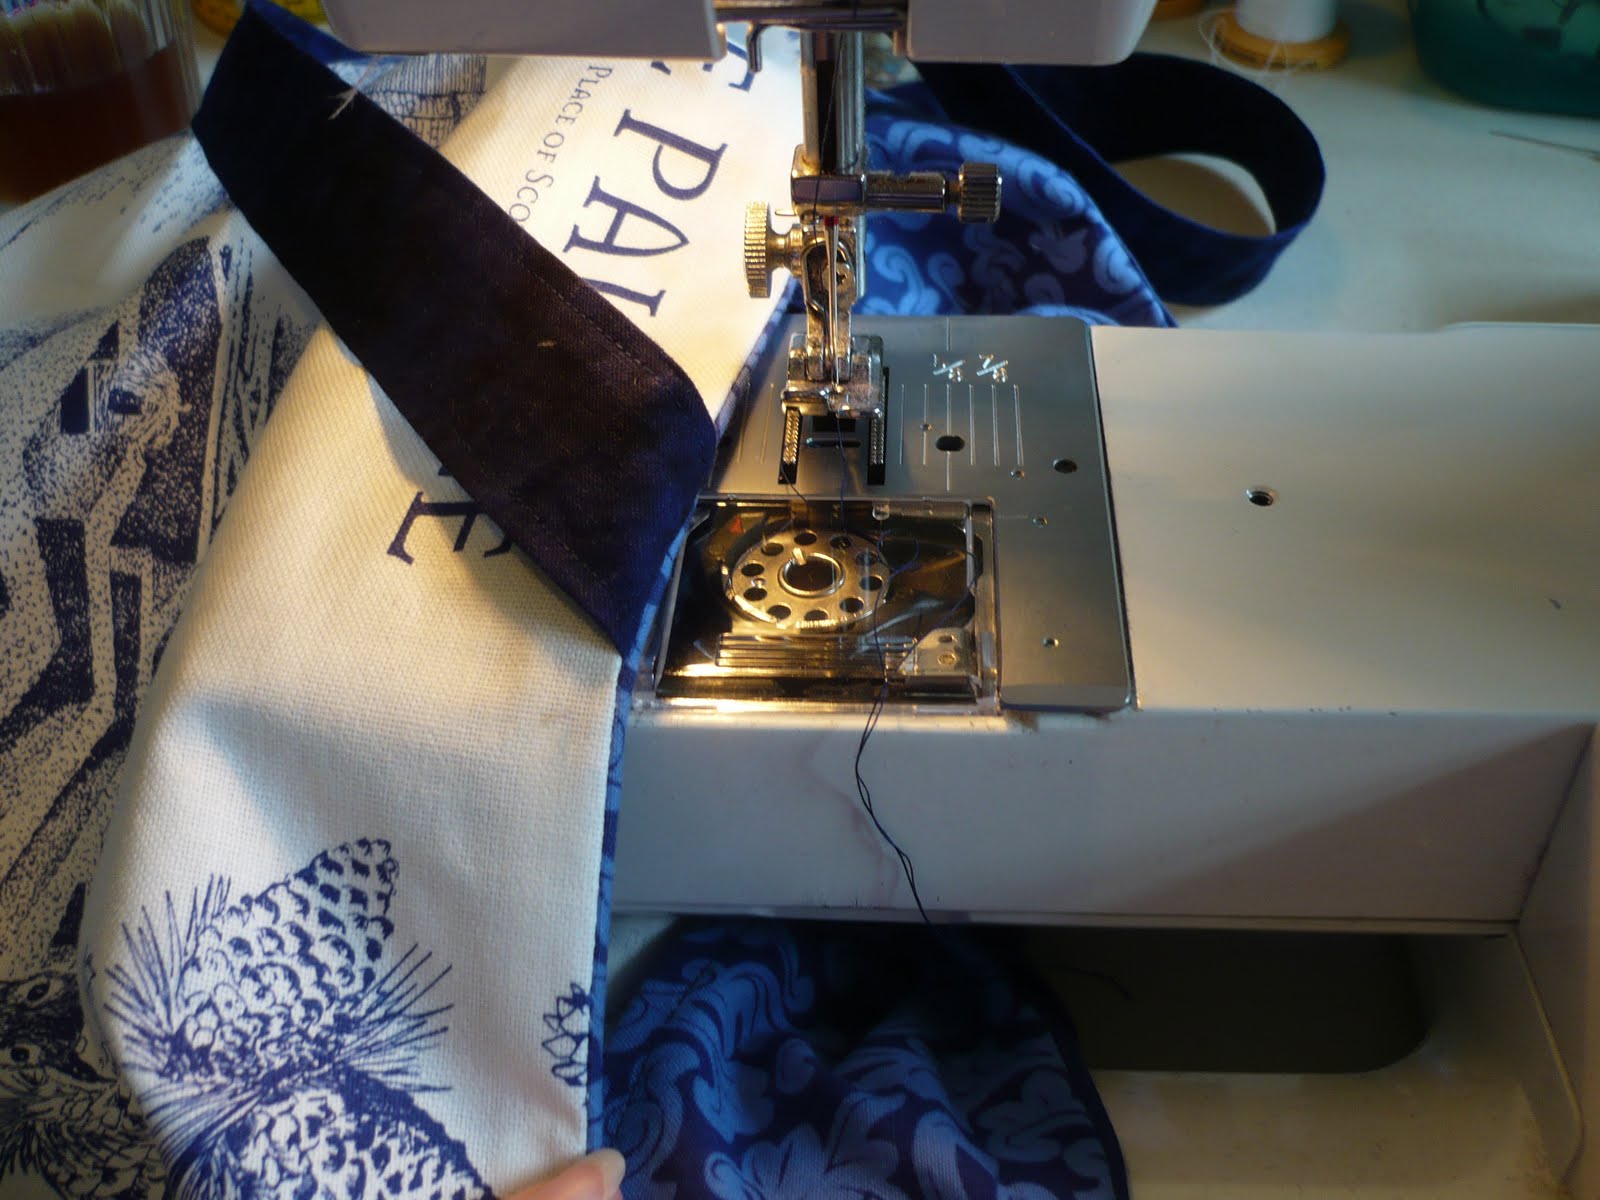
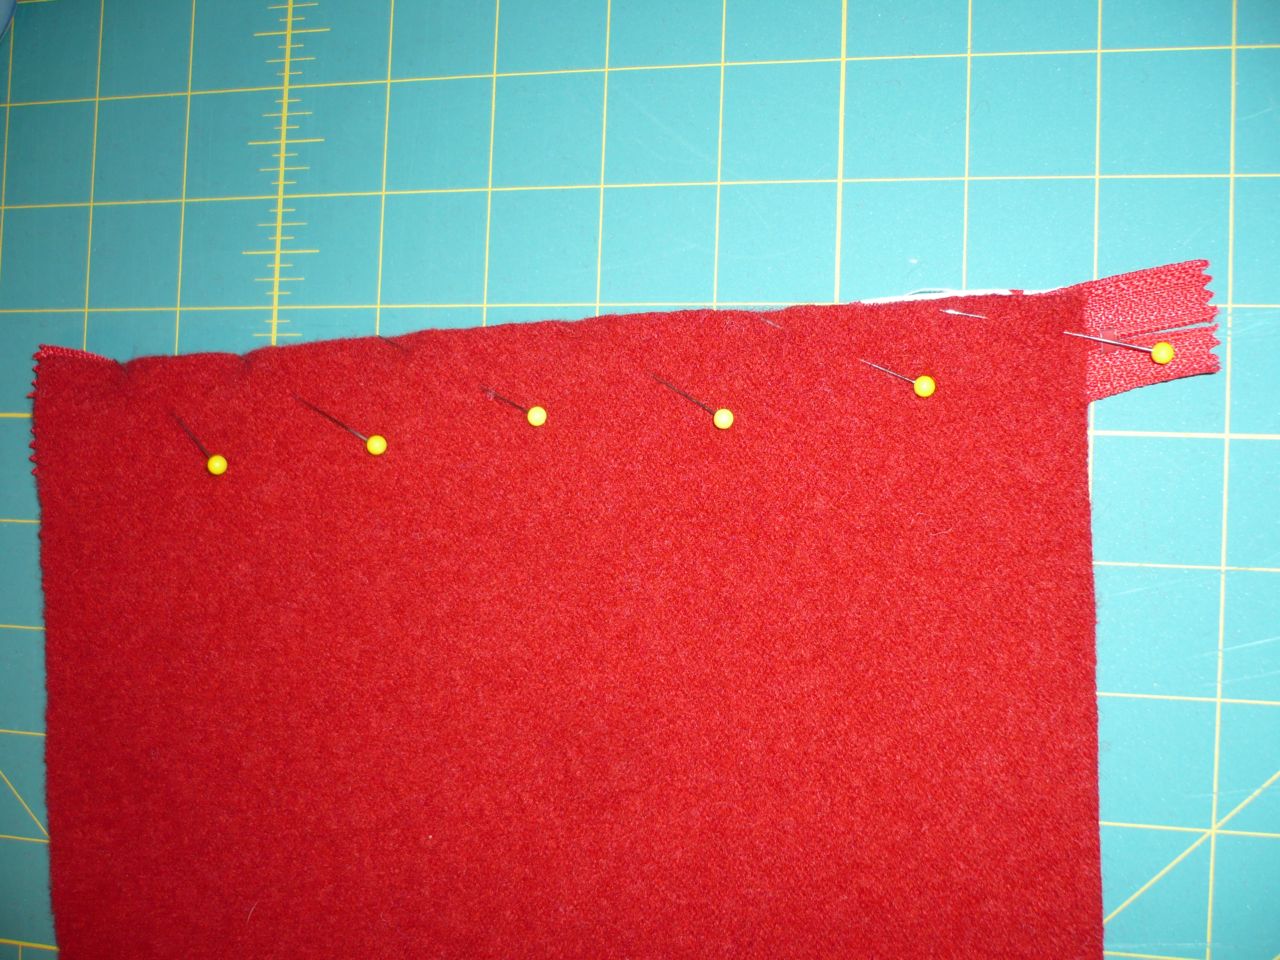
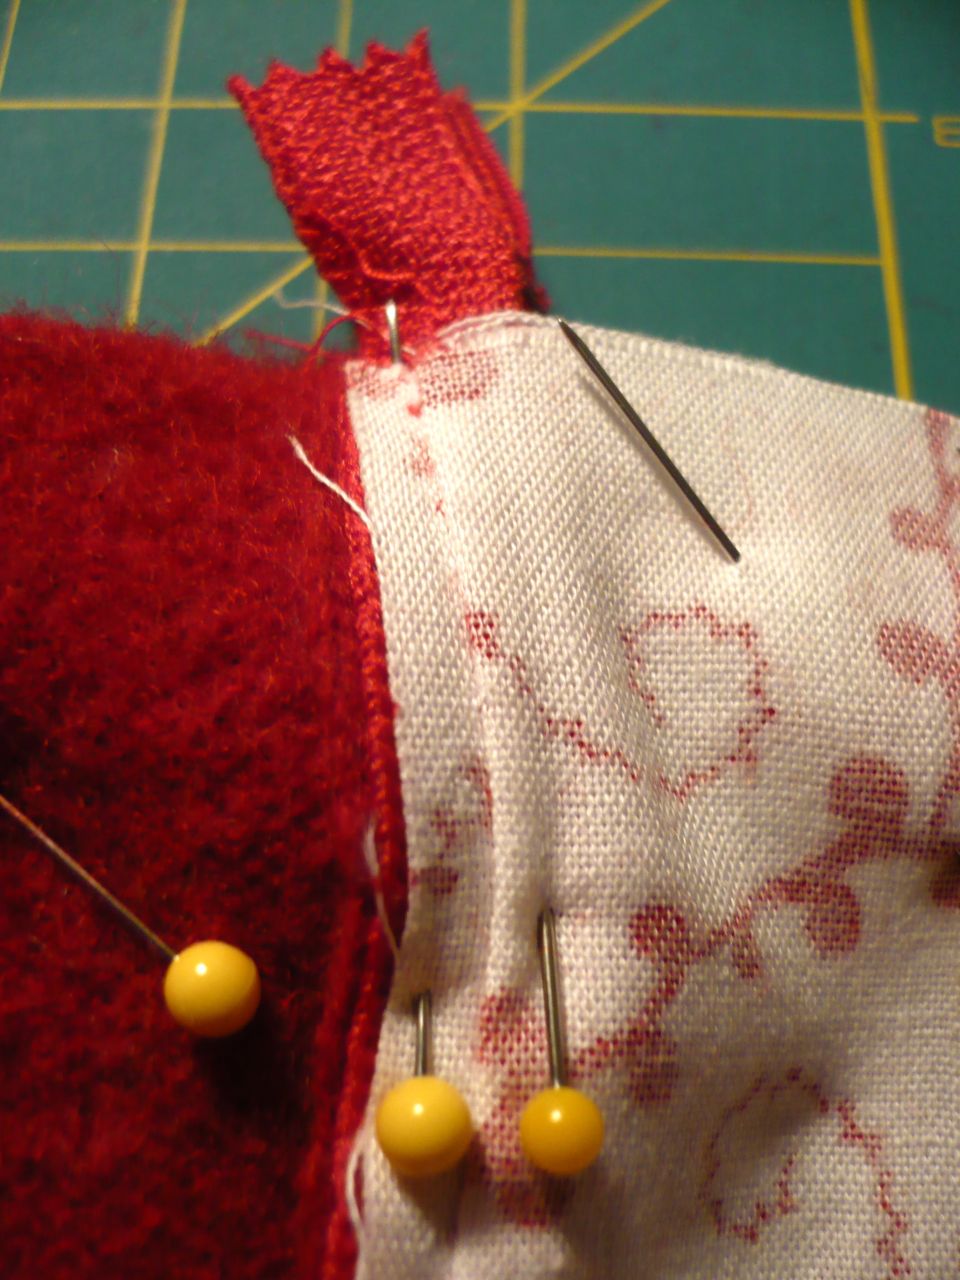
Measure how far you want your straps to be from the edge of your tote.  I’ve chosen 5 inches.  Position your strap ends on the right side of your tea towel a the top of each pieces.  
*If you did not cut your tea towel in half (non-directional pattern) align your straps at each end of your tea towel on the right side.*

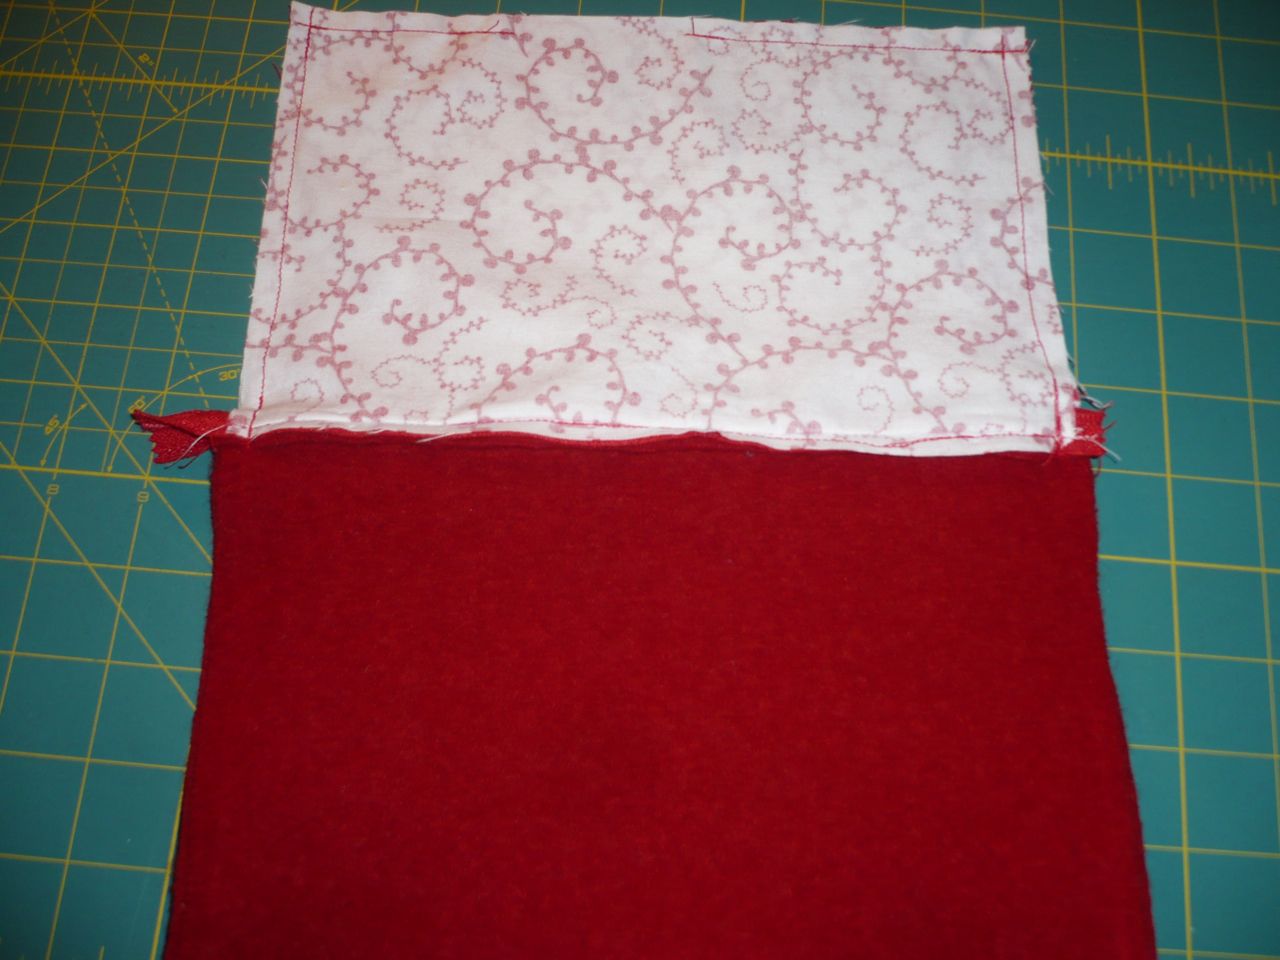
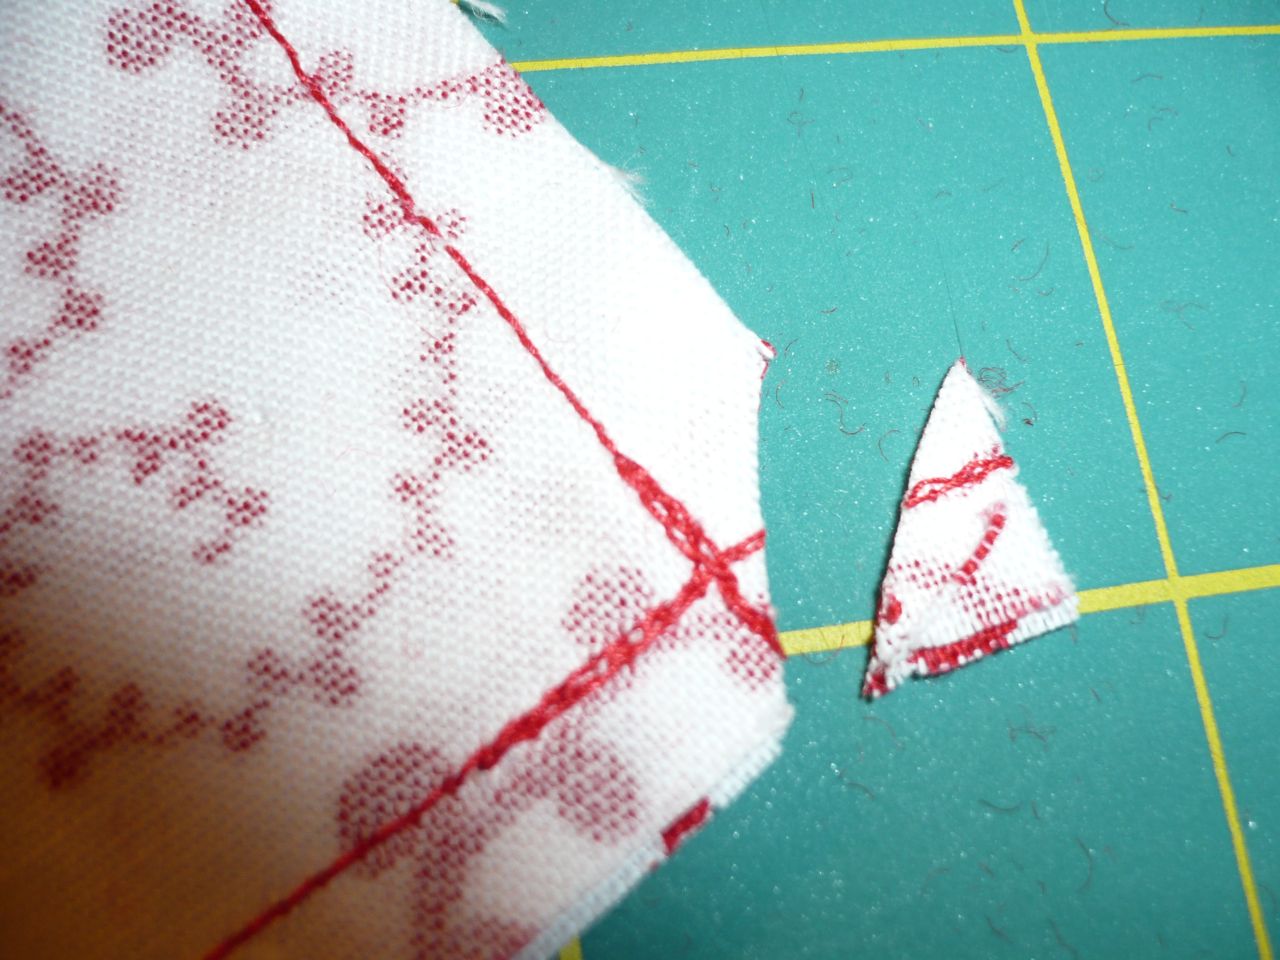
Lay your facing Wrong Side up, along the top edge of your tea towel overlaying the straps. The Roll hem of the facing should not be on the sewing edge!  (My facing is not cut to the proper length on the end.  I trimmed it down after this step.)  
You want your straps to stick out the top about an inch on each end. (Hence the extra 2 inches when cutting them out.
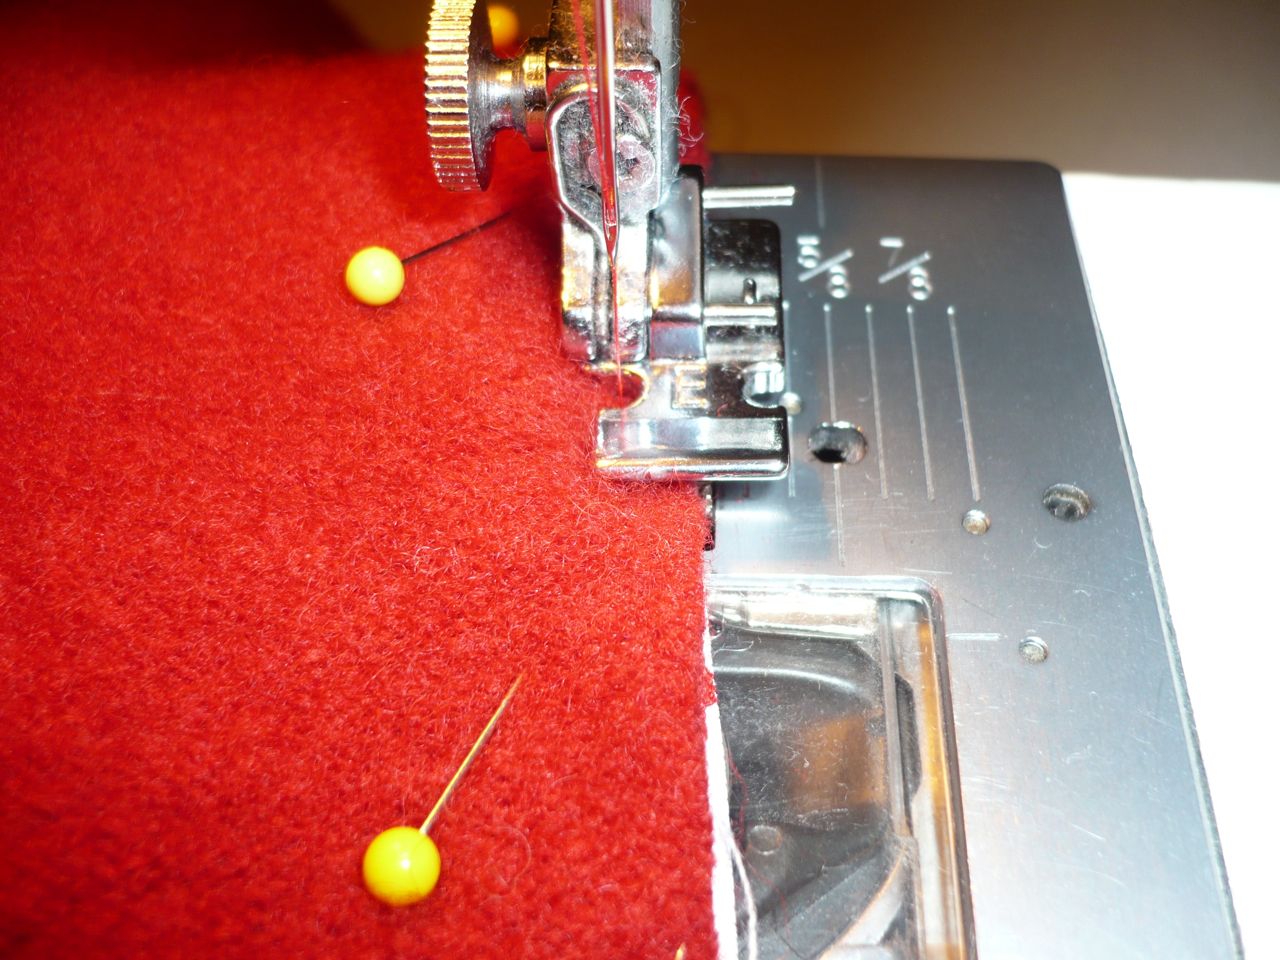
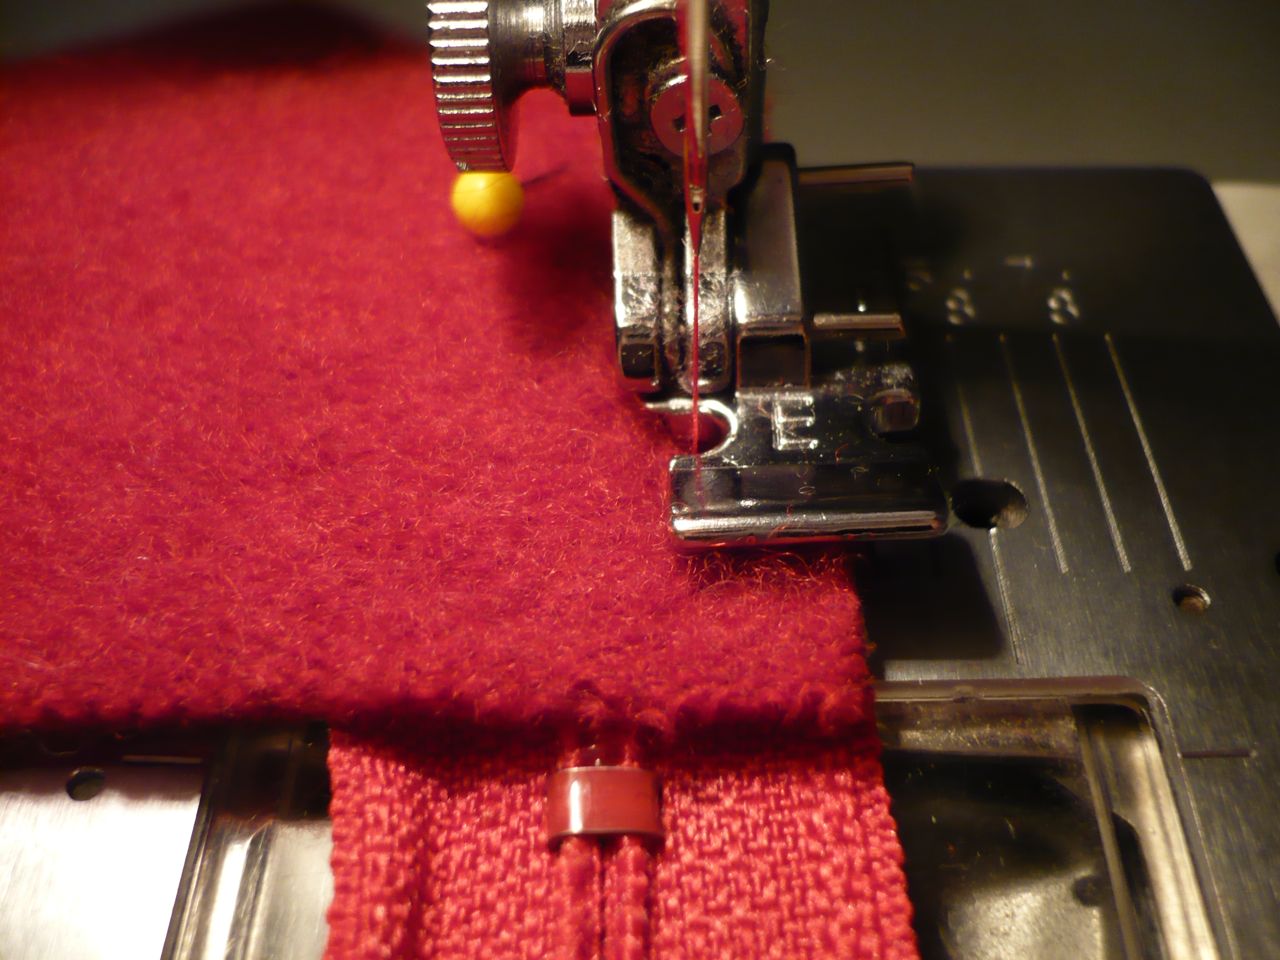
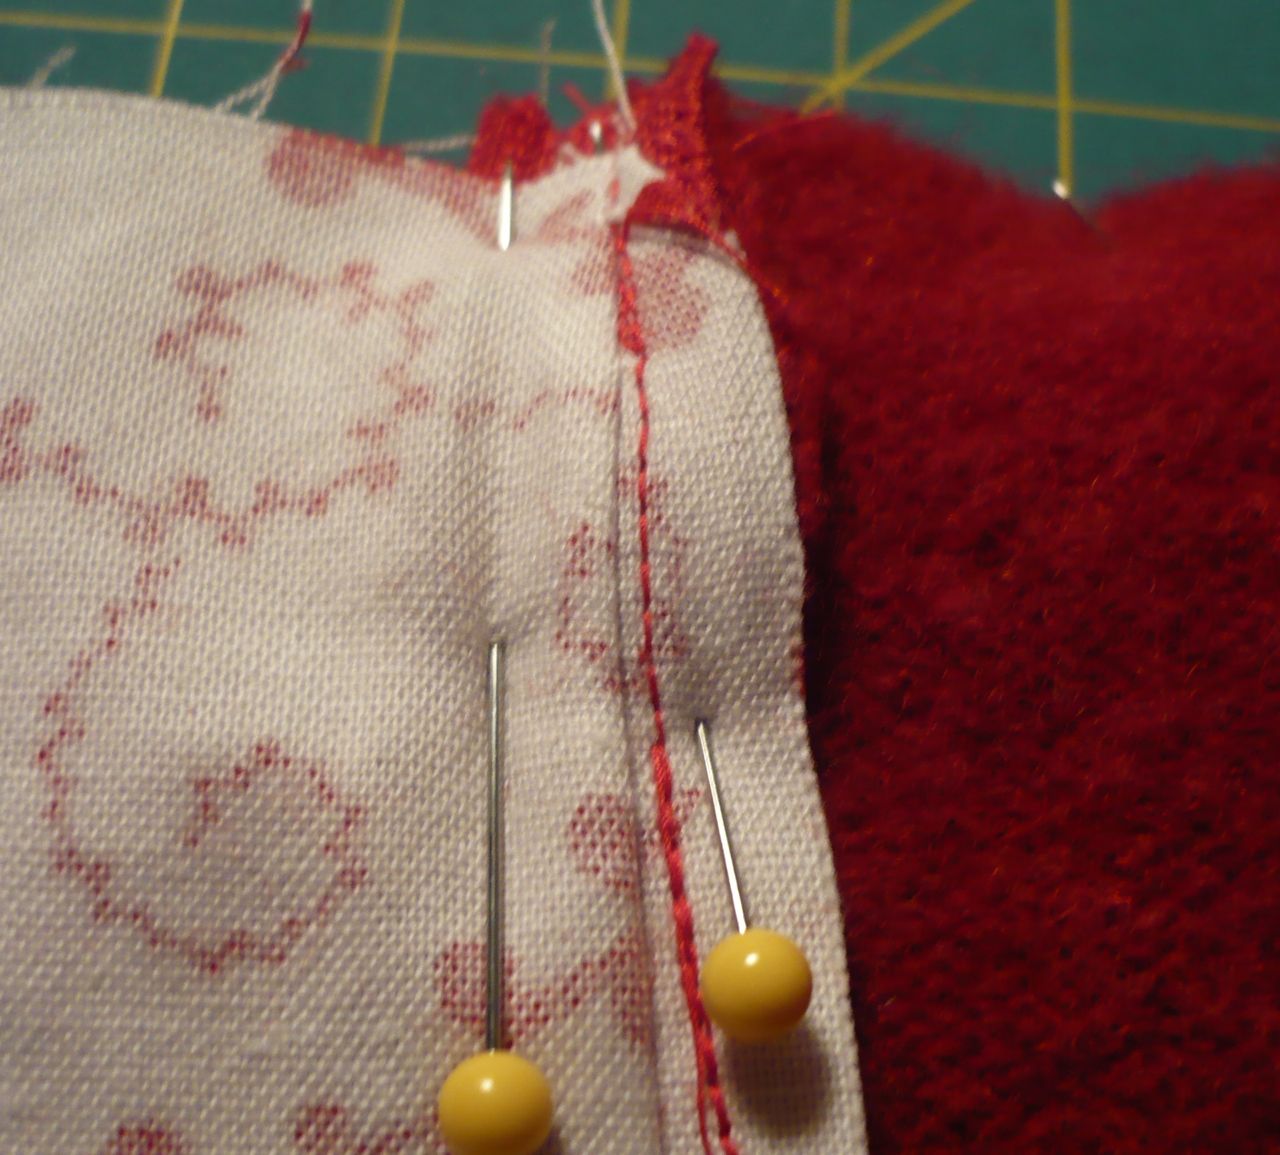
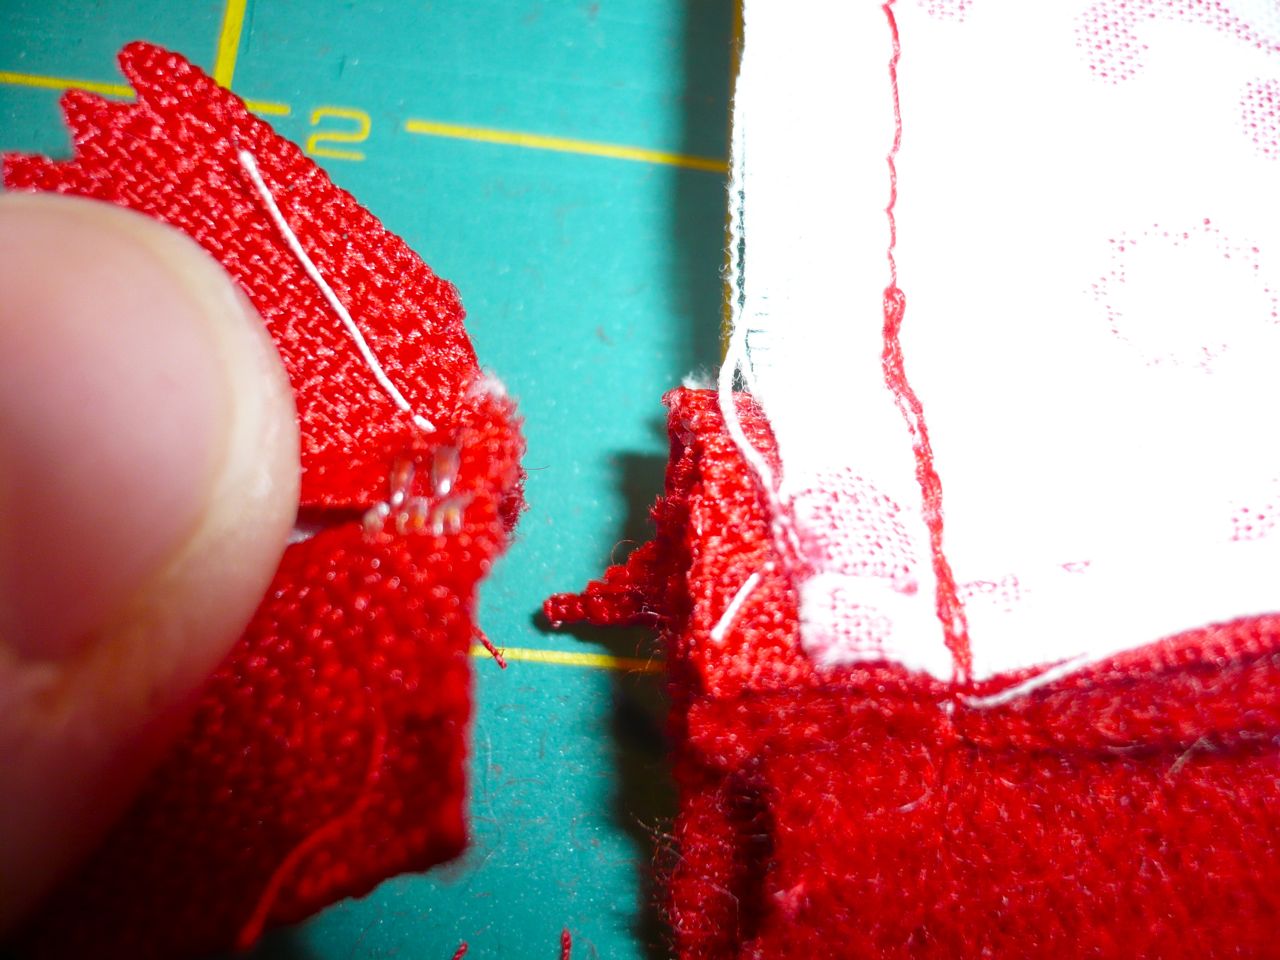
Using a 1/2 inch seam allowance, sew along the edge securing the facing and straps to the tea towel.  
When you get to the straps, reverse stitch over them and forward stitch again for added strength.
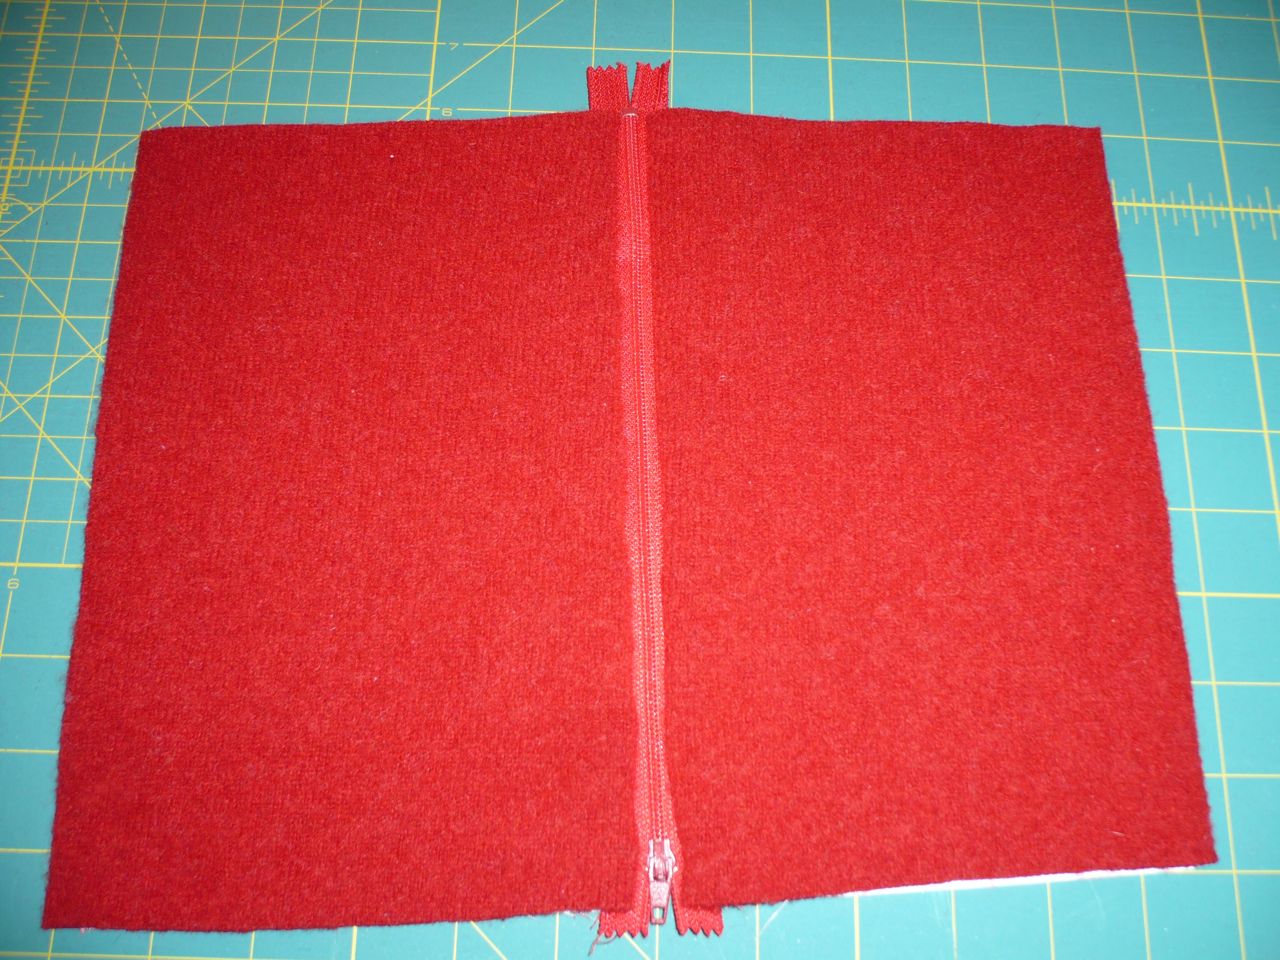
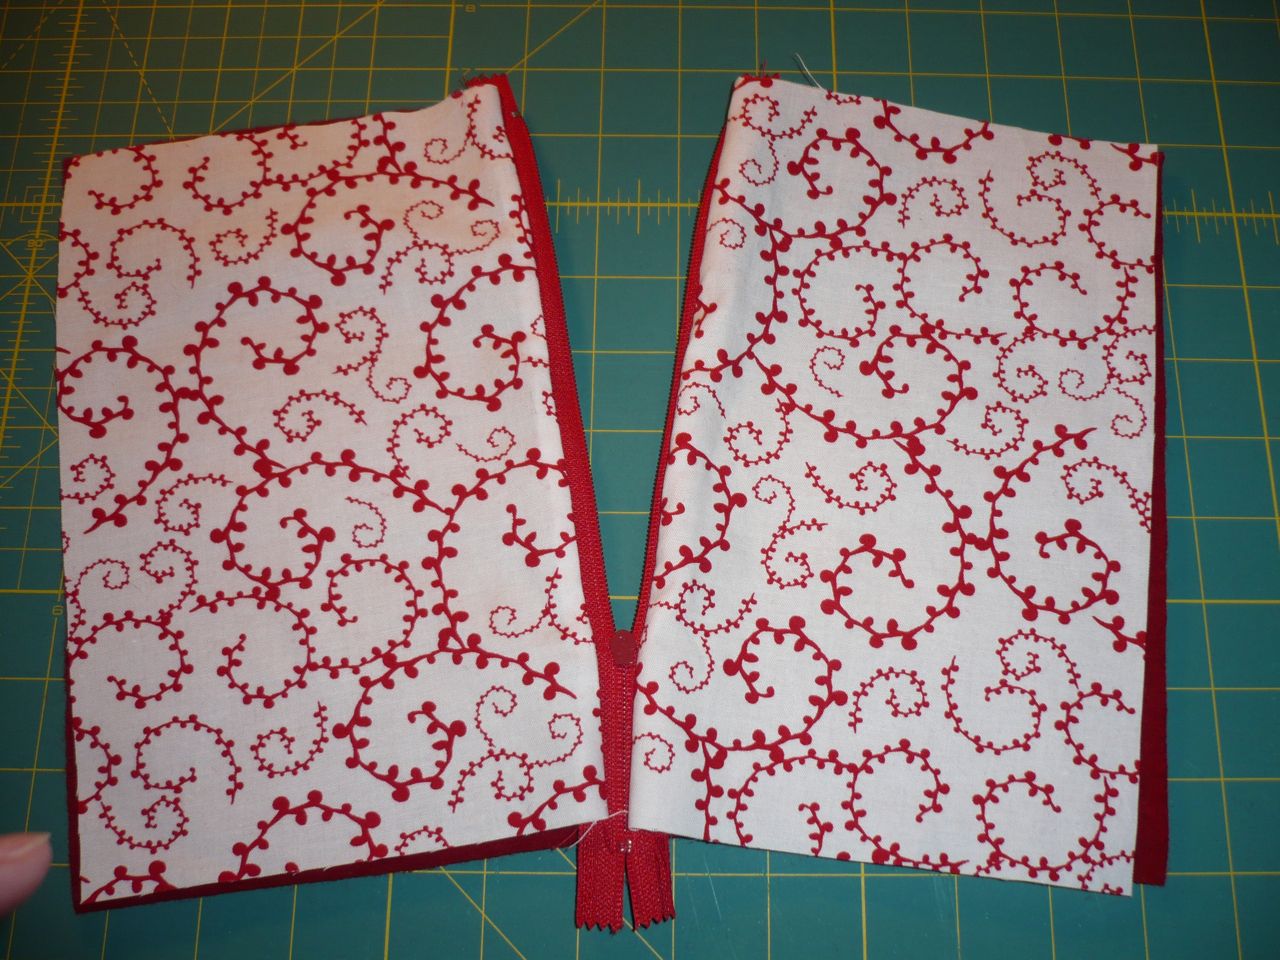
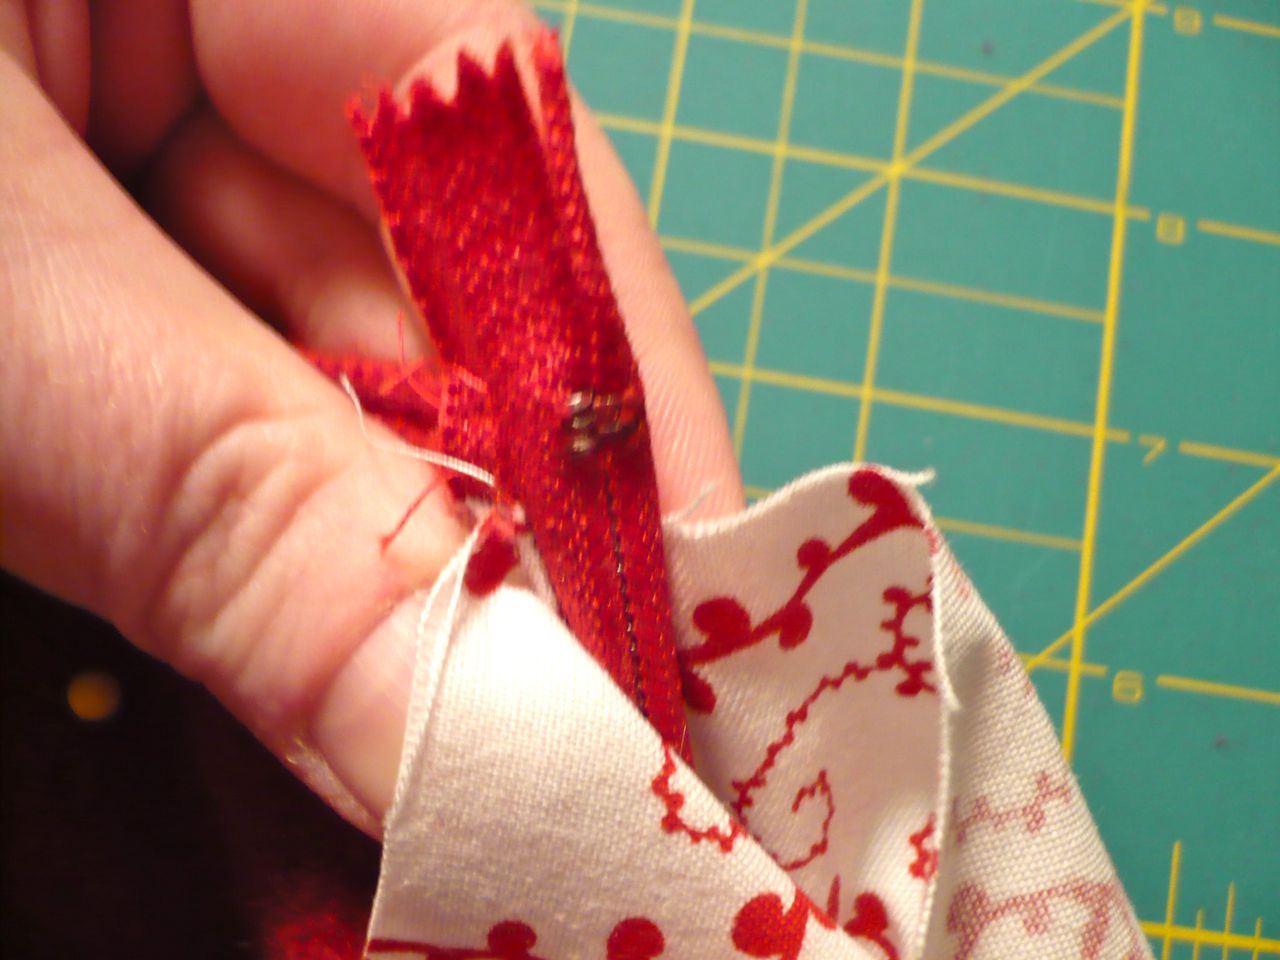
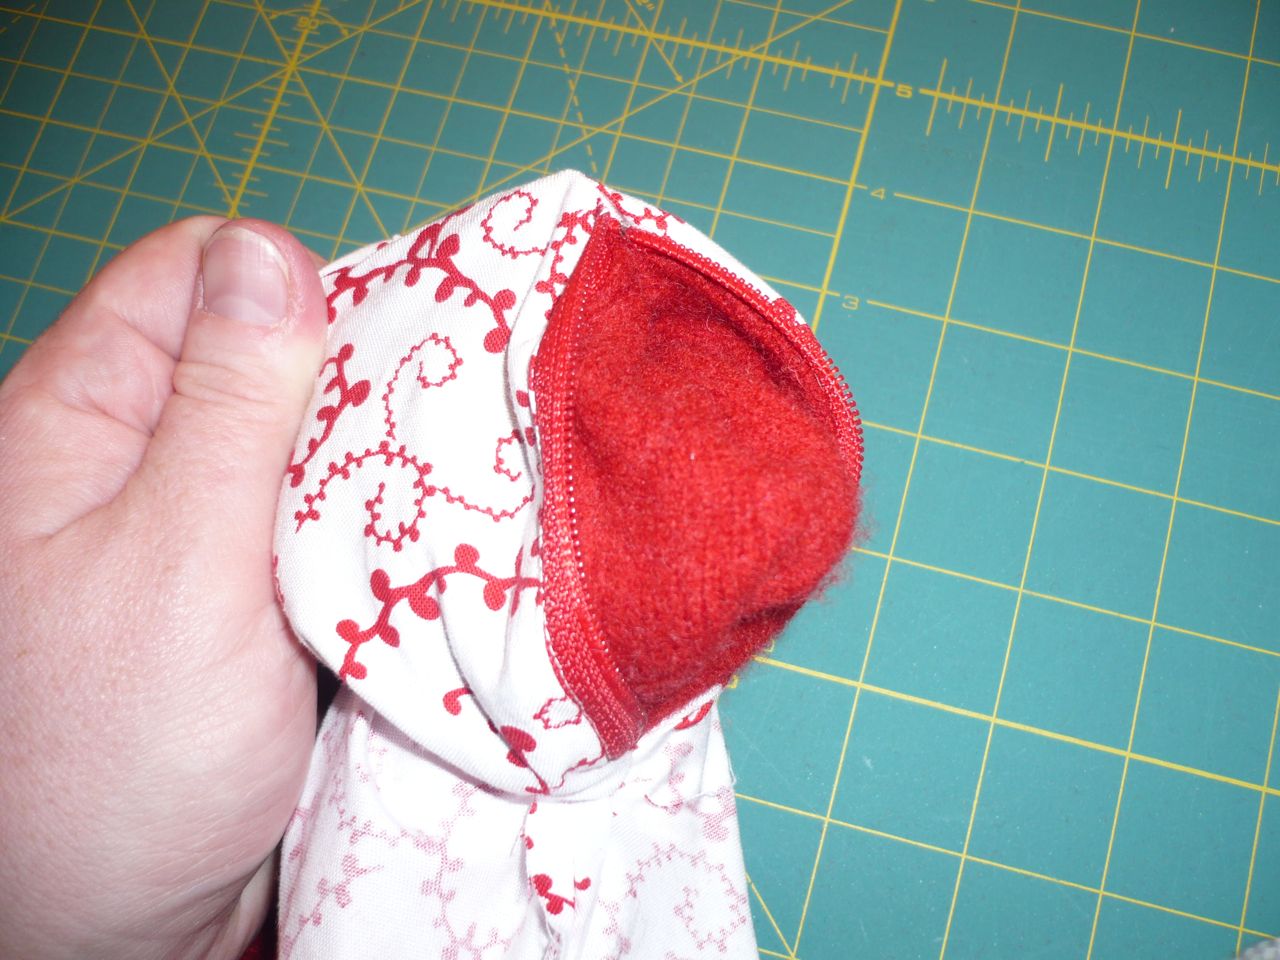
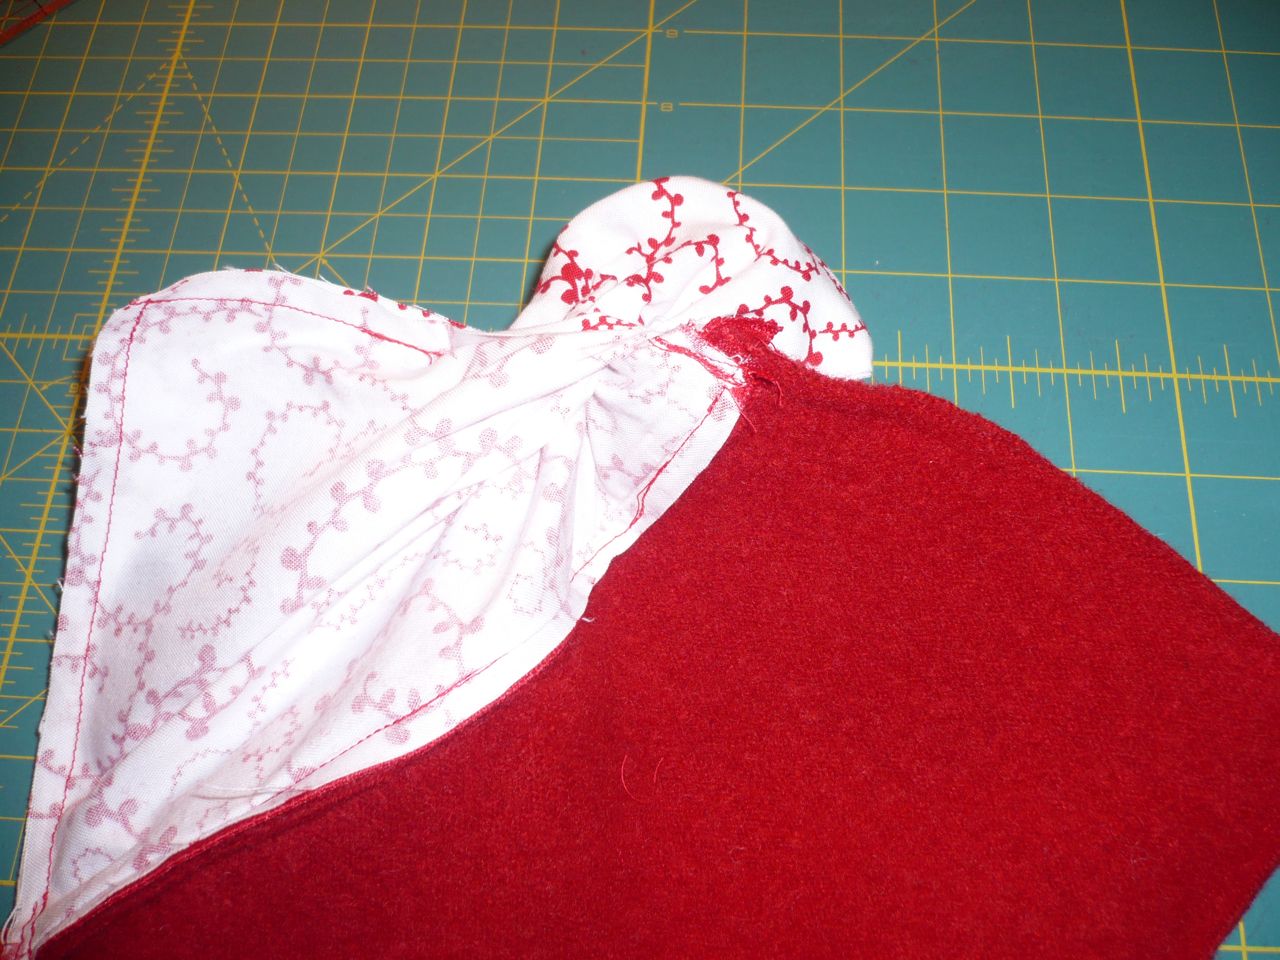
When you open it up after sewing the straps and facing on each side (or the ends, if you are working with a single piece) it will look something like this.
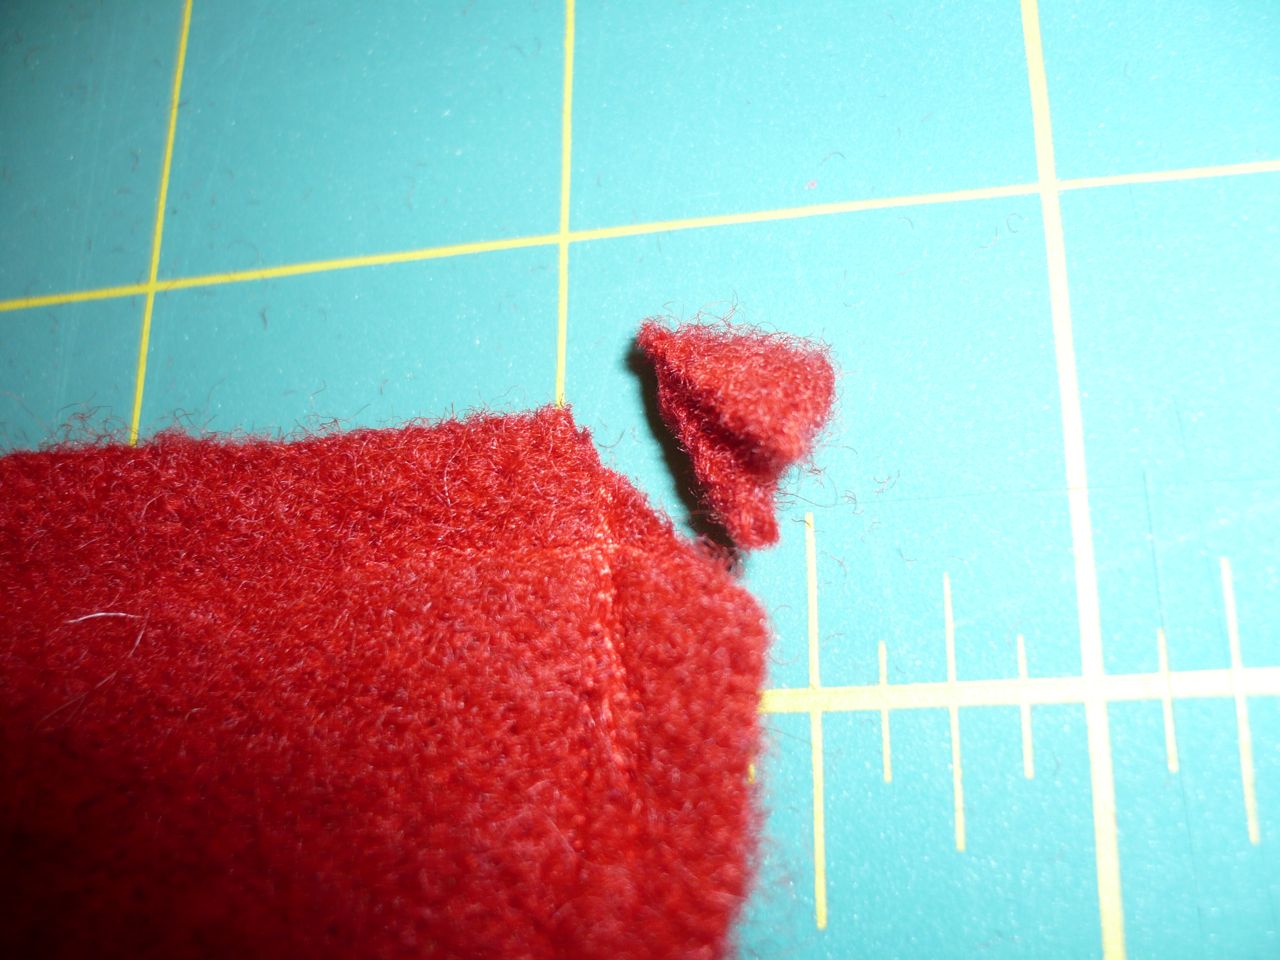
On the back side, Iron the strap parts that are sticking out and the seam down towards the tea towel. Do this for both sides.
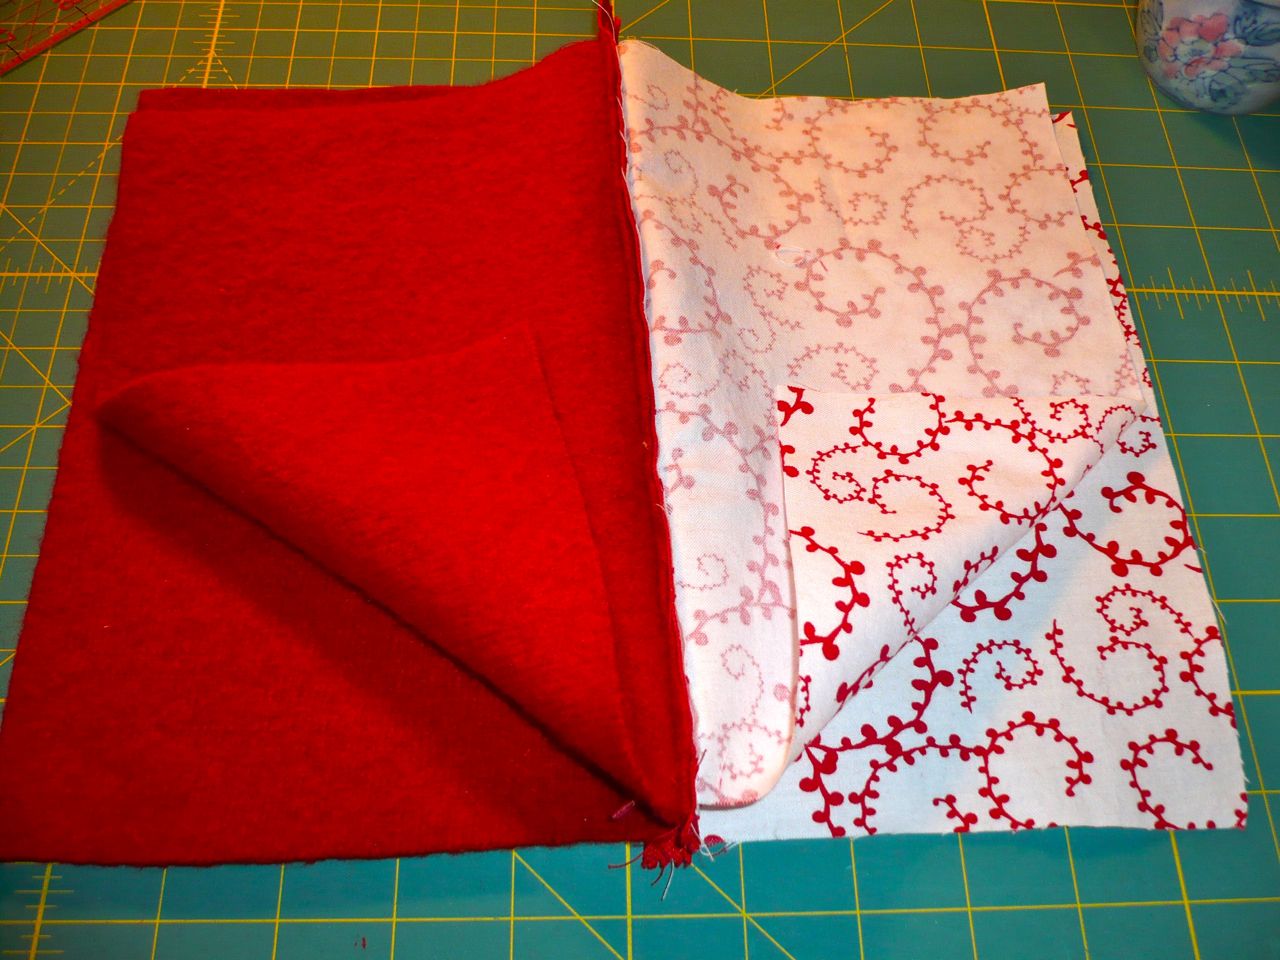
Lay one half on top of the other right sides together. (*If you have one whole piece, fold it in half right sides together.)

Line up the seams where the facing and tea towel are sewn together.
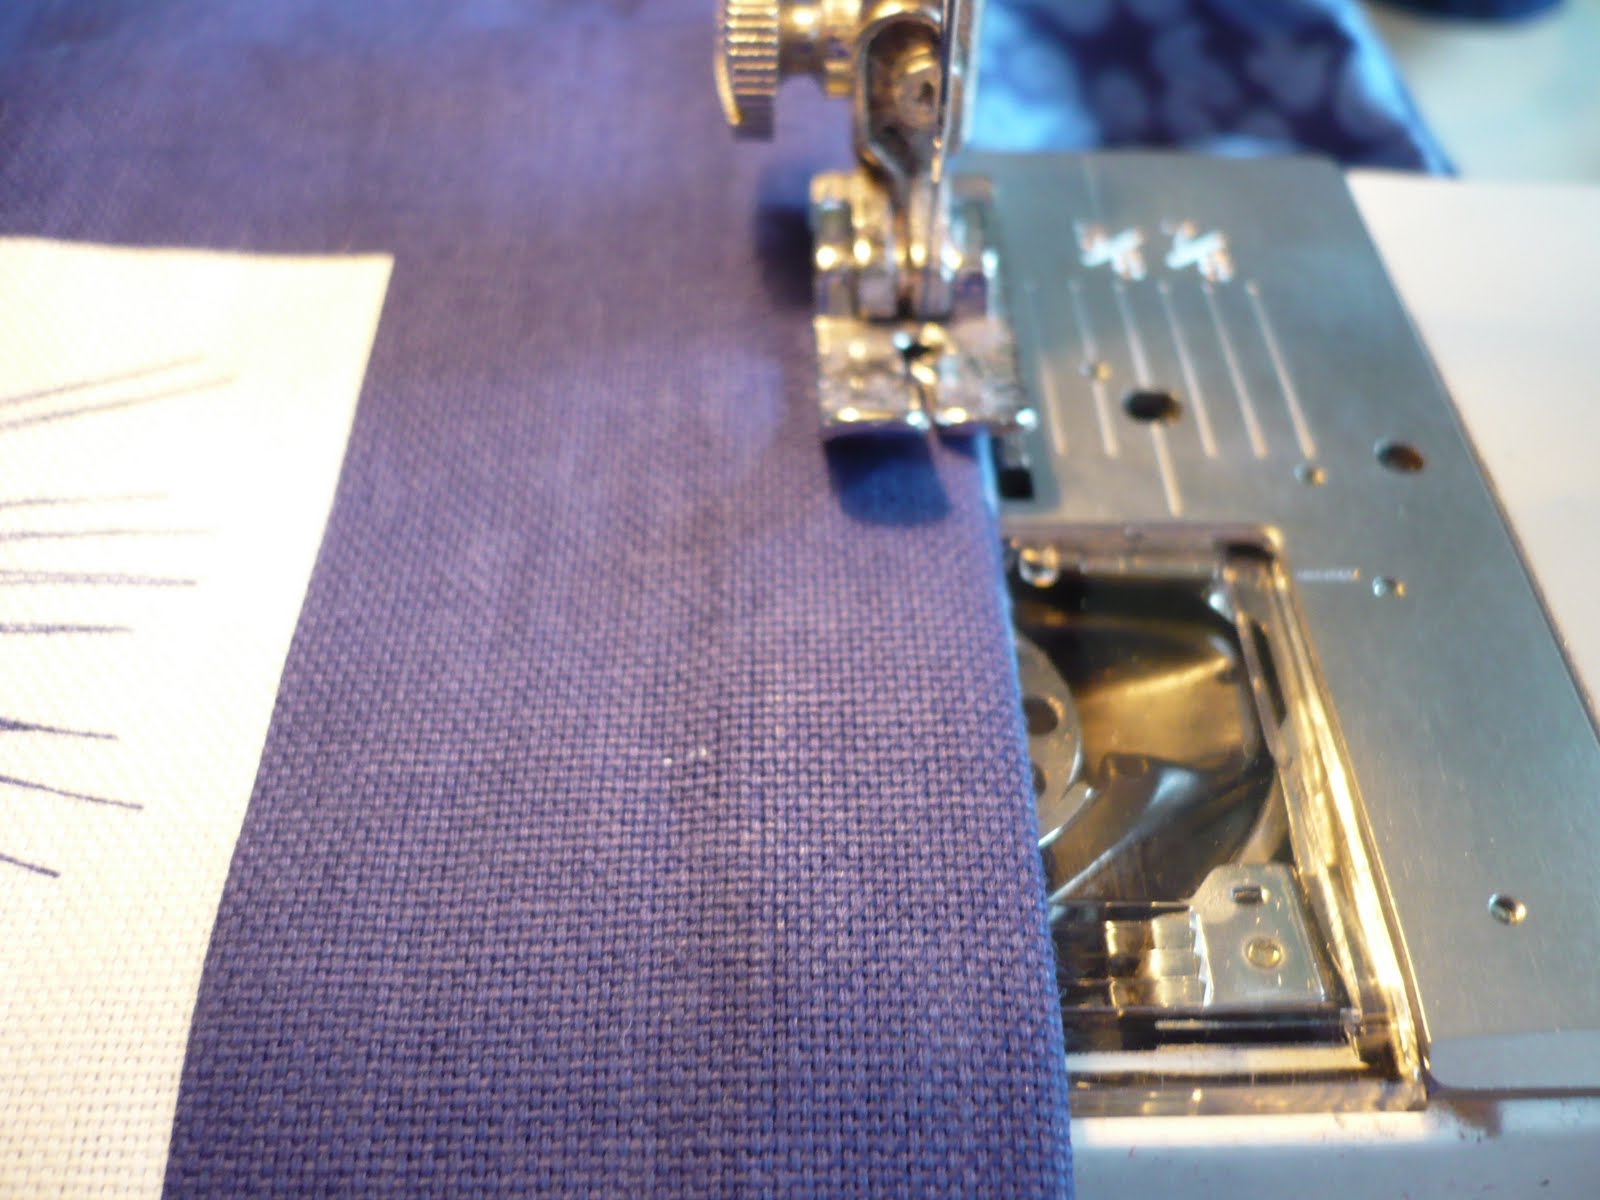
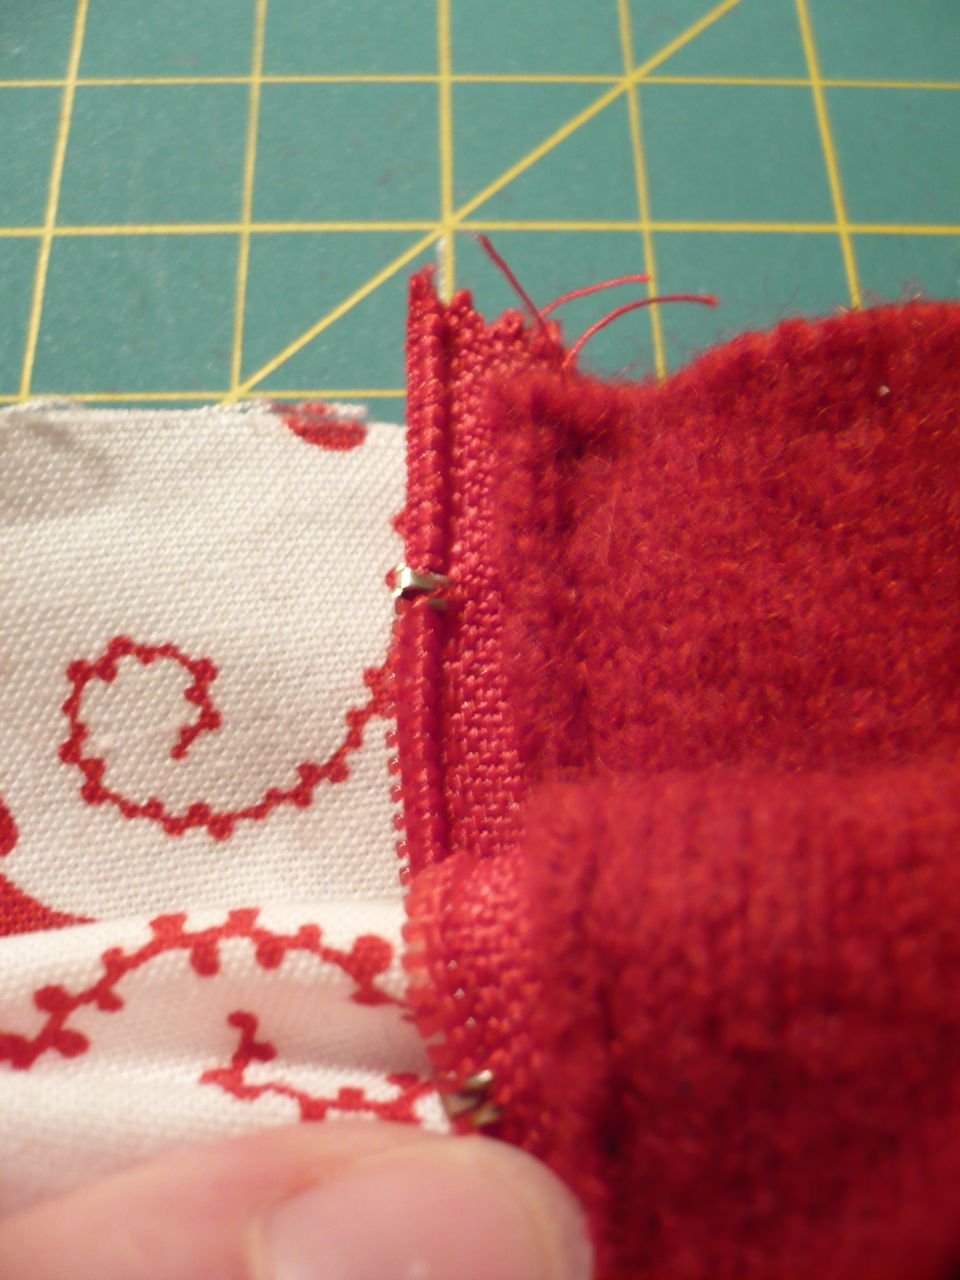
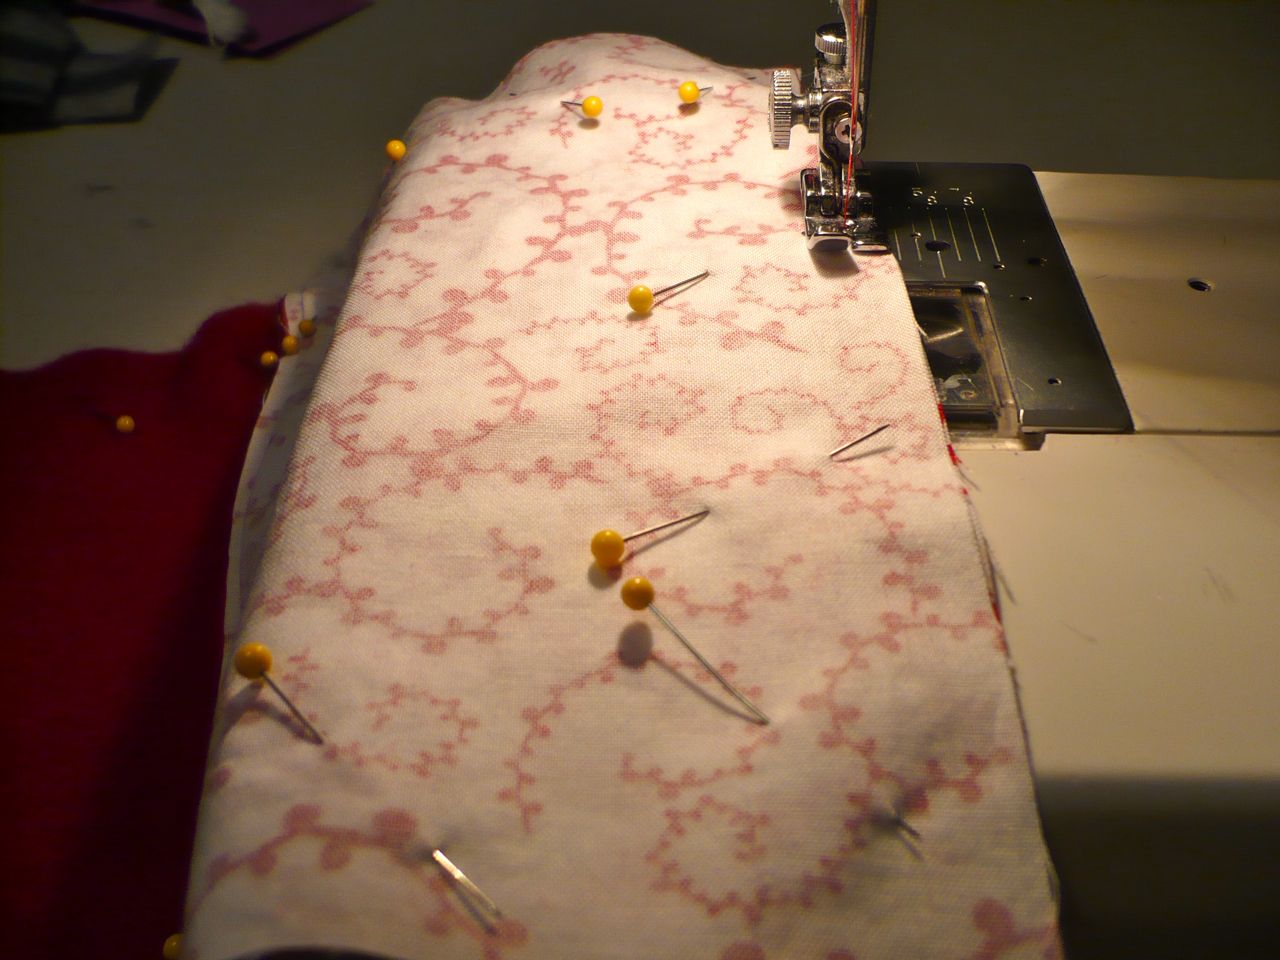
Leaving the long facing edge open at the top, sew around the sides and bottom.  The seam allowance will vary here because you are working with the finished edge of the tea towel.  Go with whatever works for you, but with at least a 1/4 inch.  I used a little about a 3/8th inch seam.
After sewing it will look just like this, but sewn.  I didn’t have a clear picture.
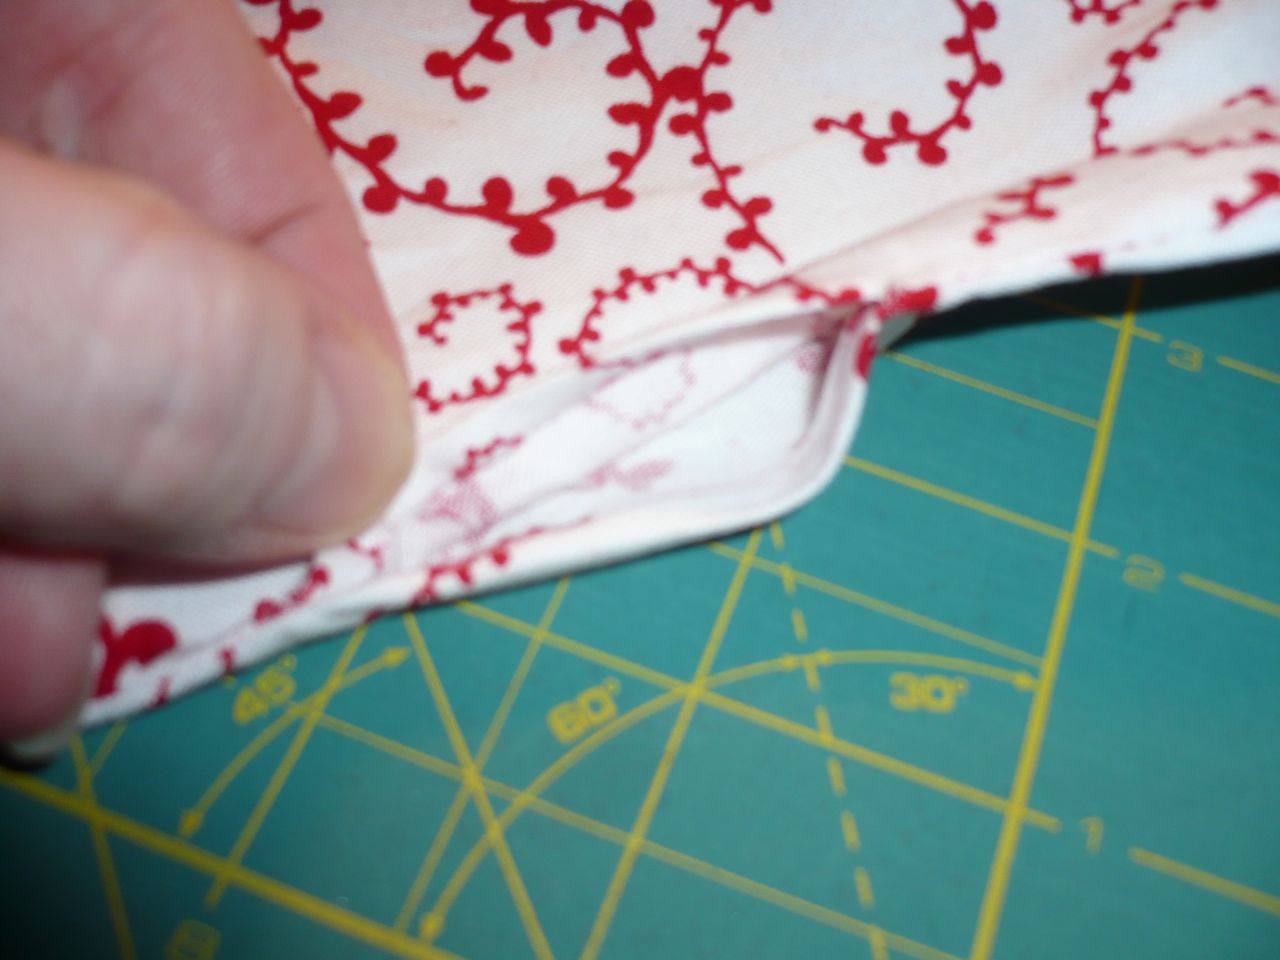
Flip your bag right side out, fold the facing to the inside, and iron along the length of the opening.  
If your machine has the capability of free arm sewing, I would suggest using it at this point. 
Top stitch along the edge of the tote bag opening.

When you get to the straps, back stitch and forward stitch again for stability.  
*Optional* You can also box stitch over the part of the strap sandwiched between the tea towel and the facing.  This adds a goo deal of strength to your straps and is advisable if you plan to carry heavy things in your bag. :) 
*Yes, I switched colors of thread when my fabric changed colors.  It is just something I wanted to do.  You certainly don’t have to do this.  I just didn’t want a blue thread line cutting across the cream fabric on the other side of my bag. :)
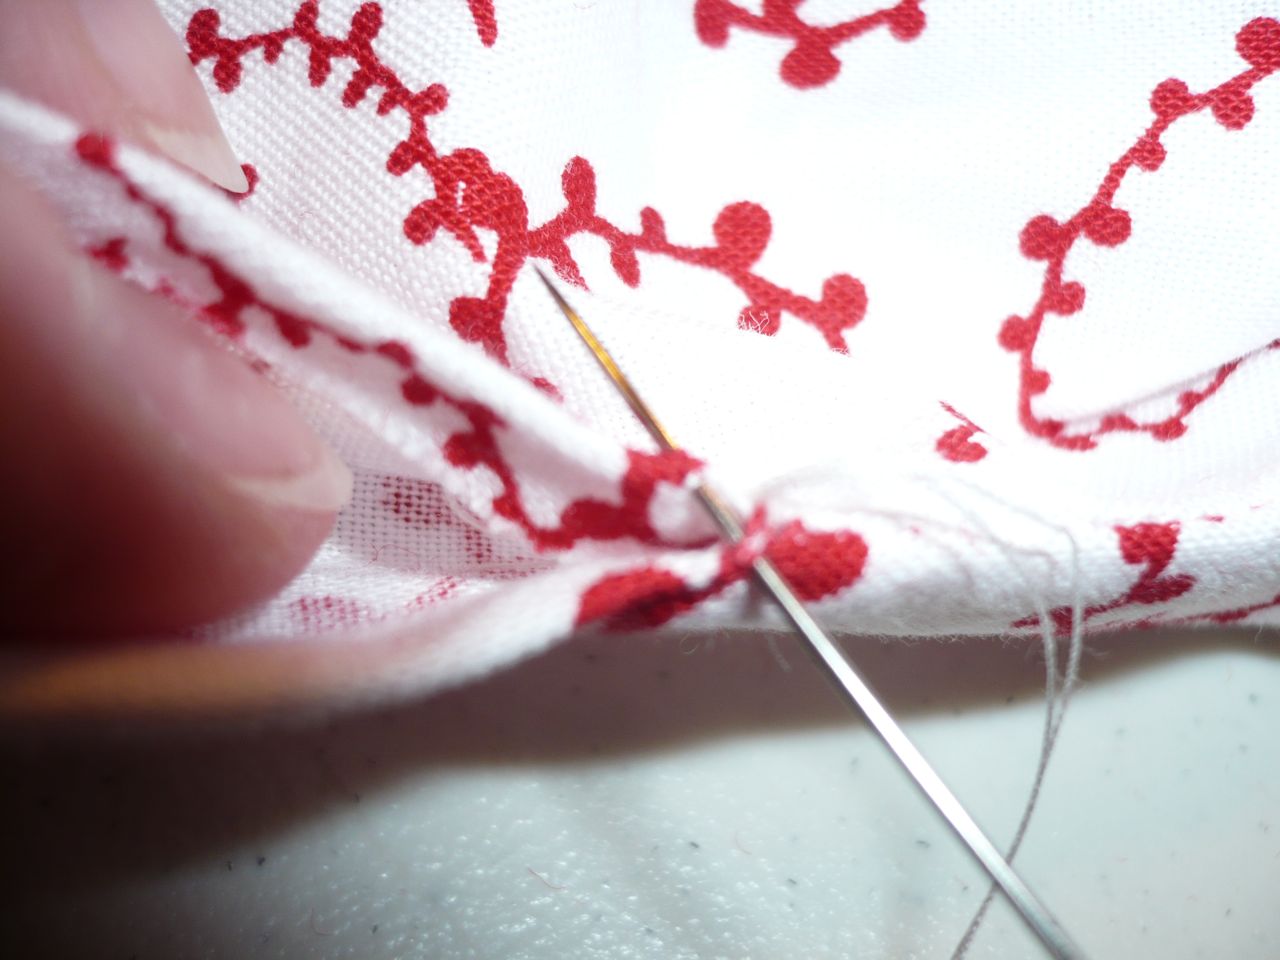
*Optional* You can choose to tack down by hand, or machine stitch your facing down.  I prefer to do this so my facing doesn’t flap around.  It also keeps the raw edges of the facing inside and any fraying to a minimum.
I sewed the facing down by machine. 
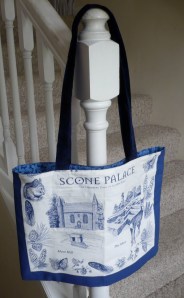
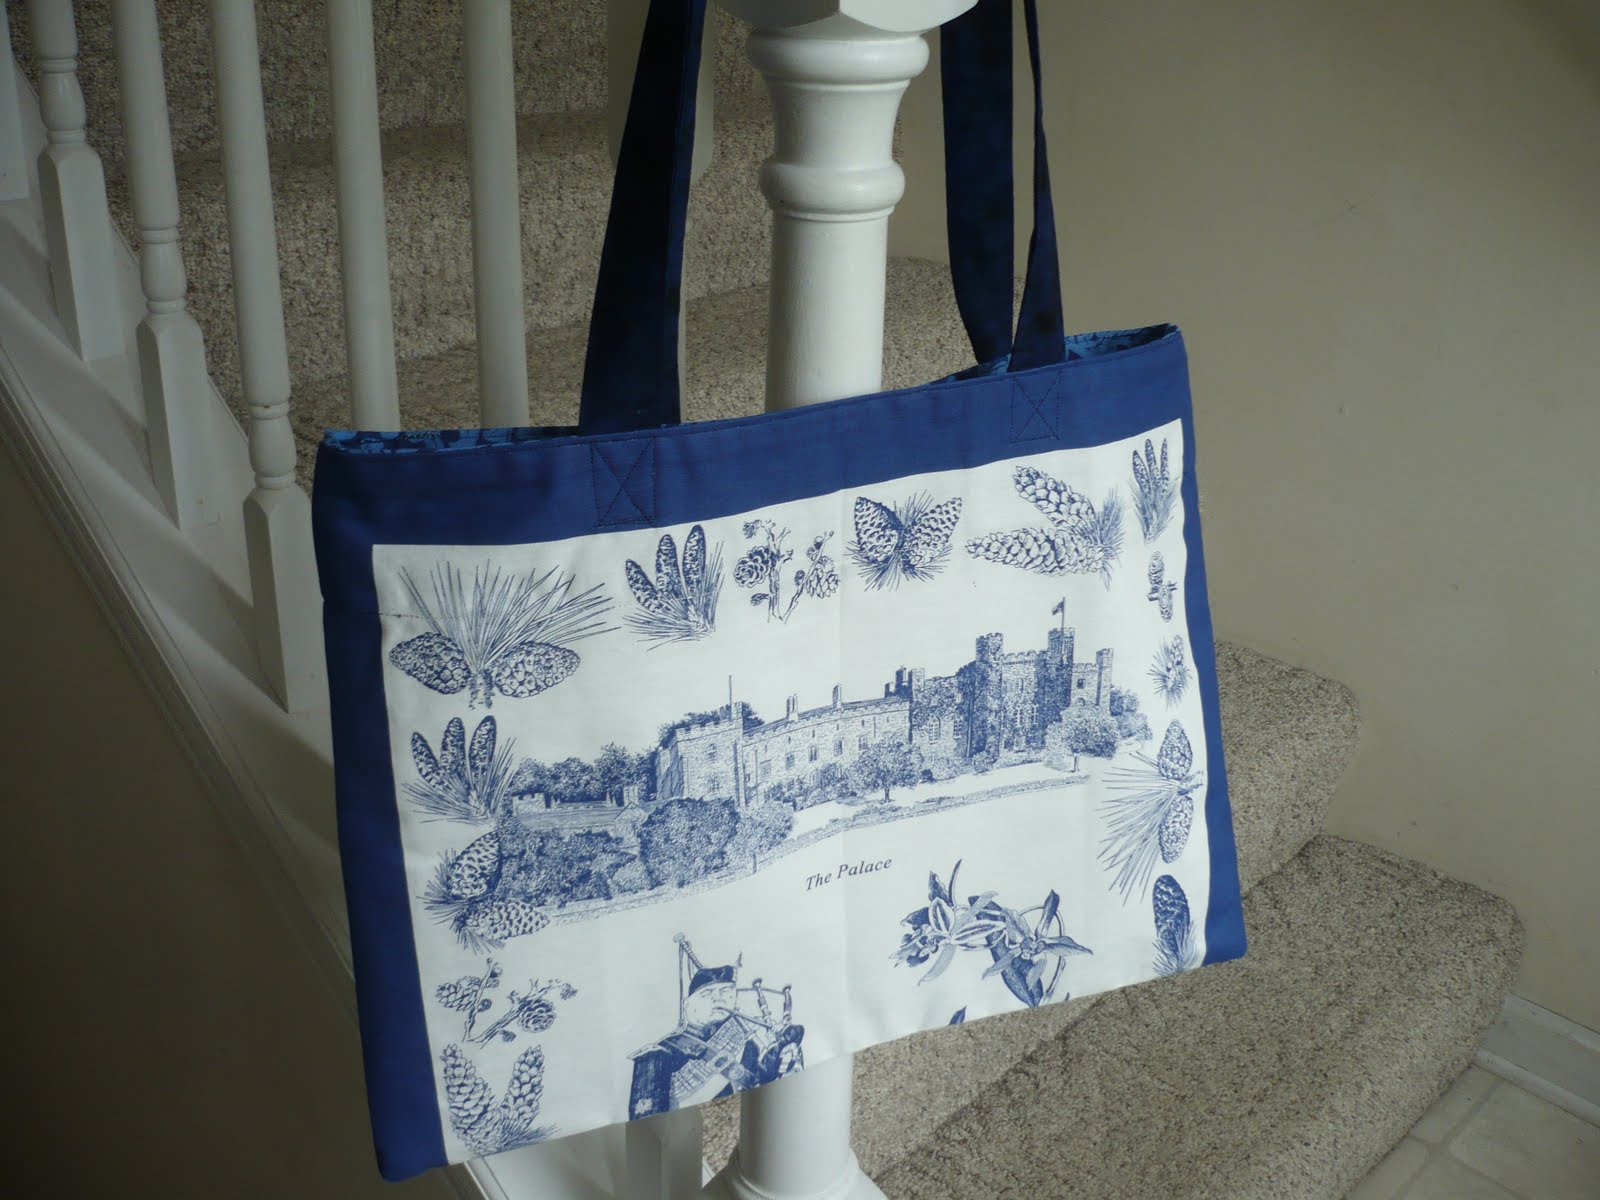
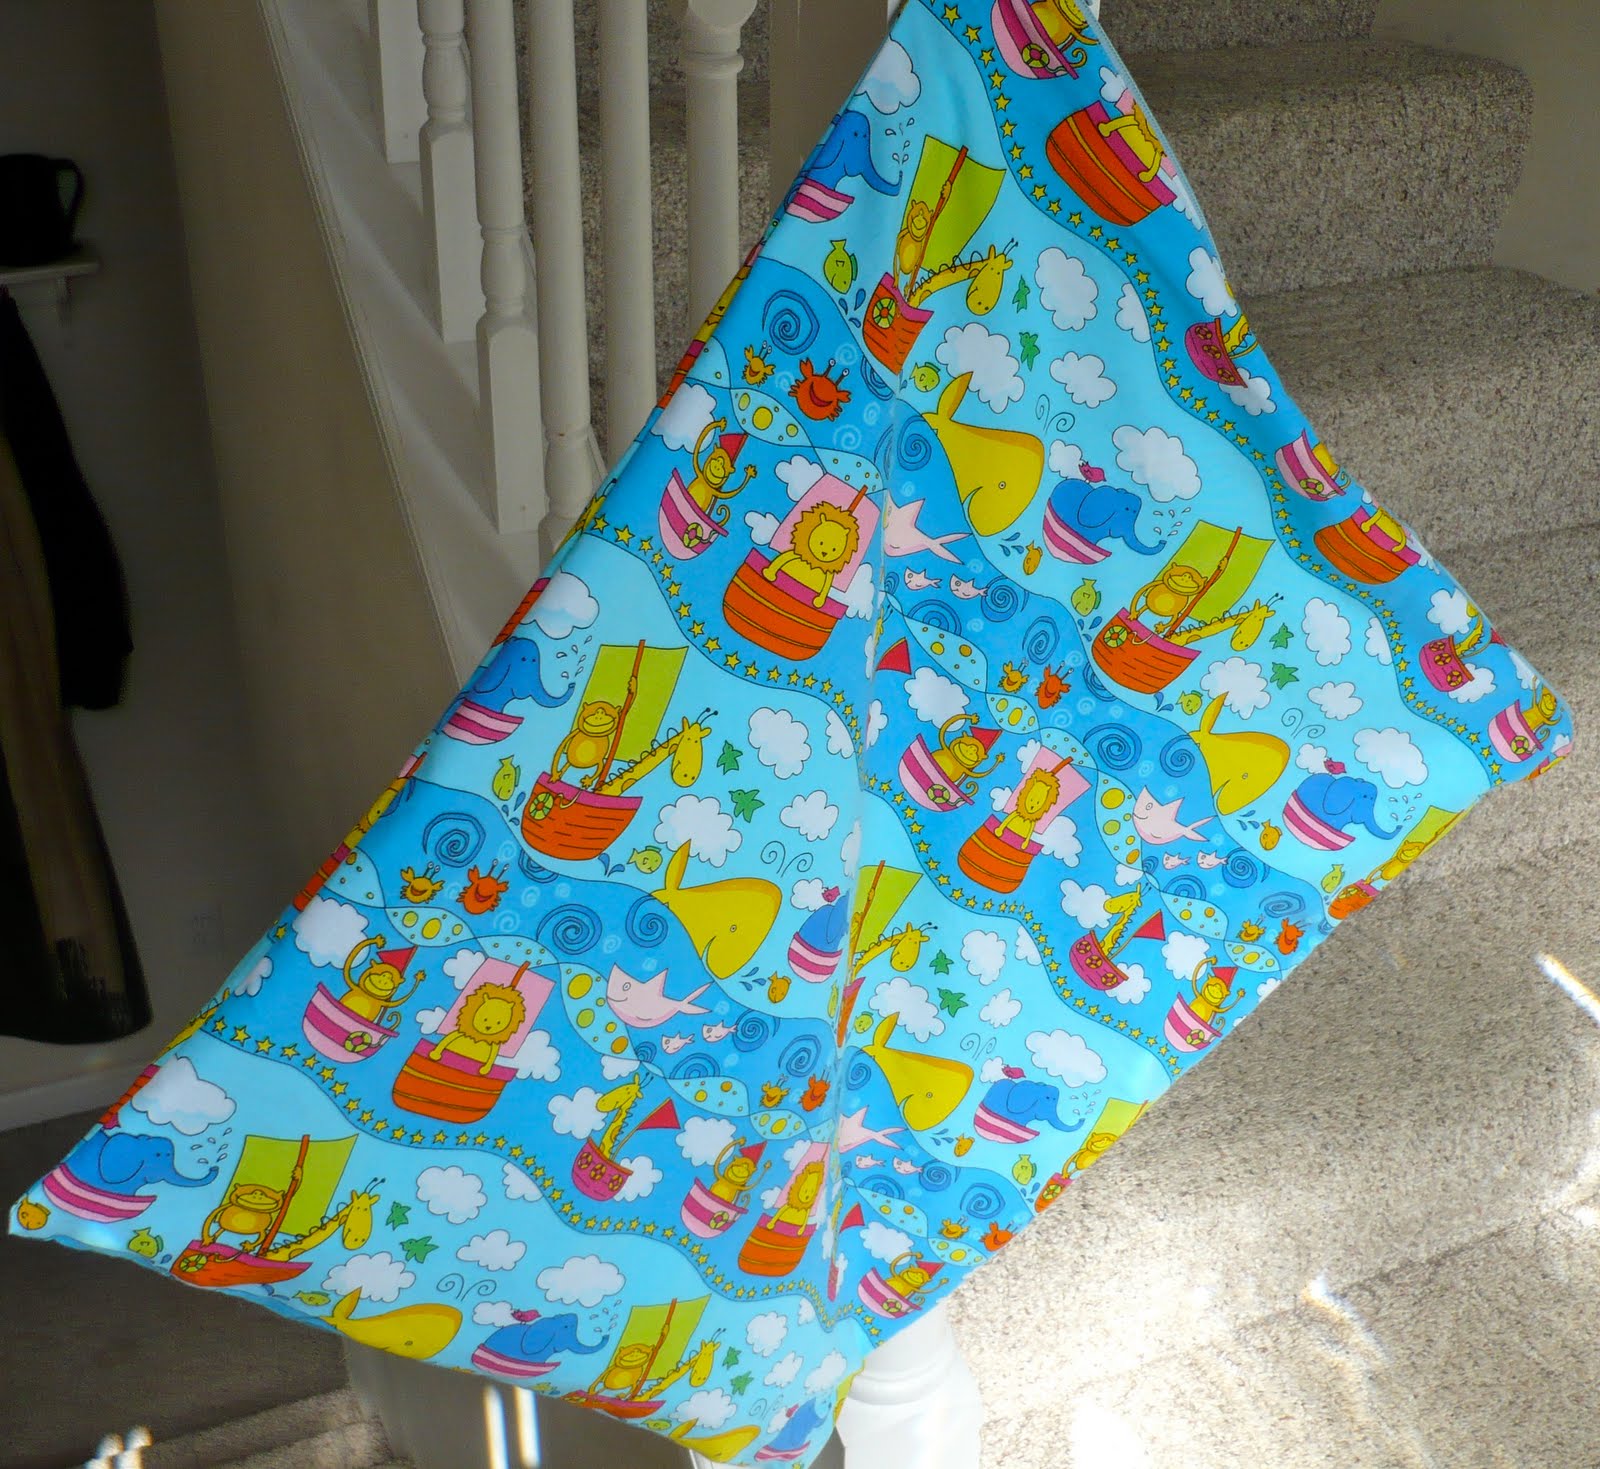
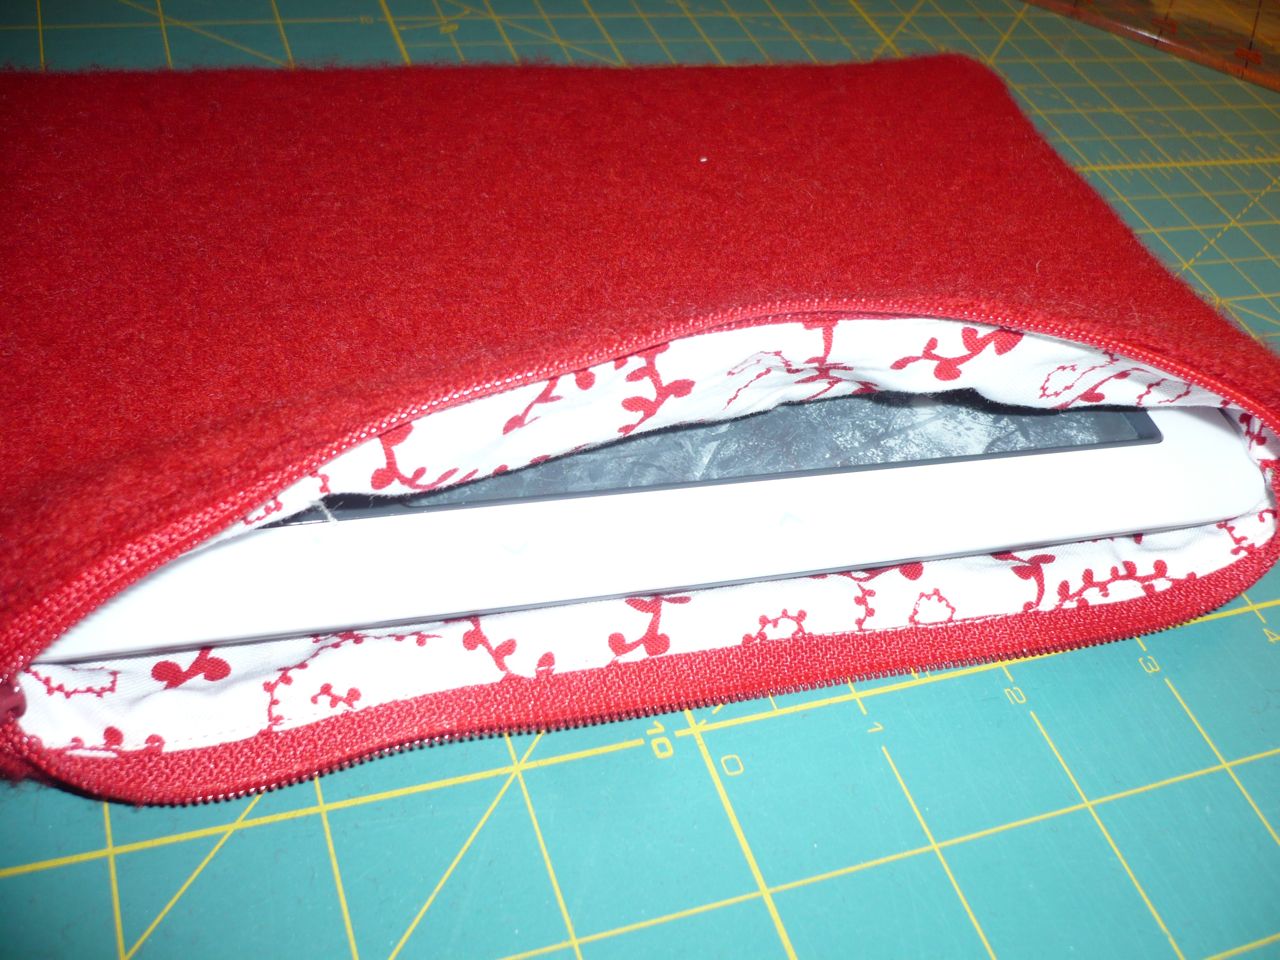
Here is my finished result. I’m really happy with it and I hope to make several more.

I hope you have found this tutorial helpful.  If you have a different method of doing any of the steps included here, please use them. This is certainly not the only way of doing this sort of thing…. it’s just the way I’ve found to do it and I thought I’d share.  :)  If you have any questions, or if anything is unclear, please let me know!  I’d love to hear what you have to say, or correct any errors.
I bought the the Scone Palace tea towel at Scone when I visited there some years ago.  Both complimenting blue fabrics were from my stash!   So I had all the materials on hand and didn’t have to buy anything to complete this project. Yeah for stash busting. :)
Happy Sewing!
Colleen

Posted in craft, fabric, repurpose, sewing, Stash busting, Tea Towel, Tote bag, Tutorial, up-cycle | Leave a comment

XBox Plush

My dear friend Moira is expecting a baby.  She and her husband were joking and saying that the baby would end up teething on an XBox controller.  So she issued me a challenge….make a plush one for the baby. :)

Here is the result… (Real XBox Controller pictured for size and reference.)  :)

It is made from mostly upcycled cashmere sweaters.  I used some wool scraps for the colored buttons.  It is stuffed with sustainable bamboo fiber fill.  All the stitching is double stitched for durability….. though something tells me the baby may never get its hands on this. :) 
Posted in baby, cashmere, Plushie, Reclaimed, repurpose, reuse, sewing, sweater, up-cycle, wool | 1 Comment

Stash Busting

Over at the Purl Bee there is a great tutorial for making these simple fabric stash baskets or…buckets.  I find it is more like a bucket so that is what I’m calling it.

So I made one yesterday out of want and necessity.

 I’ve had a growing pile of cashmere and wool scraps collecting on my cutting table.  I don’t dare throw them away because they are still good for appliques or to cut up for stuffing, but I didn’t have a place to keep them.  This bucket idea sounded grand.

I had plenty of the white with red swirly fabric left from making my nook sleeve. Out of my fabric stash, I pulled a nice red with white polka dots for the inside of the bucket.  I already had some stiff Pellon fusible stuff… just enough actually.  Yea for using up stash fabric!

I’m rather happy with the results and would like to make a nesting set of these for storage in my sewing area.  I’d love to make the others in co-ordinating red and white fabrics…. which I also already have.

I bought this cute St. Jude fabric when it was on sale a while back.  I didn’t have a project in mind when I bought it, I just loved the colors, but  yesterday it came  it mind.  I thought it would be great for a wetbag to take to the pool for our towels and suits.

I ended up with a wetbag about 17 x 20, which is plenty big enough for 2 towels, 2 suits, and any other hats, cover ups or wet clothes.

It is nice to have a dedicated wetbag for swimming… so I don’t have to pilfer one from the diaper wetbags to take to the pool.

This was also made entirely from stash materials.  I have a ton of PUL that I got through a co-op and I need to use some of it up!  I also had a light blue 20 inch zipper in my zipper bin, so I didn’t have to buy anything to make this!

Posted in cotton, fabric, Little Bit, PUL, sewing, Stash busting, storage, sweater, wetbag | Leave a comment

Nook Sleeve Tutorial

I decided that I didn’t want the same style of Nook cover that I made for  Hubby’s Nook.  What I came up with was a simple zippered sleeve made from a recycled wool sweater and some cotton fabric.

This really is easy to do if you have a couple of things…. besides the obvious… sewing machine et al.  A zipper foot, while it sounds scary, it really is necessary and not scary at all.  Pinning is very important to keep things aligned and zipper parts where they need to be.

Since I made the first one, I made a second one slightly larger for a better fit.  I’ll be using the measurements for the second one in the tutorial, even though the pictures are from the first.  The difference is a half an inch.  So when you see fabric cut out and think… that doesn’t look like 6 1/2 inches… well it isn’t… it’s 6 because I made the first one just slightly too snug.  Lesson learned. :)

So here we go….

To make your own Nook or e-reader sleeve you need a fabric for the outside and fabric for the inside and a 9 inch zipper.  (9 inch zippers are common and can be found at the normal array of fabric retailers in your area, alternatively you can buy a longer one an cut it down to fit your needs)

I used part of a felted sweater for the outside and cotton printed quilting fabric on the inside.

A nook is 5 x 8 inches.

If you are using this tutorial to make a larger sleeve for a laptop or a smaller one for an Iphone or some other gadget, just take the measurements for each side and add 1 1/2 inches to each length to get the size fabric you need.  This allows for 1/4 inch seams all throughout and a 1/4 inch of wiggle room inside the finished sleeve.

So if your laptop is 13 x 9, your would need to cut 2 pieces of inner and outer fabrics at 14 1/2 x 10 1/2 to make it big enough.

Cut 2 pieces of each of your fabrics (Outer and inner) 6 1/2 x 9 1/2 inches  (Launder and Iron your fabric if needed before cutting.)

Lay out one of the inner pieces right side up with the long sides up and down. 
Lay the zipper right side up on one of the long sides, lining the right hand side of the zipper with the edge of the fabric.
Overlay the outer fabric, Wrong side up, on top of the zipper and line it up with the inner fabric and zipper.  The right sides of the fabric will be facing each other.
Pin all three layers to keep them from shifting.
It is okay if the zipper sticks out one side.  Just be sure that you haven’t aligned the solid metal zipper bits directly in your 1/4 inch sewing path or you will break a needle.  (speaking from experience.)
Having a zipper foot is important here.  Without it your machine may push the fabric out, or the fabric may not advance properly.
Sew along the edge of your pinned fabric sandwich about a 1/4 inch.  
Sew along to the end and back stitch a few stitches to secure your thread.
There is one of those infamous needle breaking metal bits!

Line up the remaining inner and outer pieces on the other side of the zipper and repeat sewing as above.
Be sure your fabrics line up with the edges of the previously sewn fabric along the short edges.  This will be imperative in later steps and will keep your sleeve from turning out wonky.
Now both sides of the zipper have 2 pieces of fabric sewn to them.  If you open it up this is what the outside looks like.
And if you flip it over, this is what the inside fabric looks like, the zipper is unzipped in this picture.
You’ll essentially have 4 flaps of fabric attached to the zipper at this point.
Iron the fabric away from the zipper to make a nice crisp fold in the fabric.  
Top stitching is optional, but I find if helps keep the fabric from becoming entangled in the zipper.  
So if you are top stitching, using your zipper foot, stitch along the edge of your fabric near the zipper.
Flip around and repeat on the opposite side.
Undo the zipper about half way.

Lay your fabric flaps with outer fabrics right sides together and the same for the inner fabrics.  The zipper will be on the inside.

Fold the zipper teeth over to face the inner fabric and line up the loose (unzipped) zipper ends.
Pin the zipper in place well to prevent shifting.
Fold the zipped end of the zipper in half and with the underside of the zipper (zipped teeth) towards the inner fabric.
Pin well!  (Again, is it okay if your zipper is sticking out the end, it will get trimmed)
Line up the rest of the fabric edges and pin all the way around. 
Switch back your regular sewing foot.
Start sewing in the middle of the long edge of the inner fabric.  Use a 1/4 inch seam allowance.
When you come to the zipper, don’t be scared of it. Just go over it slowly if you’ve never done it before.  Do a few reverse stitches and sew back over it again to ensure that it is secure. 
Your machine may make some pretty interesting noises while sewing through a zipper!   I’ve never broken a needle on a zipper except if I hit that one metal part at each end.  Just go slow and you shouldn’t have any trouble. :)
Continue sewing all the way around, leaving the last 3 inches or so open.  This is so you can turn the  whole thing inside out. 
It should look something like this at this point.
If you want rounded corners, you can make that modification now.  Just round off each of the 4 corners and resew over the modification.  It is easier to do it at this point incase your pieces didn’t line up after previous sewing.  It also cuts down on the confusion of which side to sew where at the beginning.
Trim off any excess zipper that may be hanging off the ends.
And clip corners for easier turning and less bunching.
Begin turning the sleeve right side out through the opening left in the inner fabric.  This is when having the zipper half unzipped really helps!

After you’ve completed turning it inside out, make sure that your nook fits inside  if it is too large you can always cut it down a little by flipping it wrong side out and removing a little from one end and sew that one side up again.  
So once you are happy with the fit, the opening in the inner fabric needs to be sewn up.  you can sew it closed by machine stitching close to the edge, or by hand.  A simple whip stitch does just fine.

And there you have it!  One Nook sleeve….

Posted in cotton, fabric, repurpose, reuse, sweater, Tutorial, up-cycle, wool | 3 Comments