
I’m finally getting around to posting about the toy bags that I made right before the move. 
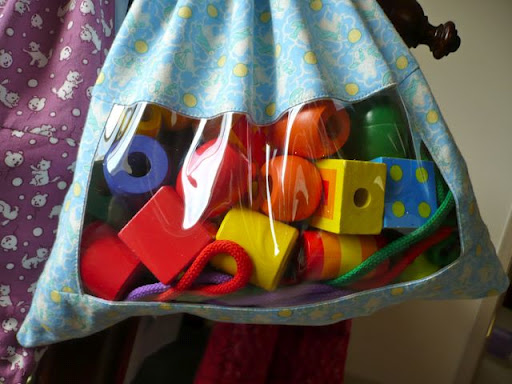
I can’t remember which blog I saw them on originally, but the Peek-A-Boo Toy Sack Tutorial is by Make It Perfect.
I had been wanting to make some toy sacks for a while. I’d seen a tutorial for making bags with an iron-on picture… so if it was a bag of trains, you’d take a picture of the trains, print it out on special paper, Iron it onto your fabric and make a bag. Then, what if Little Bit changed his mind about the trains and only played with Legos. I’m stuck with a bag with a picture of a train. I really like the Peek-a-Boo sacks better because you can switch out toys infinitely and you can see what’s inside before dumping the bag out!
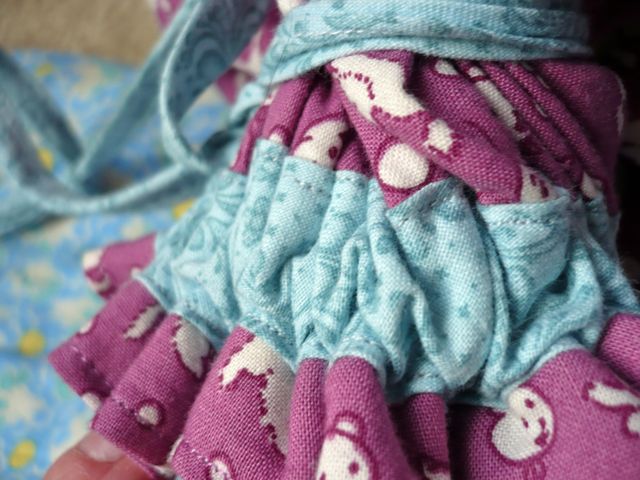
I confess I did buy fabric for this, even though I had plenty on hand that I could have used. I had been looking at some 30’s and 40’s reproduction print fabrics, but didn’t have a reason to buy any. So when this toy sack idea popped up they immediately came to mind. The fabric didn’t stay sitting around, that’s for sure. I didn’t have much time, so I only got to make two of them. I did use some white linen from the stash for the lining and I used some bias tape that was left over from a former quilt project…. so some stash and some new.

I just loved the little kitties on purple and the flying/parachuting bunnies on blue!


 What was really nice it being able to grab a bag and take it anywhere without having to worry about dropping small pieces or having to sort through to find what we were looking for. When traveling this was really nice!


These are amazing! I run an inhome daycare and may have to look further into these for toy storage…
I'd love to do a review/giveaway on this item! Please contact me at mommytalkhost@yahoo.com if you are interested! I look forward to working with you!