
We had quite the snow storm last week! During some of those days we made some more paper snowflakes.
Several people have ask me about a tutorial after seeing them… so here it is.
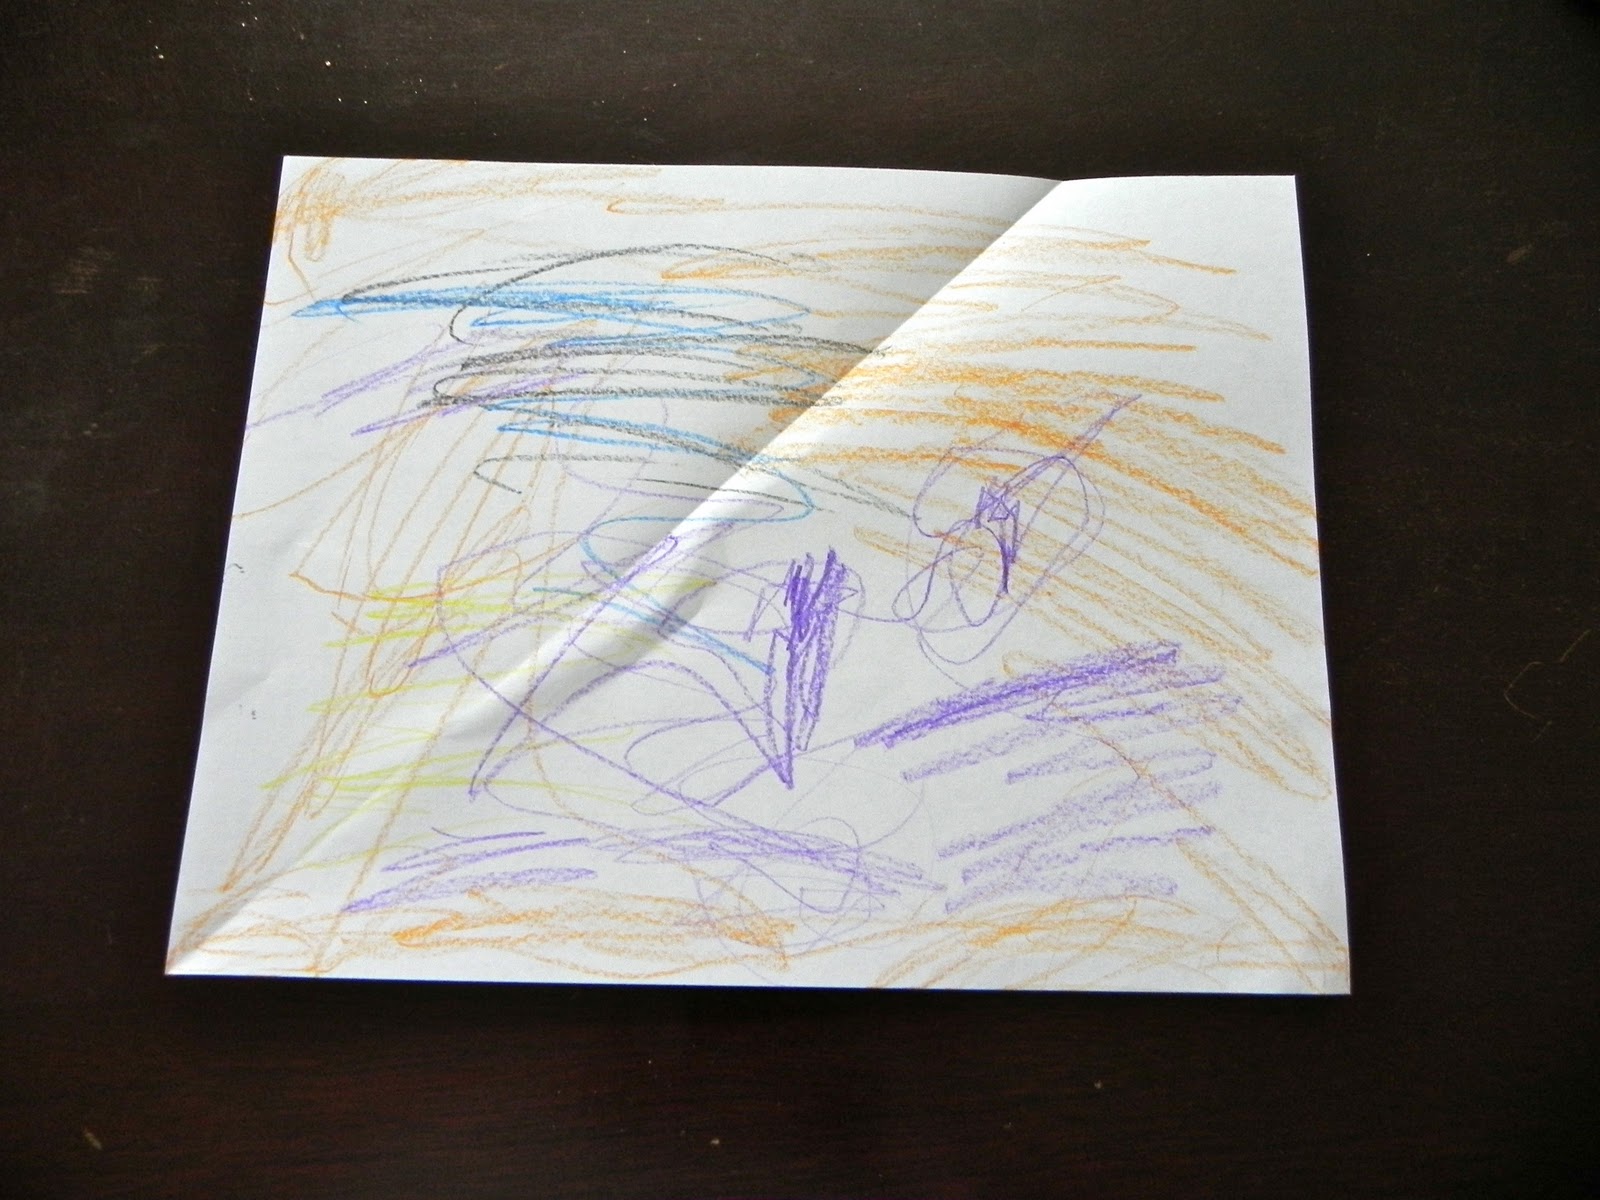
This is regular printer paper. I find cardstock is a little too thick with all the folding needed.
Bennett thoroughly enjoys coloring the paper for me.
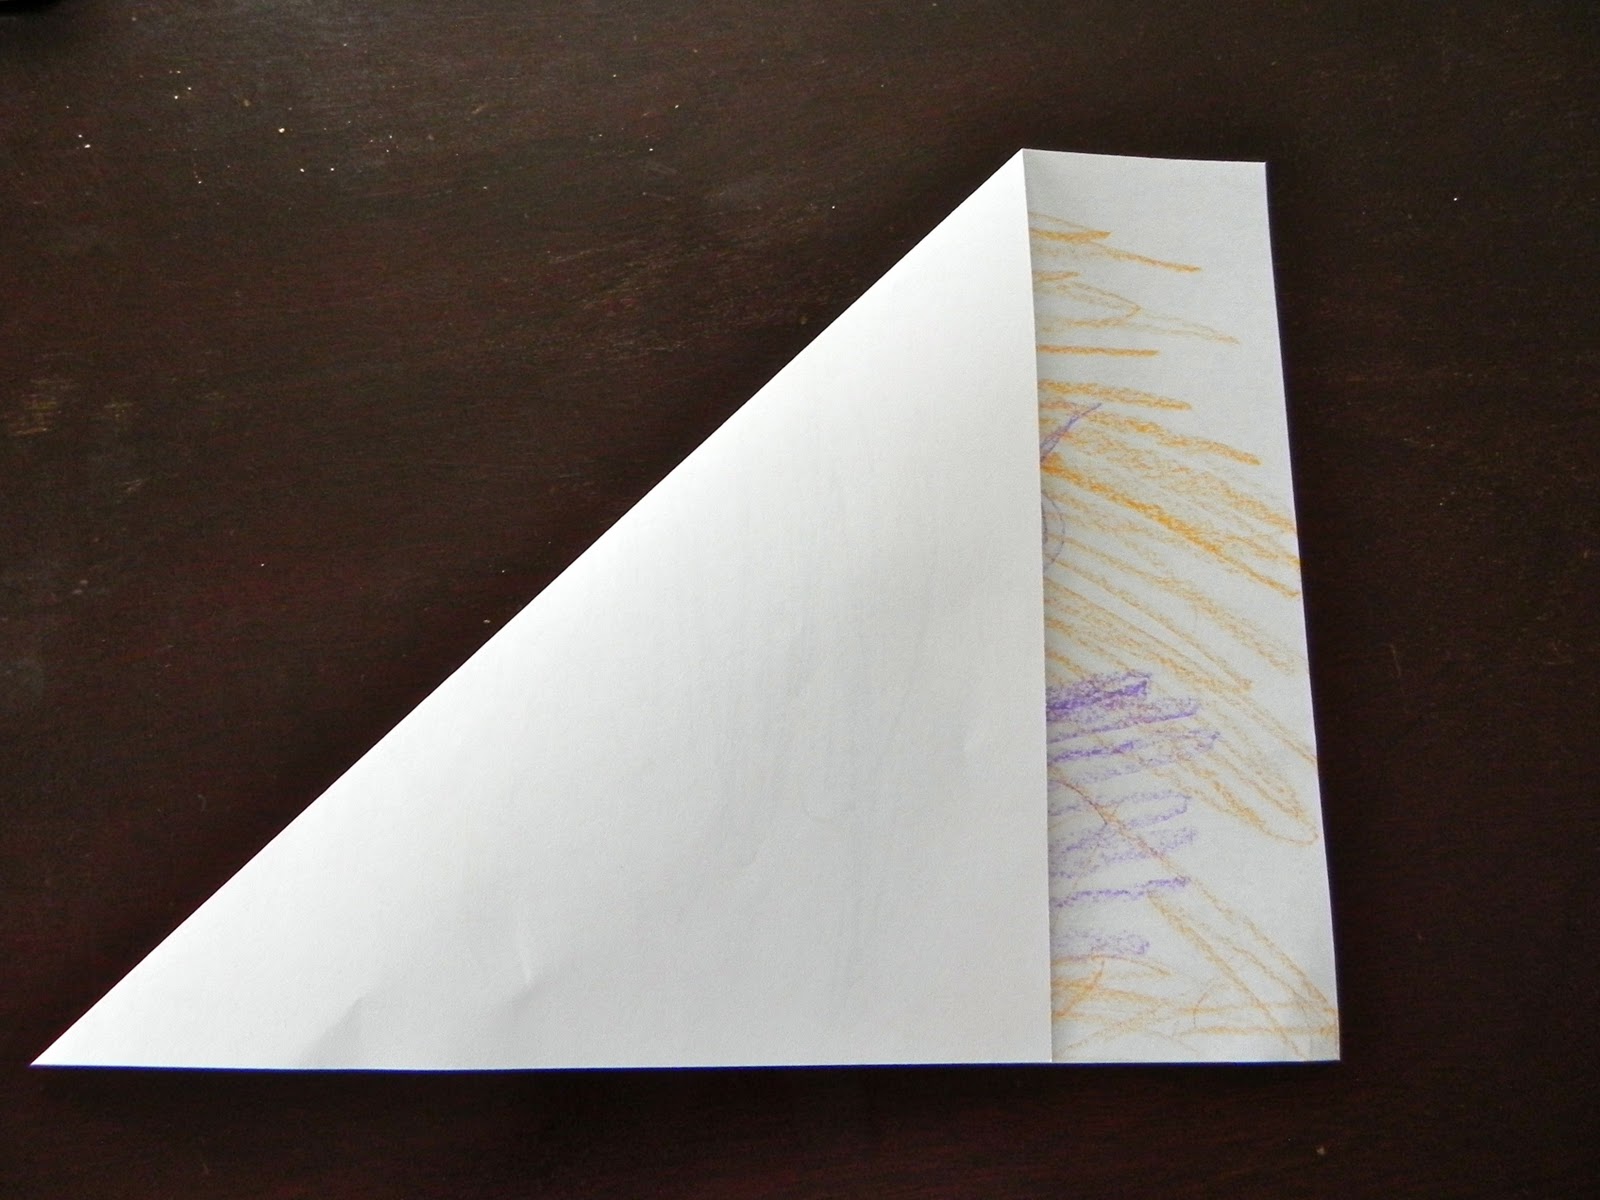 Fold one of the short edges over to the long edge so the edges meet and make a nice point

Cut off the edge.
If you open your paper up, it should be a square.

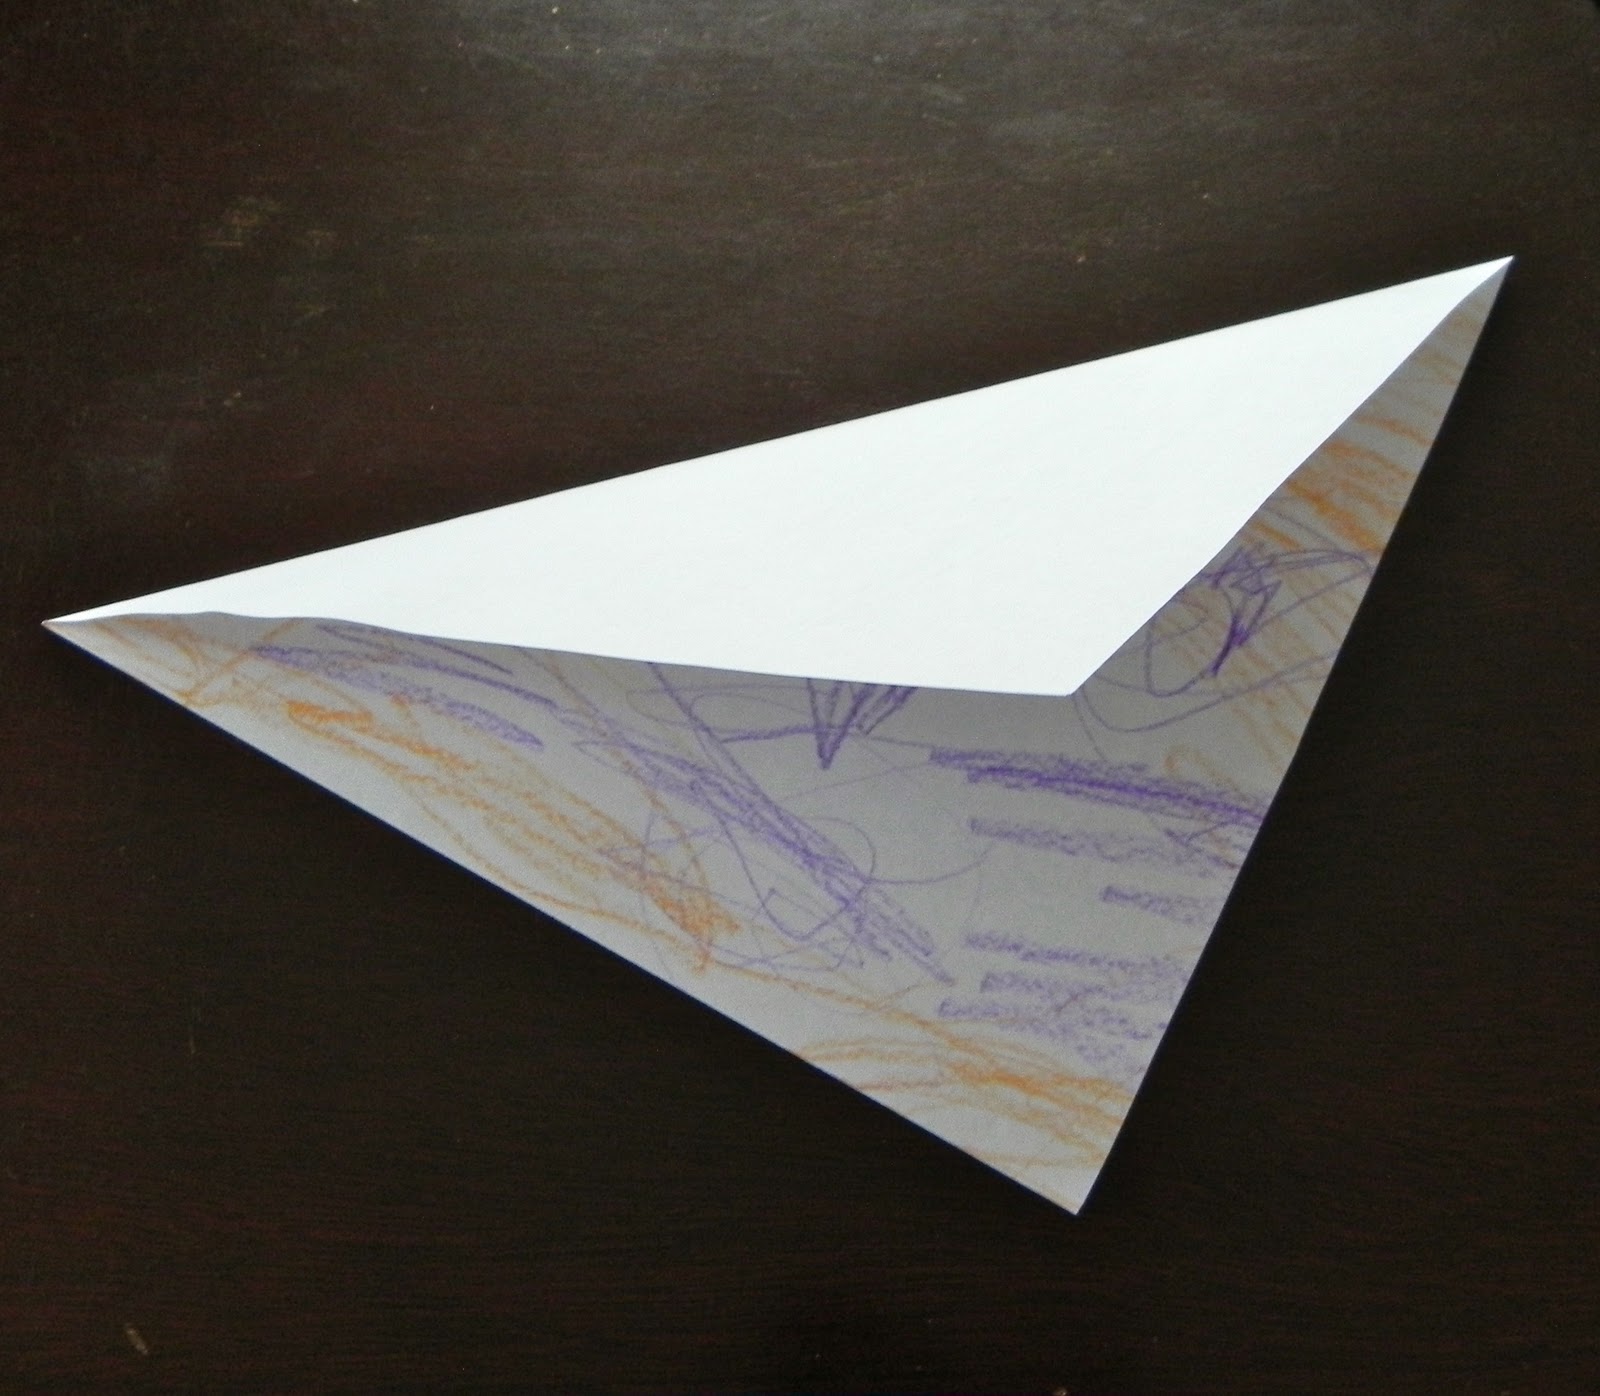
Fold it back so you have a triangle again.

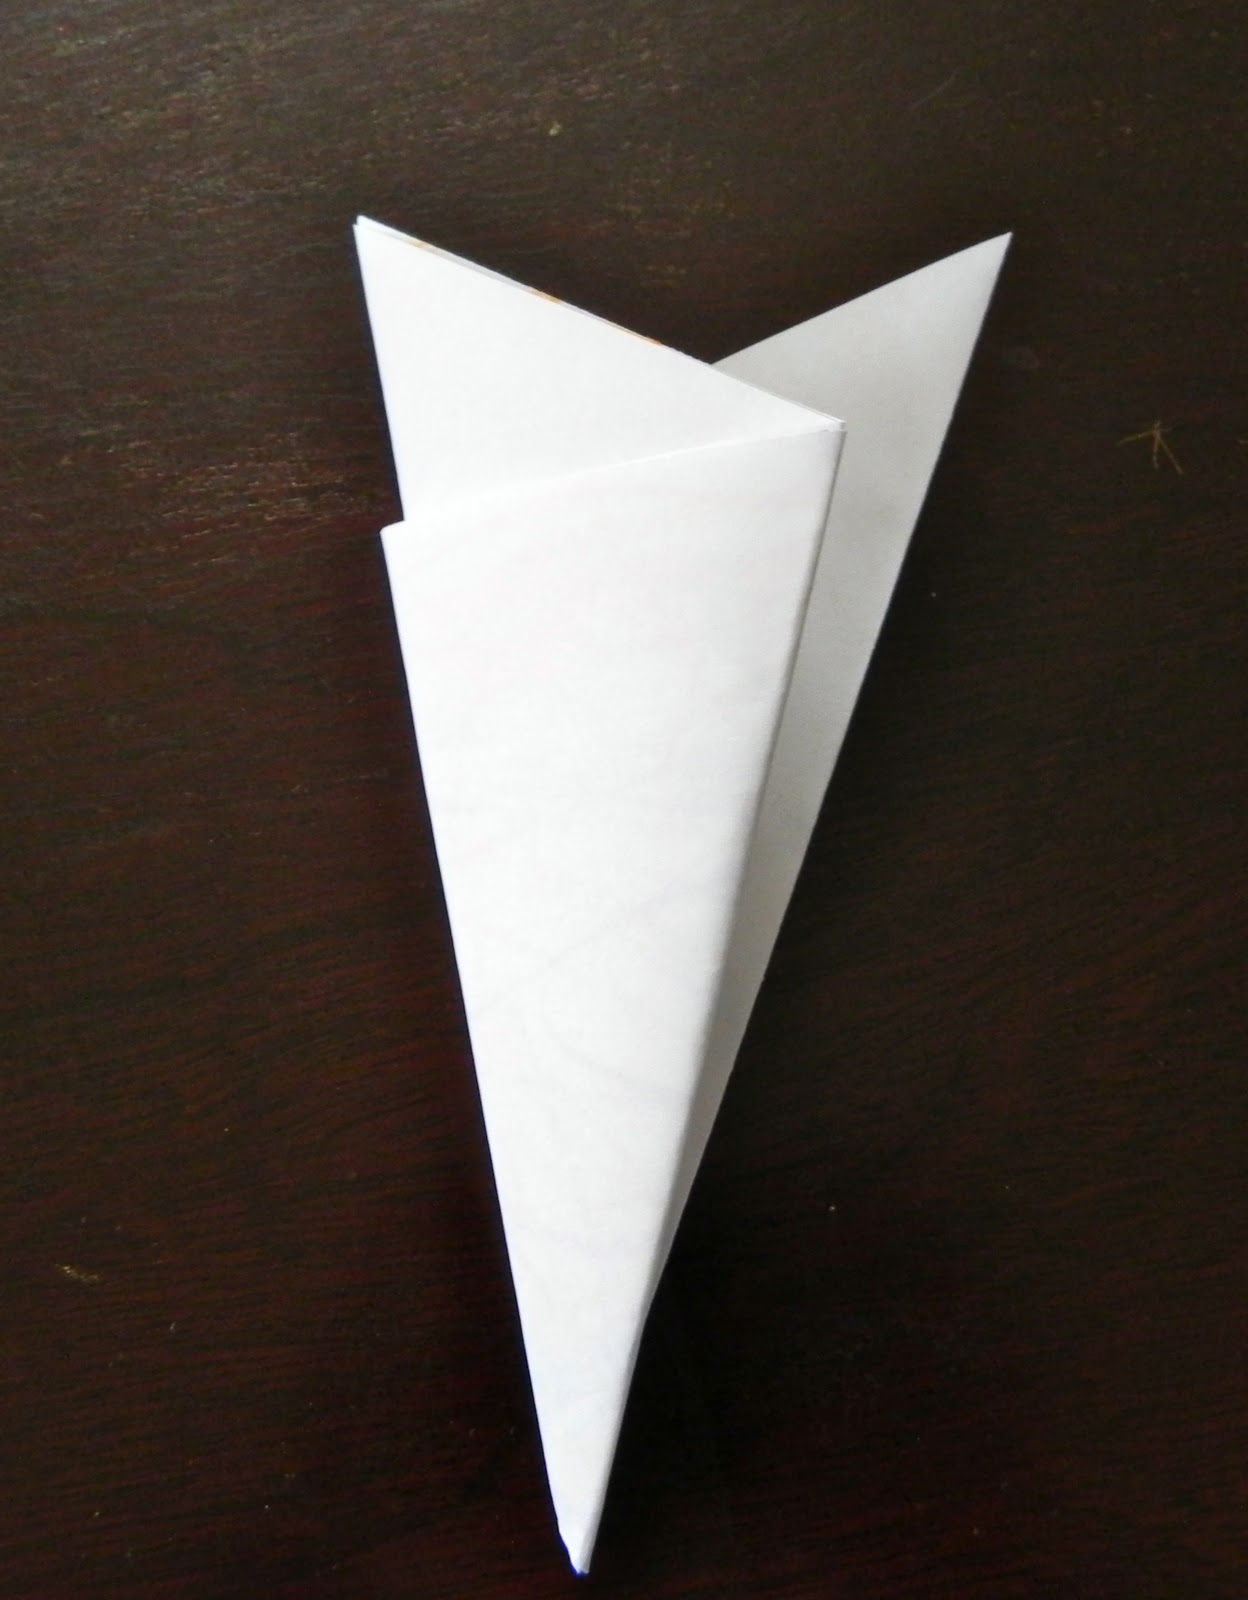
Along the folded edge, fold it in half again.


Fold the open side over to meet the other edge.
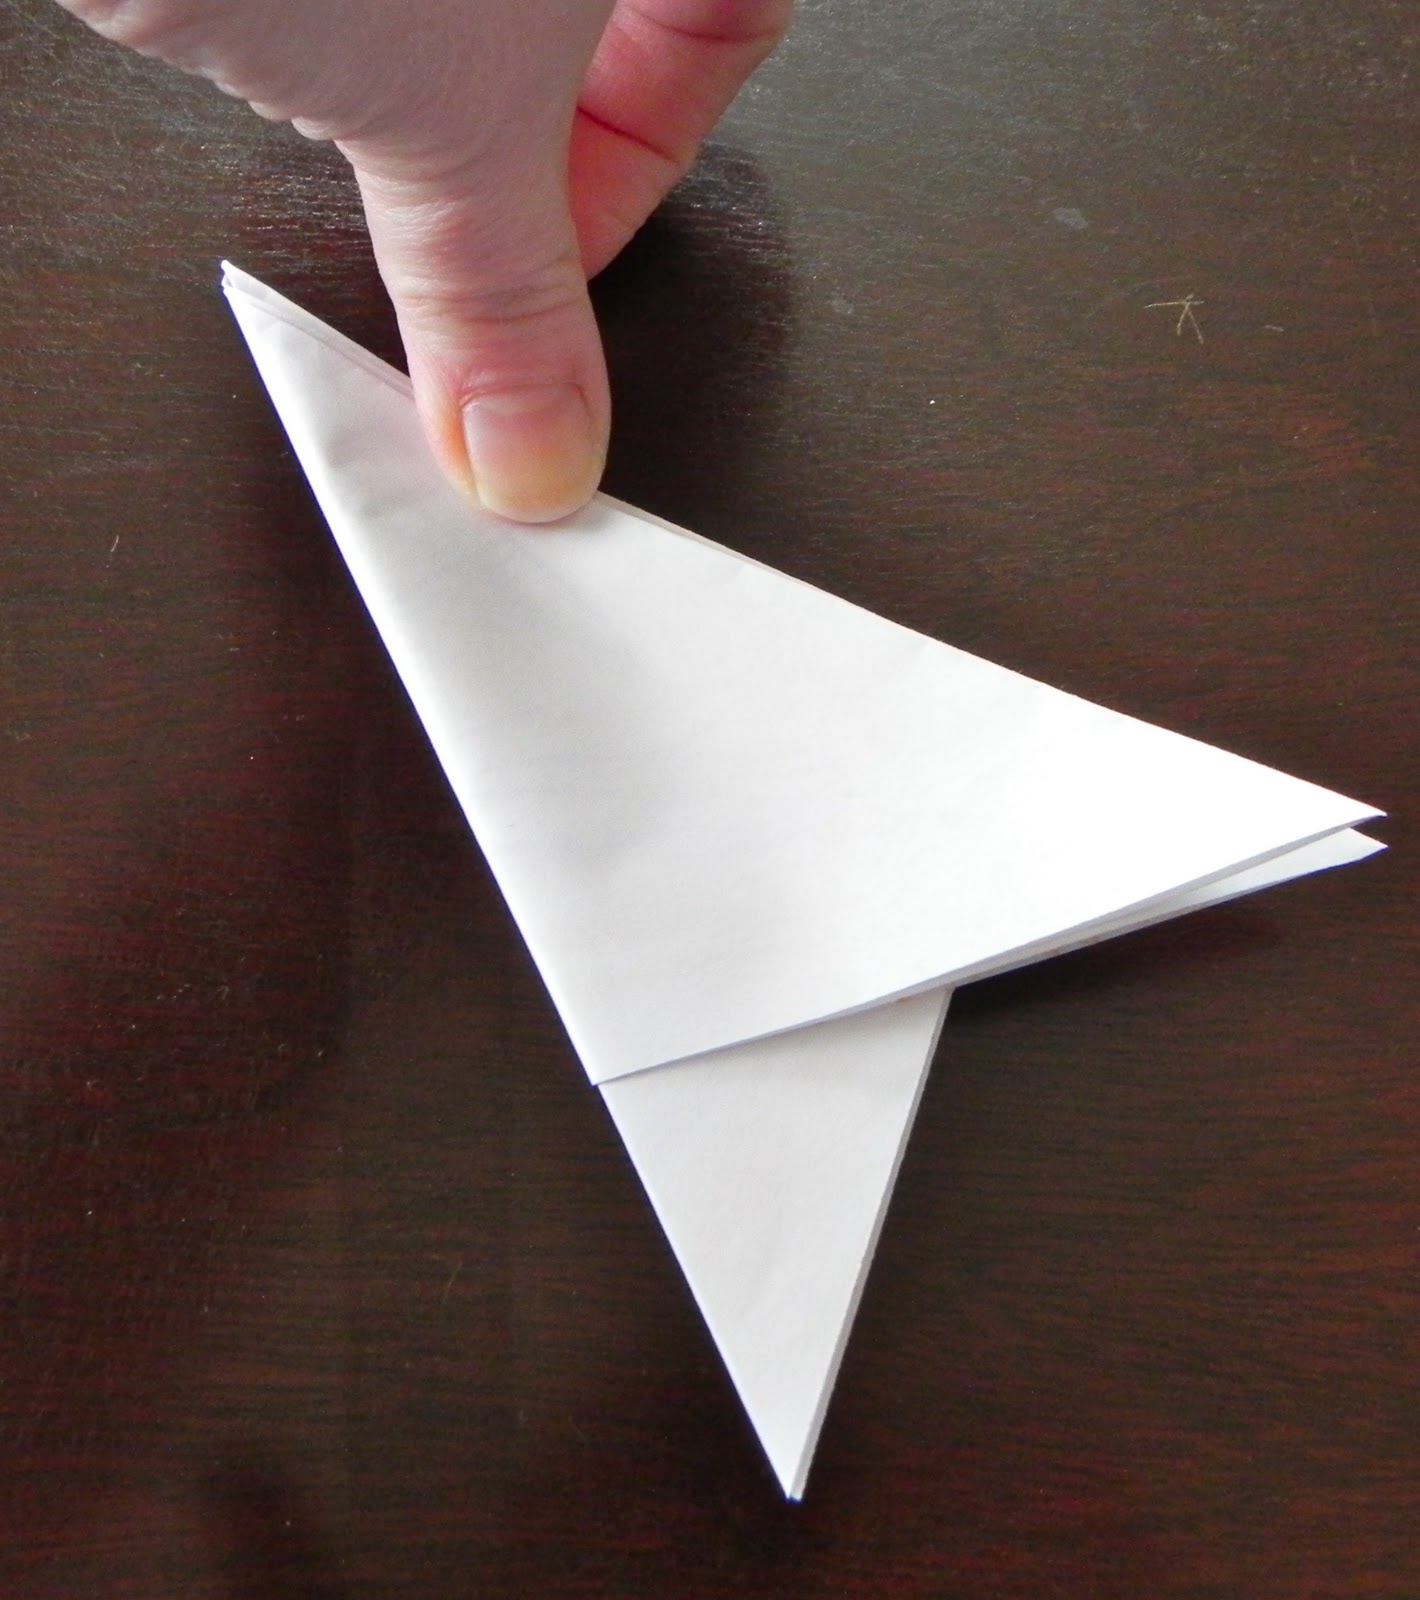
This is what it should look like when you flip it over.
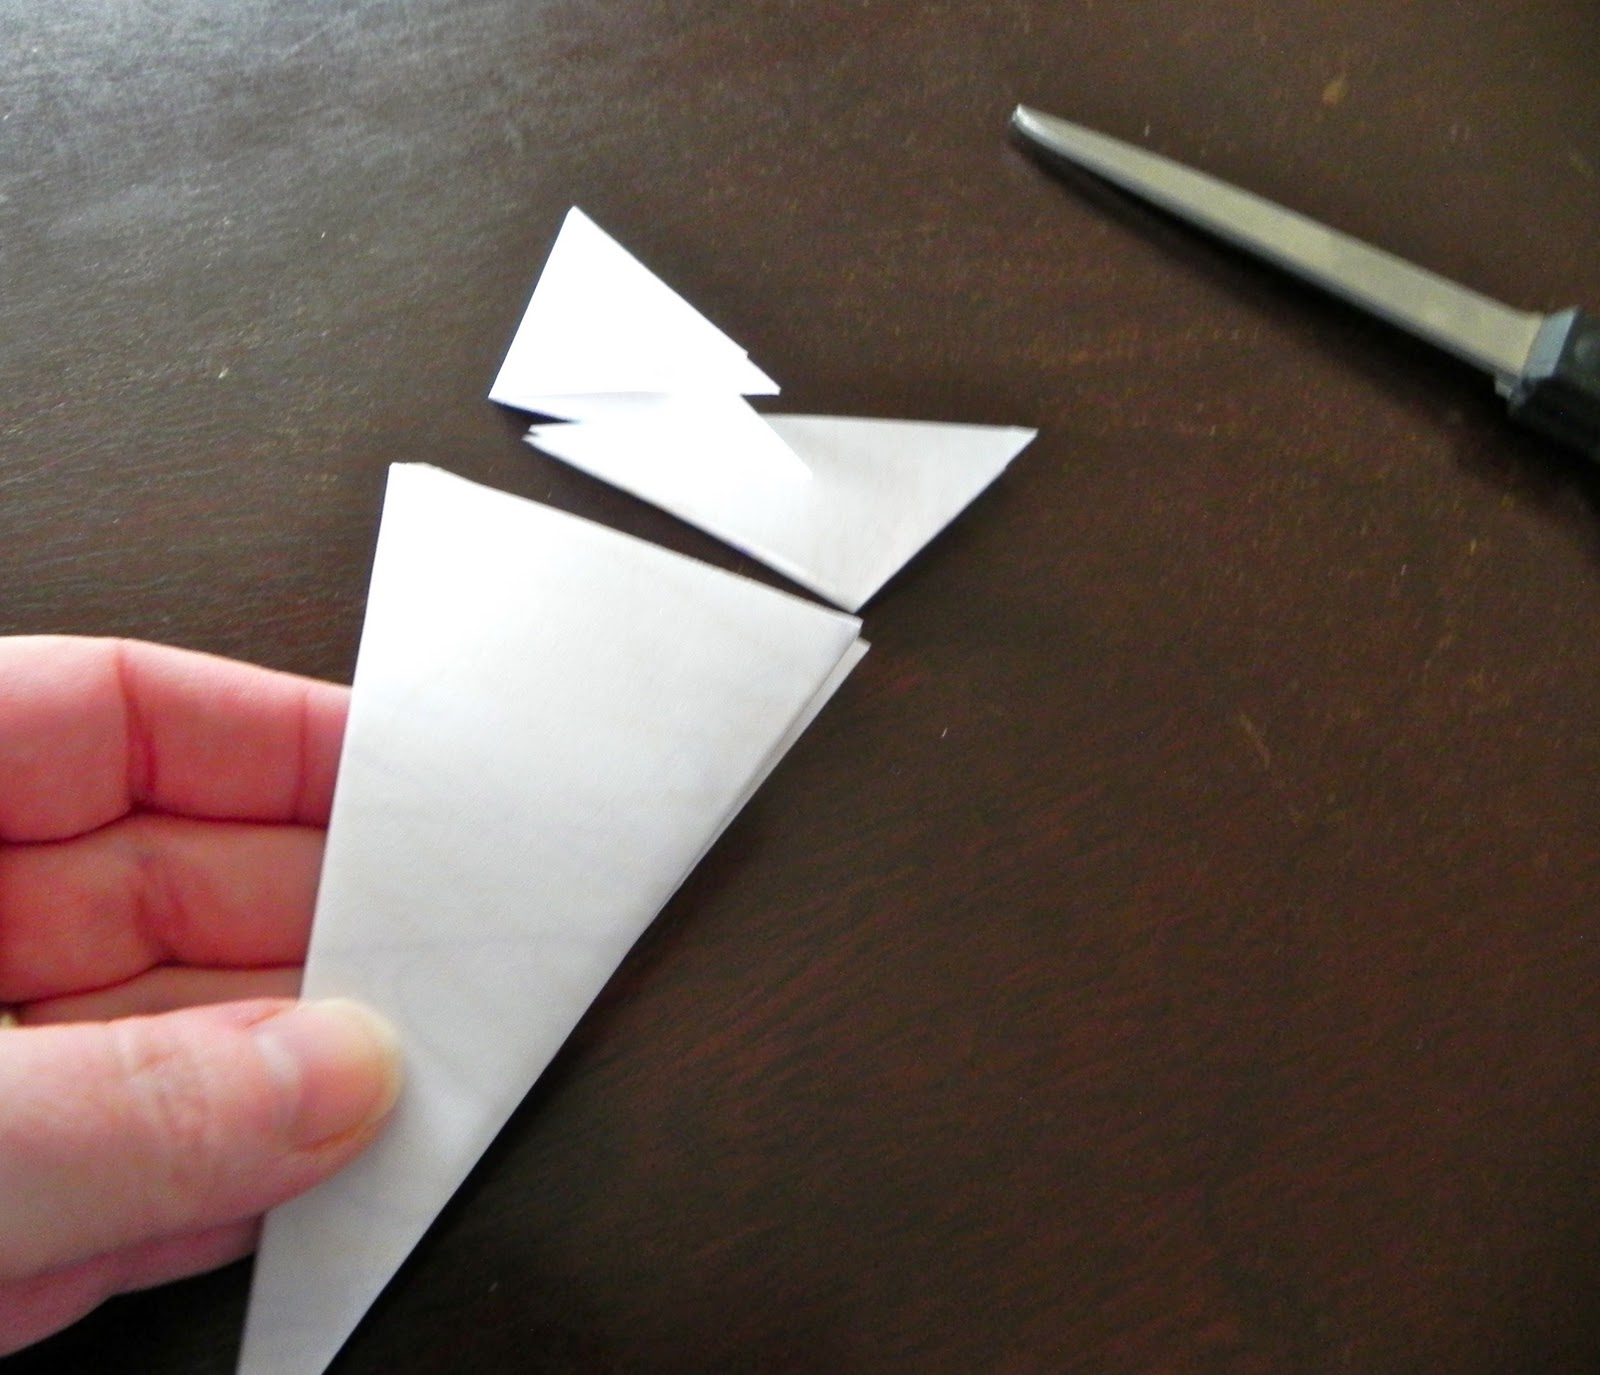
Cut off the corners
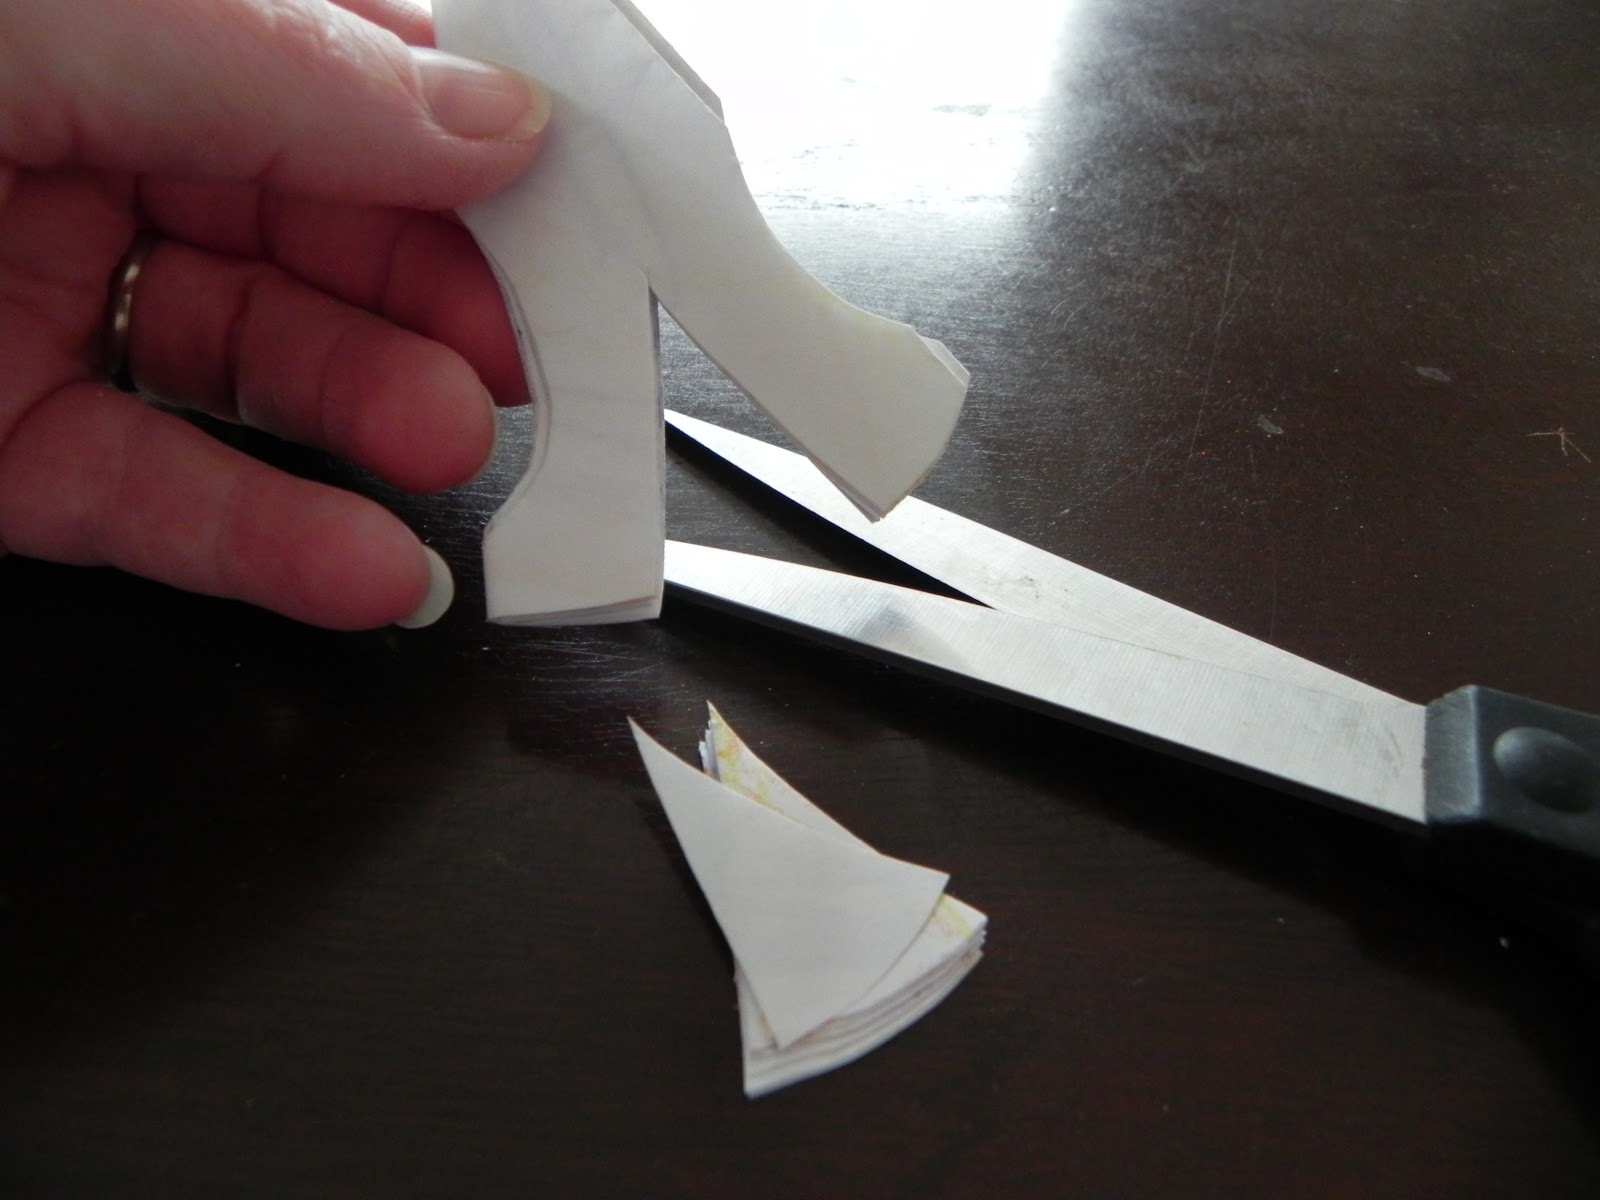
This pattern….
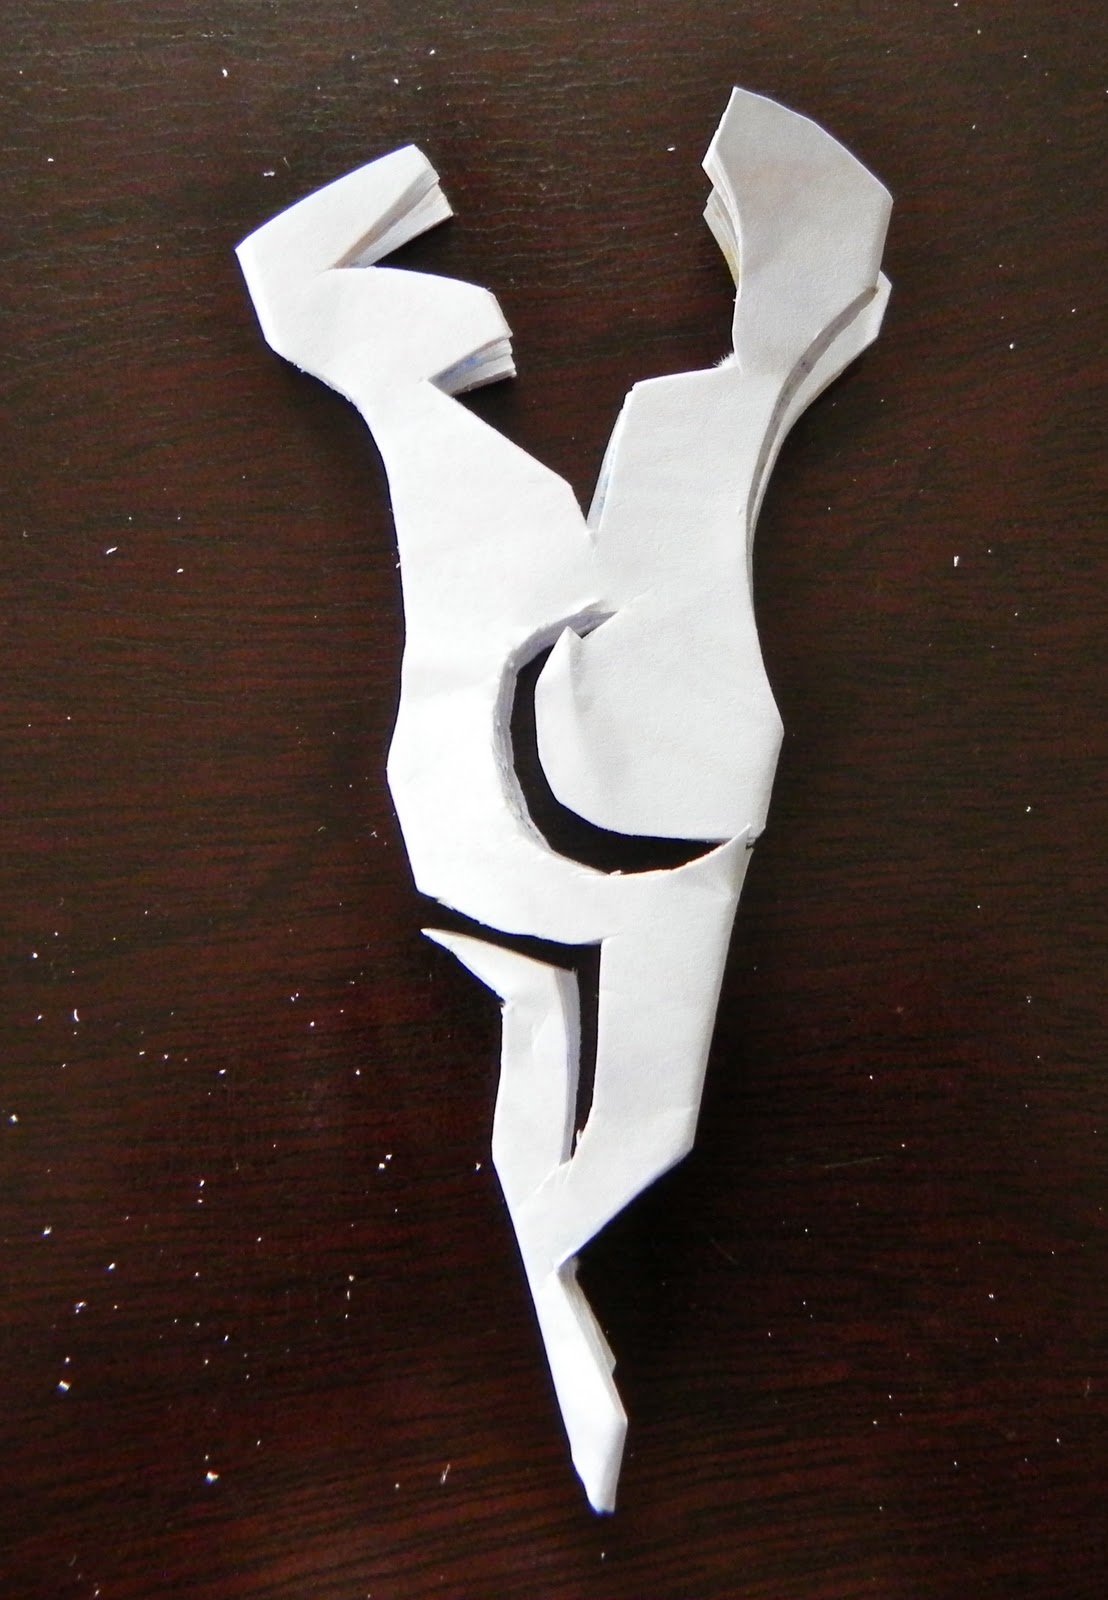
Looks like this when you open it up….

Here are the four in our front window. I absolutely adore how the one on the top left came out.

Cutting paper with his new scissors is something Bennett can do for hours. He cut up all the “ends” and collected all the cut out shapes from the snowflakes to play with. He made “breakfast” for his stuffed animals. How sweet.


Ooh, yours are really beautiful! And I love the idea of putting them right on the window.Kristen@TheFrugalGirl
Thanks! I never would have though to hang them like you did. Very fun!